Nesting: It is a blessing. It is an affliction. At this very moment, I have about 25 different projects up in the air. Some, the validity of which is questionable. Why do the walls in the garage bother me so? Because I’m nesting. Everything MUST be perfect. Now. I can tell the garage walls haven’t been painted since the late nineties when our home was built, because there are other children’s heights and corresponding dates still on display. Add to that the one million nail and screw holes that decorate the space taunt me as I pull the car in each day. It was livable before this phase…at the current moment however, it is intolerable. Since I’m in the middle of painting and organizing my garage, I thought I’d rewind to a much more interesting subject: restoring teak wood.
This teak desk restoration project has probably been one of my favorites to date. (The only thing perhaps equally gratifying was the rust removal I got to do on my Saarinen tulip table way back when.)
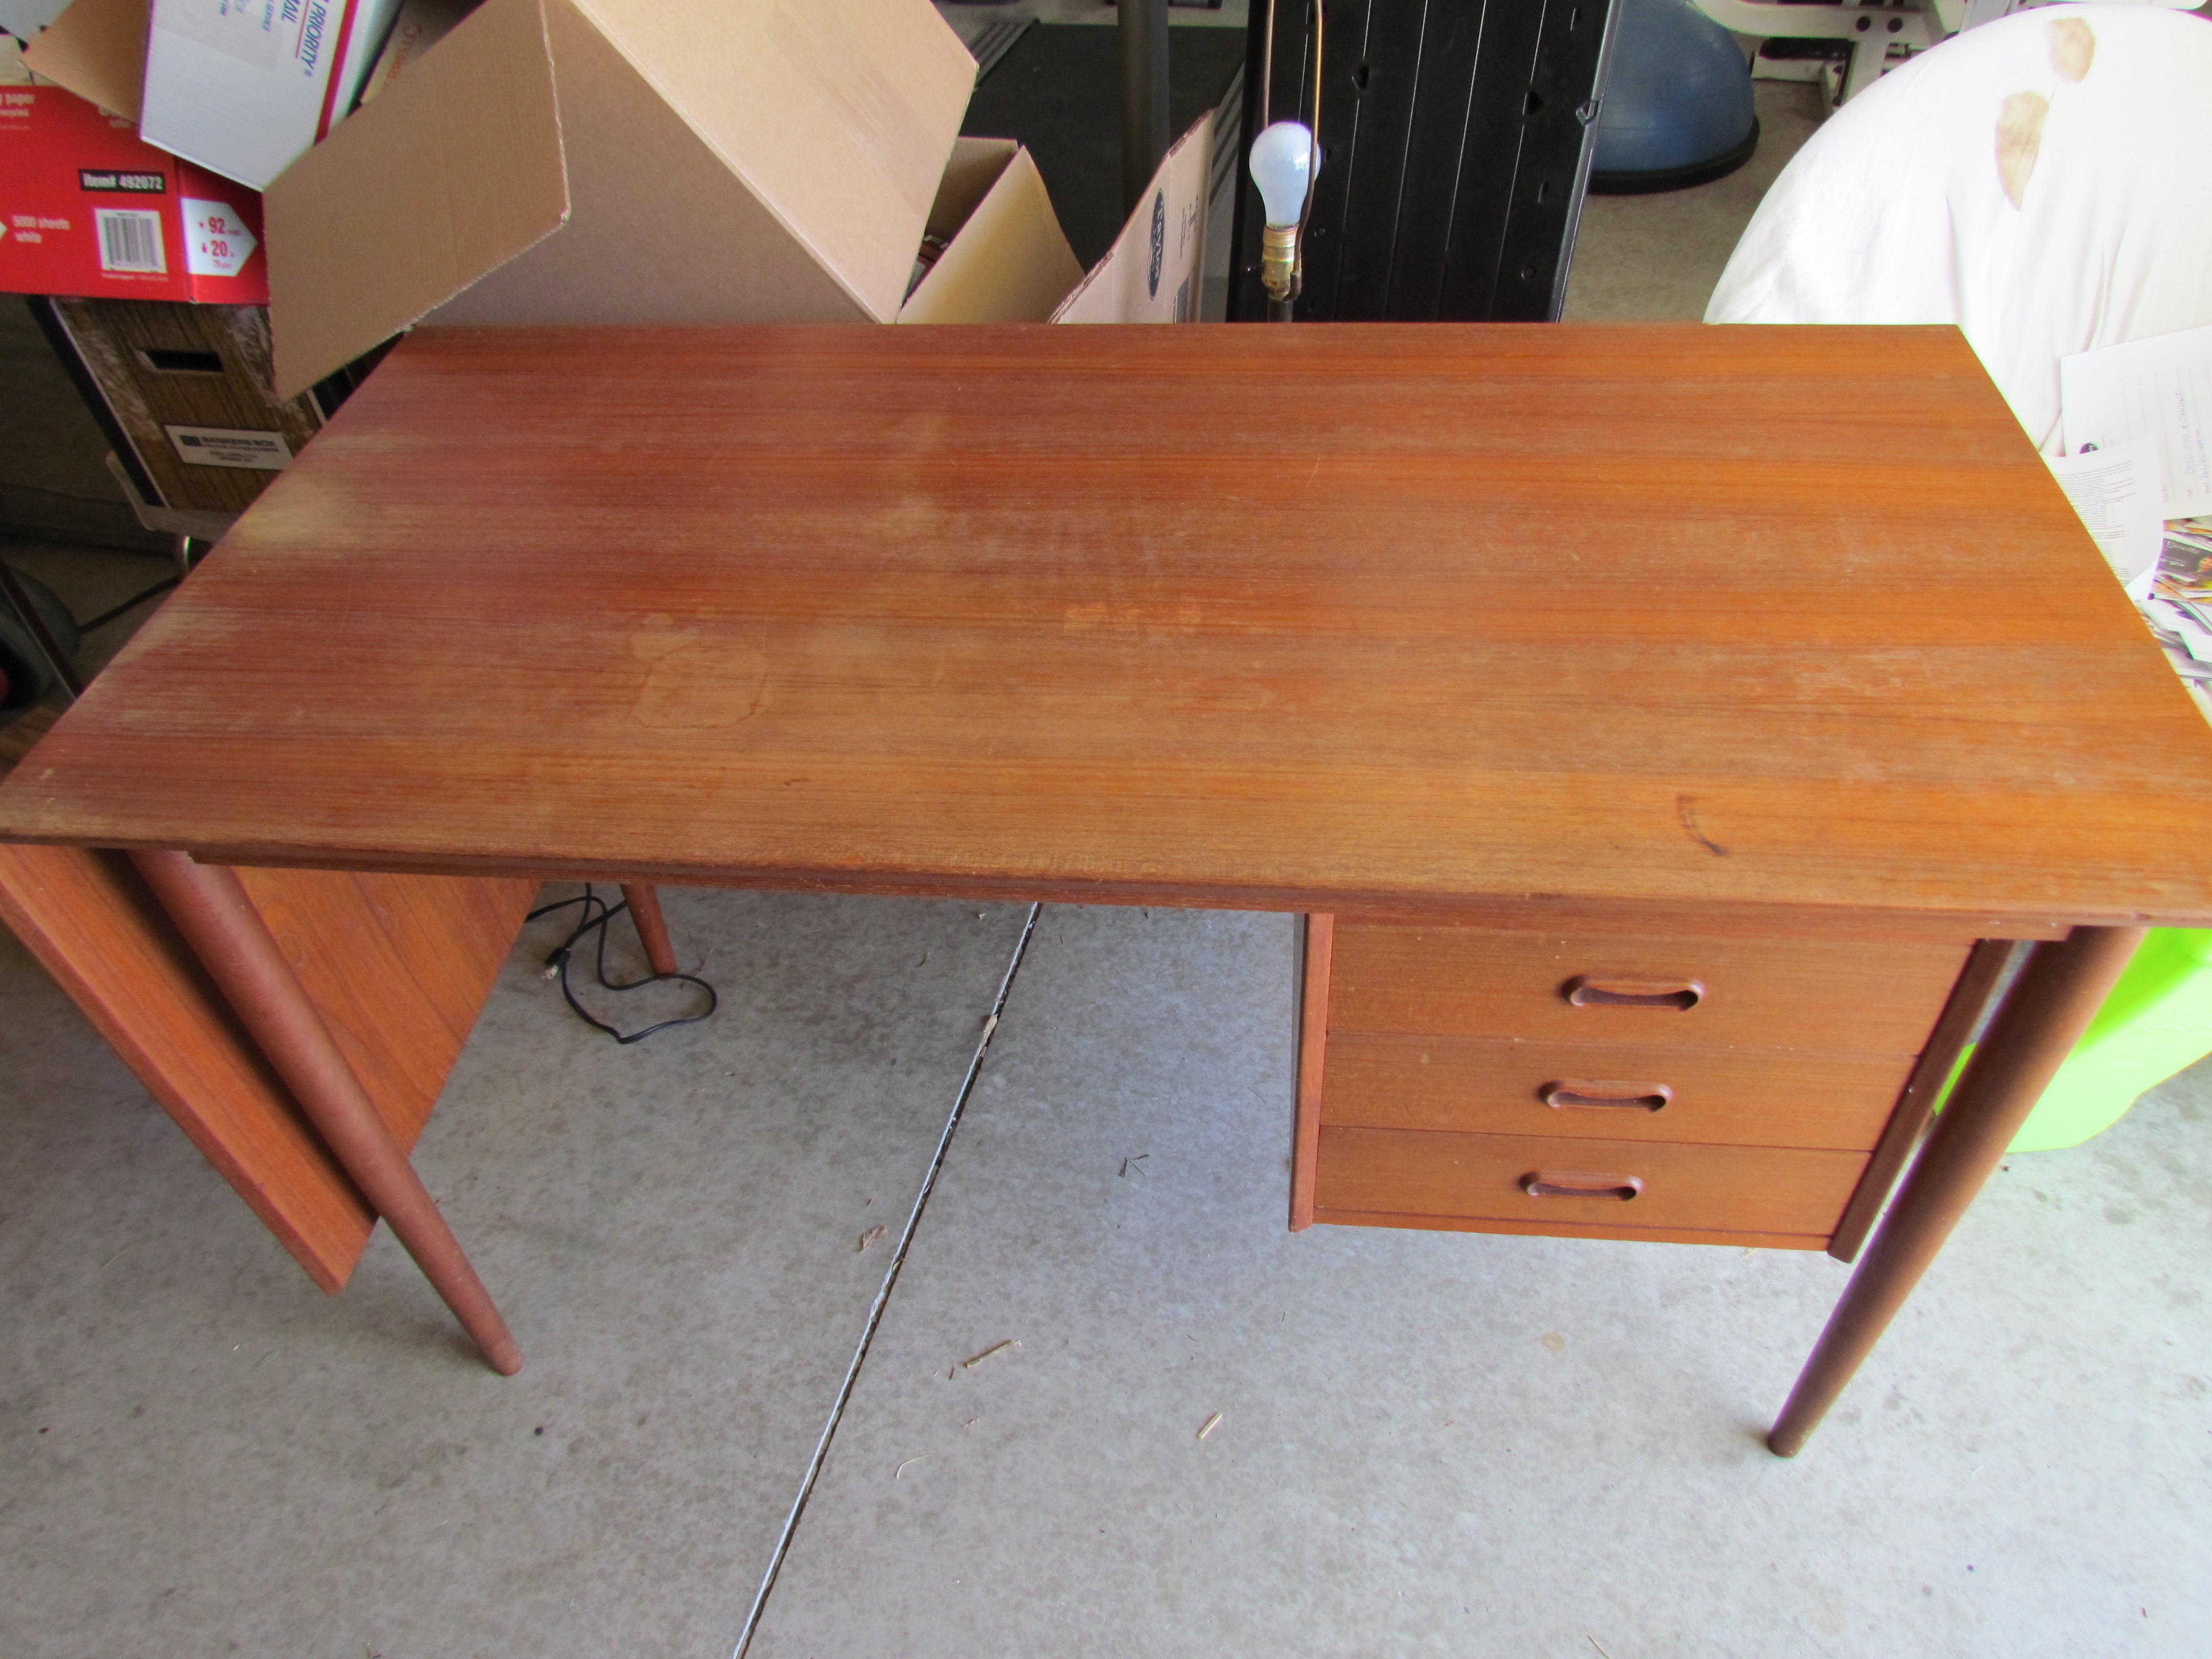
Below are the BEFORE photos. This desk, although completely functional with sliding drop leaf, and drawers that can be moved from side to side depending on your preference, was in pretty rough shape. I can report fading, white drink rings, and what looked to be a burn stain at one side of the desk. I still felt like I was stealing it when I found it at a thrift shop. I mean people….this is TEAK we’re talking about here. Only the most gorgeous wood on the planet.

I consulted a trusted source of mine – someone who I have purchased a few pieces from over the years and who really knows her wood refinishing. I was surprised when she recommended I dilute some ivory dish soap, and clean the piece before deciphering the damage. You can really see the color potential when the teak is damp…


Once the piece dried, it went right back to blah. I was ready to sand!

I happen to have the sander my father so kindly loaned to me – complete with fine sand paper, which I used for this project. Here are some sanding shots:


Important notes…with a drop leaf, you need to have the drop leaf extended for all-at-once-sanding, and don’t forget go with the grain! I used the electric sander for the desk top, which was in the worst shape. For the remainder; legs, sides, etc….I sanded by hand, using extra fine sand paper.
Once the sanding was complete, I again cleaned the piece with diluted ivory dish soap. Once dried, I applied two coats of Teak Oil – about 30 minutes apart. I used Watco Teak Oil. The scoop is, to apply liberally, let it soak in for about 30 minutes, wipe down, and reapply if necessary. Wait an additional 15 minutes for absorption of the second coat before wiping the excess oil away. Two coats were all I needed to completely transform this piece and bring it back to life!


After 8-10 hours of drying, your teak is ready to go! See how the drawers can be moved side to side? Fantastic.


BOOM!
I don’t think there is anything more gorgeous than oiled teak. This desk sold almost immediately, and I was a little sad to see it go. I hope to find another piece like it in the future – until then, I’ll be readying our garage for the next project.
