This week, a friend posted a link to a very thought-provoking article called, “Screw Finding Your Passion.” In it the author, Mark Manson; tired of getting emails from people asking how they can find their passion, basically pointed to the lack of pursuit, more than the not knowing. We tend to ignore that which consumes most of our free-time not because we don’t know what we like, but rather out of fear, laziness, or avoidance. We tell ourselves it couldn’t possibly make us money. It wouldn’t be practical. The negative self-talk sets in, and we ignore what we should be pursuing, all the while wondering why we’re so miserable. My passion is all things mid-century modern, and I make no apologies. The fashion, the architecture, the furniture; I spend stupid amounts of free time looking at it, implementing it into my daily life, and learning about it. I watch shows like Mad Men and Masters of Sex, read books about Charles and Ray Eames, and the other big designers of the time. Anything to get a glimpse of life back then. I stumbled upon this passion and I’m so glad I did, because for whatever reason, it continues to intrigue me. How many people can say that they get to focus on what they love? Mr. Manson’s colorful illustration was the kick in the pants I needed to finish my “pet bed project” for the blog that was taking too long to complete. It’s not that I didn’t want to do it, it’s that I made everything else in my life a priority while I put my “passion” on the back burner. And that’s okay too. Sometimes you have to choose. Life happens but the point is deep down, you know what you love. You just have to open your eyes. I highly recommend reading it if you need a little encouragement and don’t mind a few strategically placed f*bombs. Find the link here.
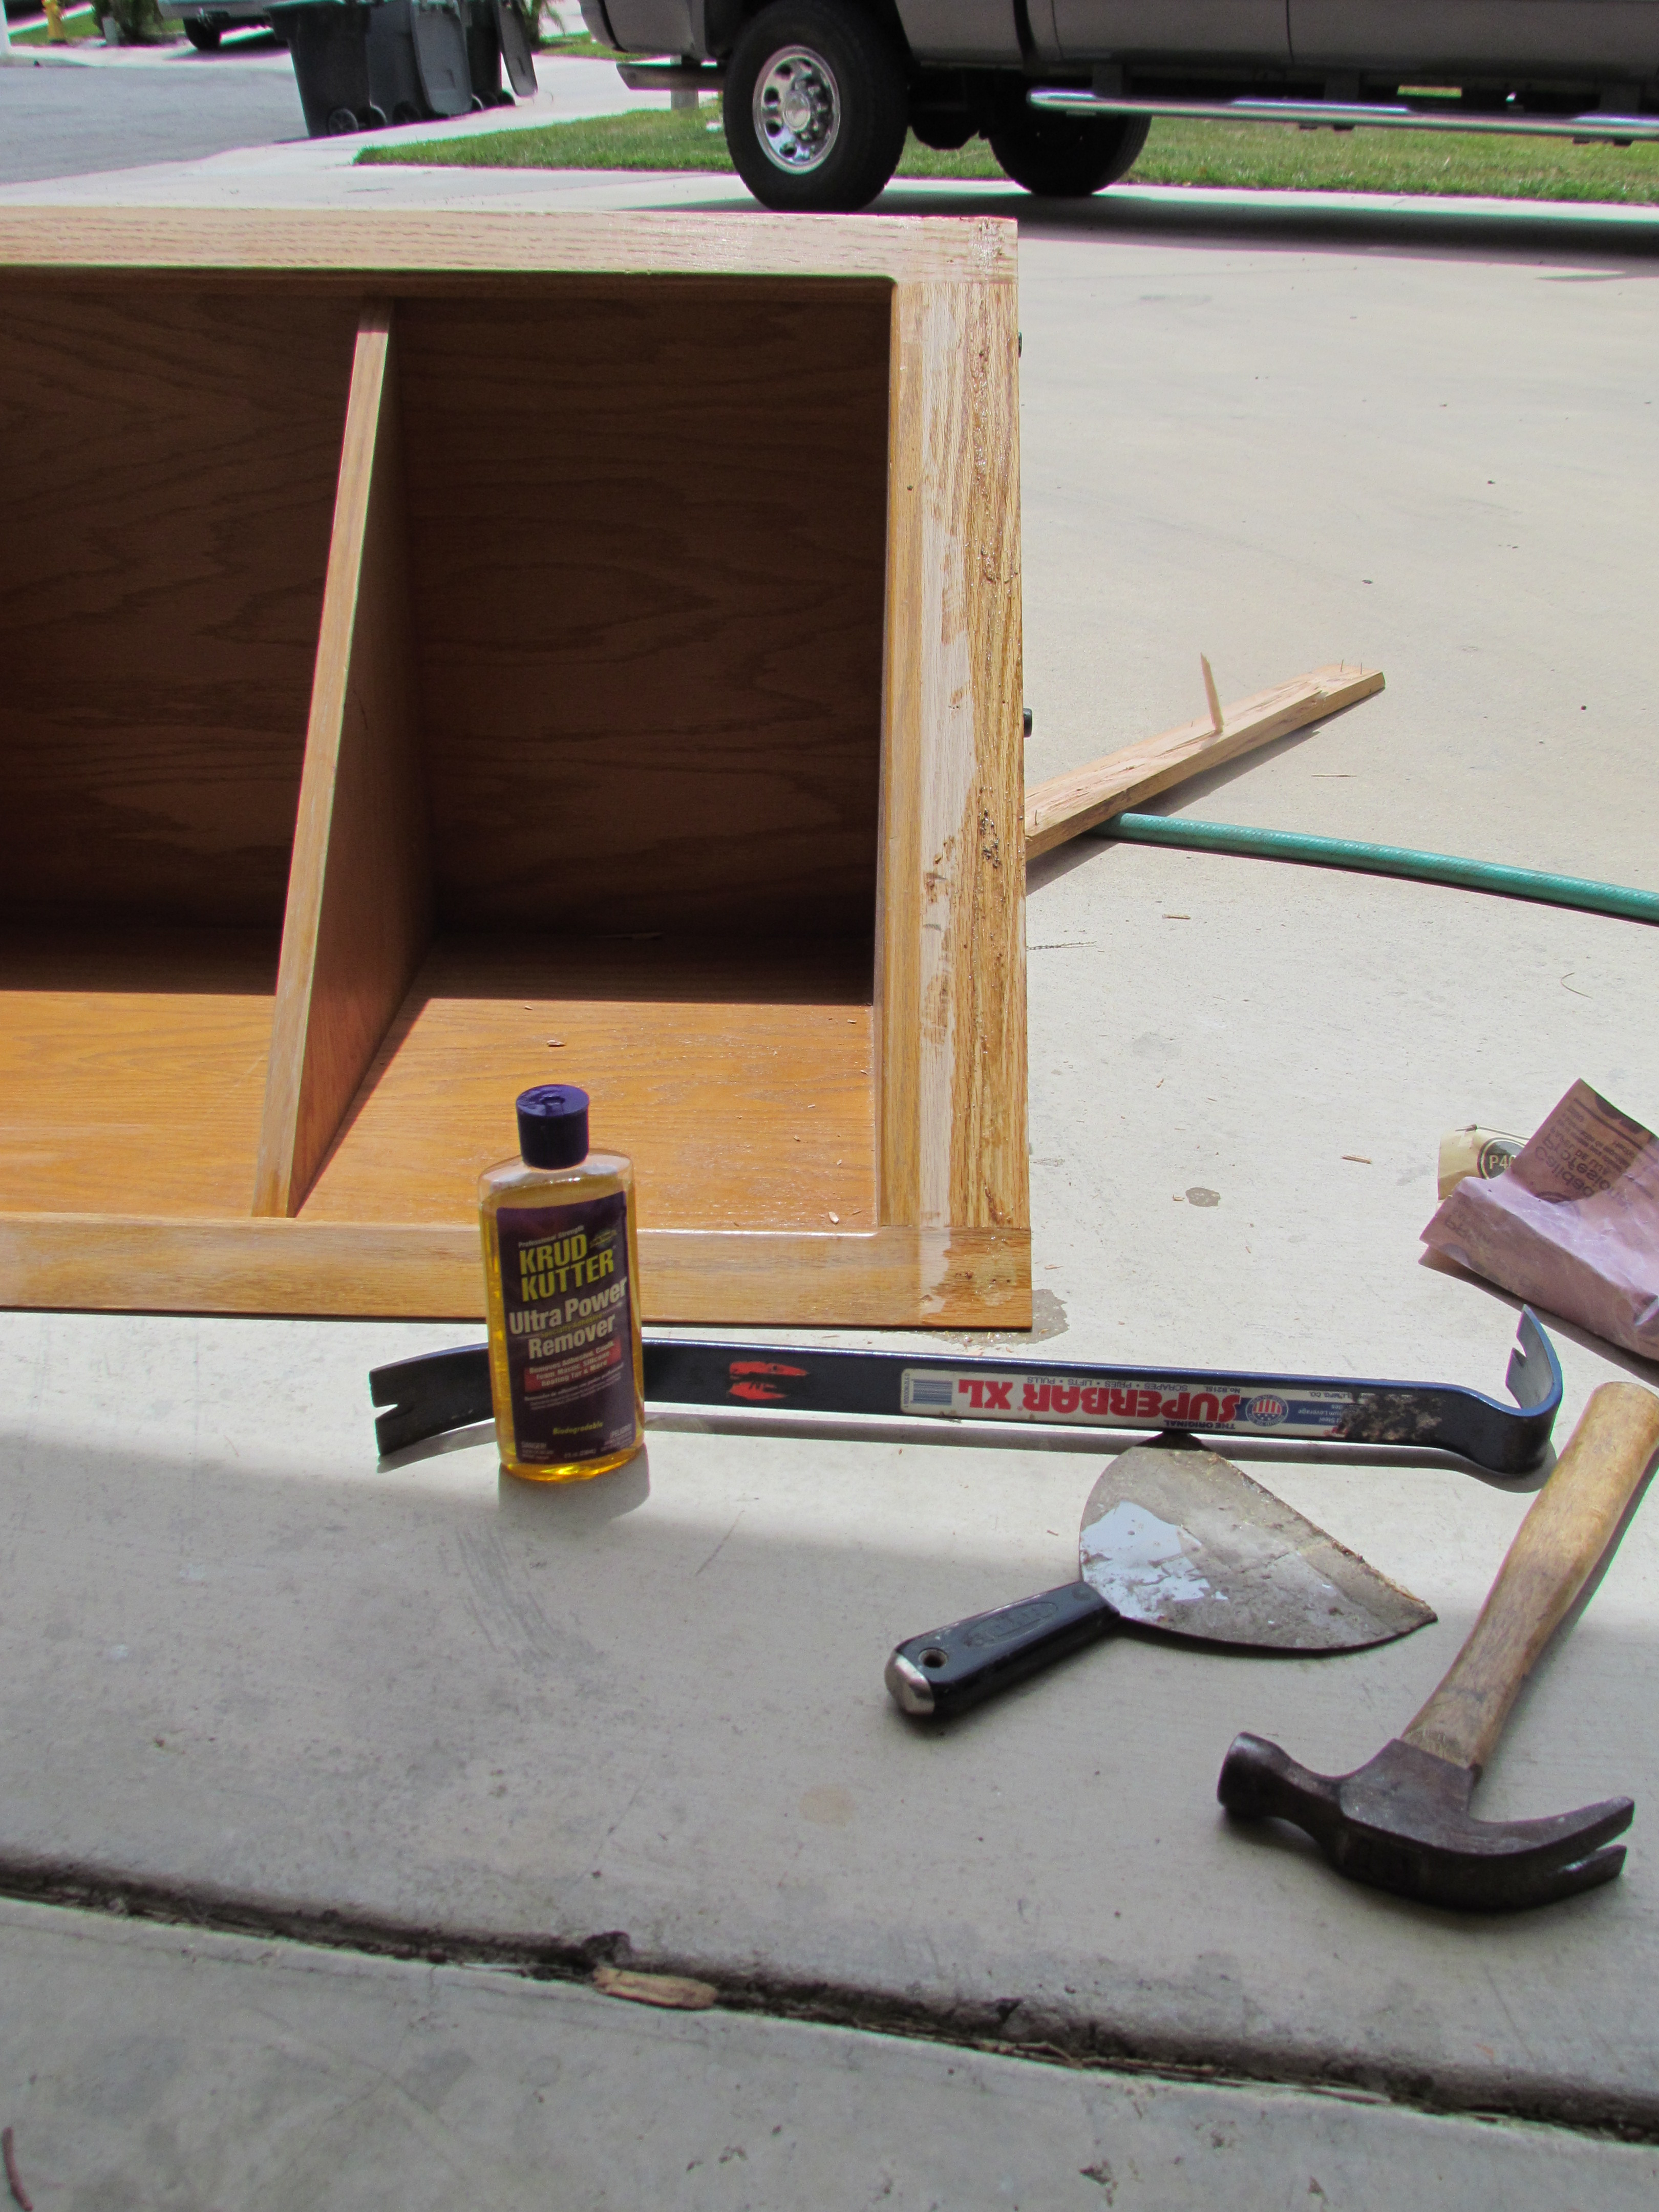
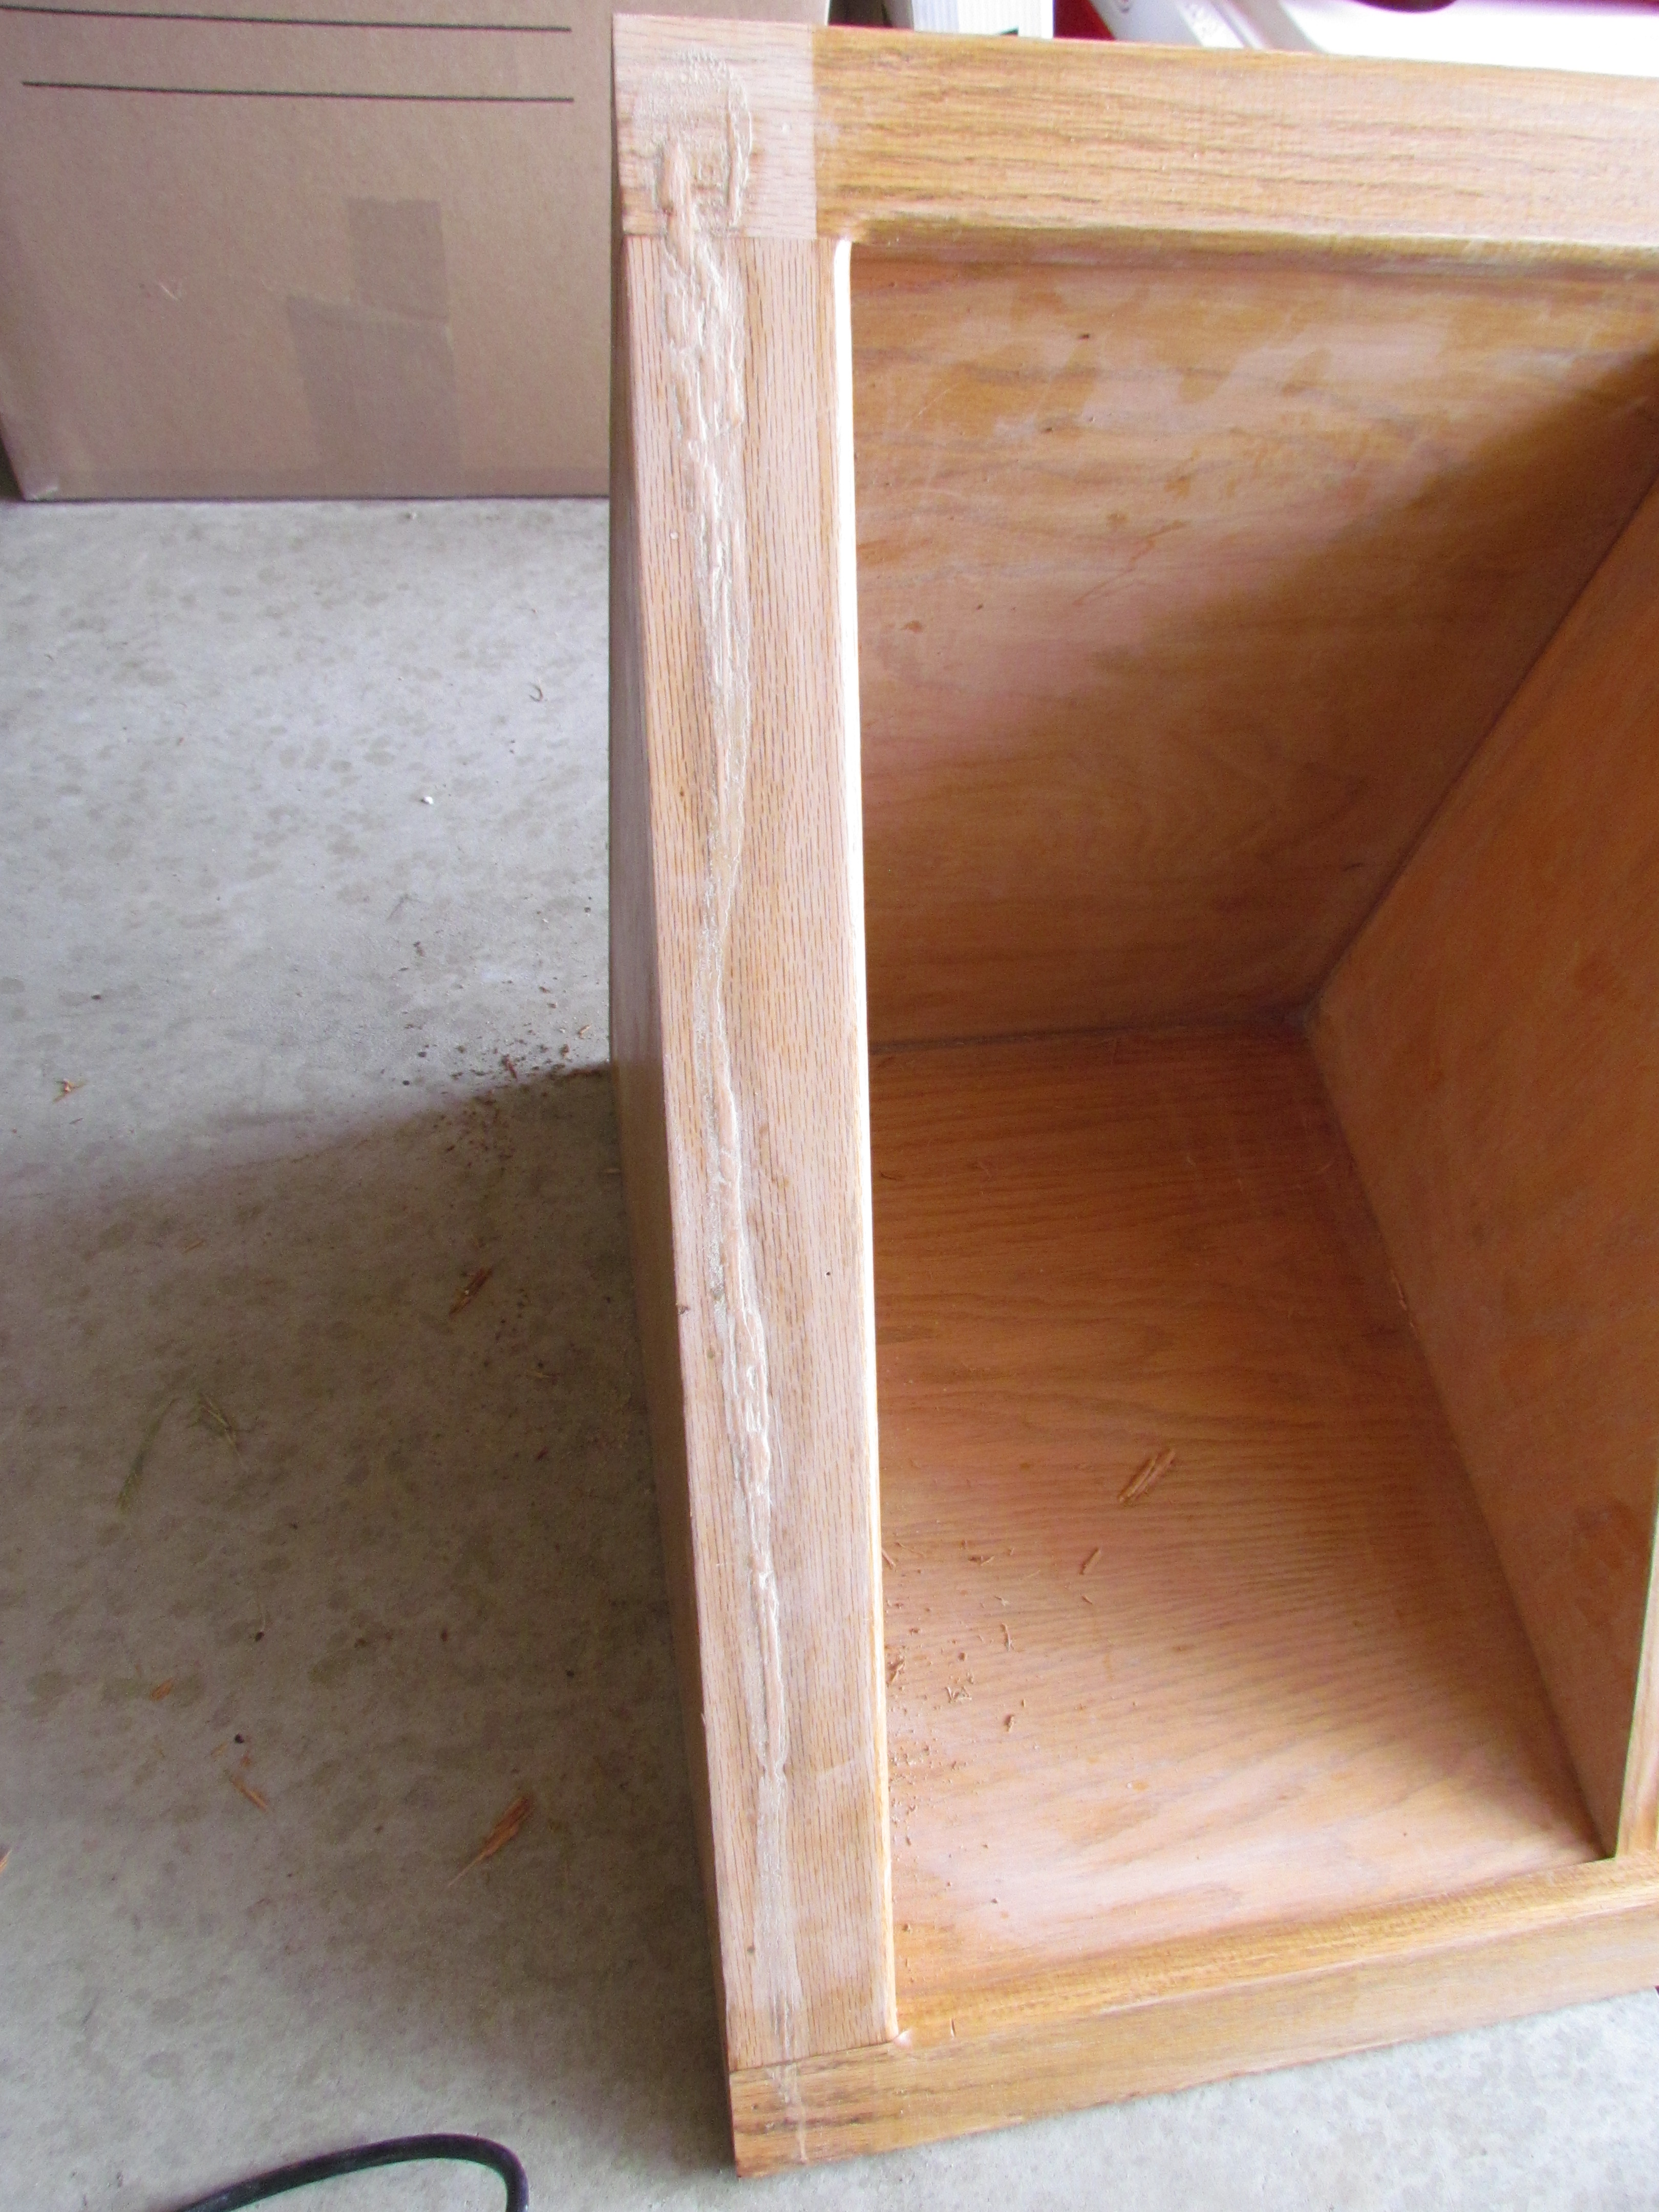
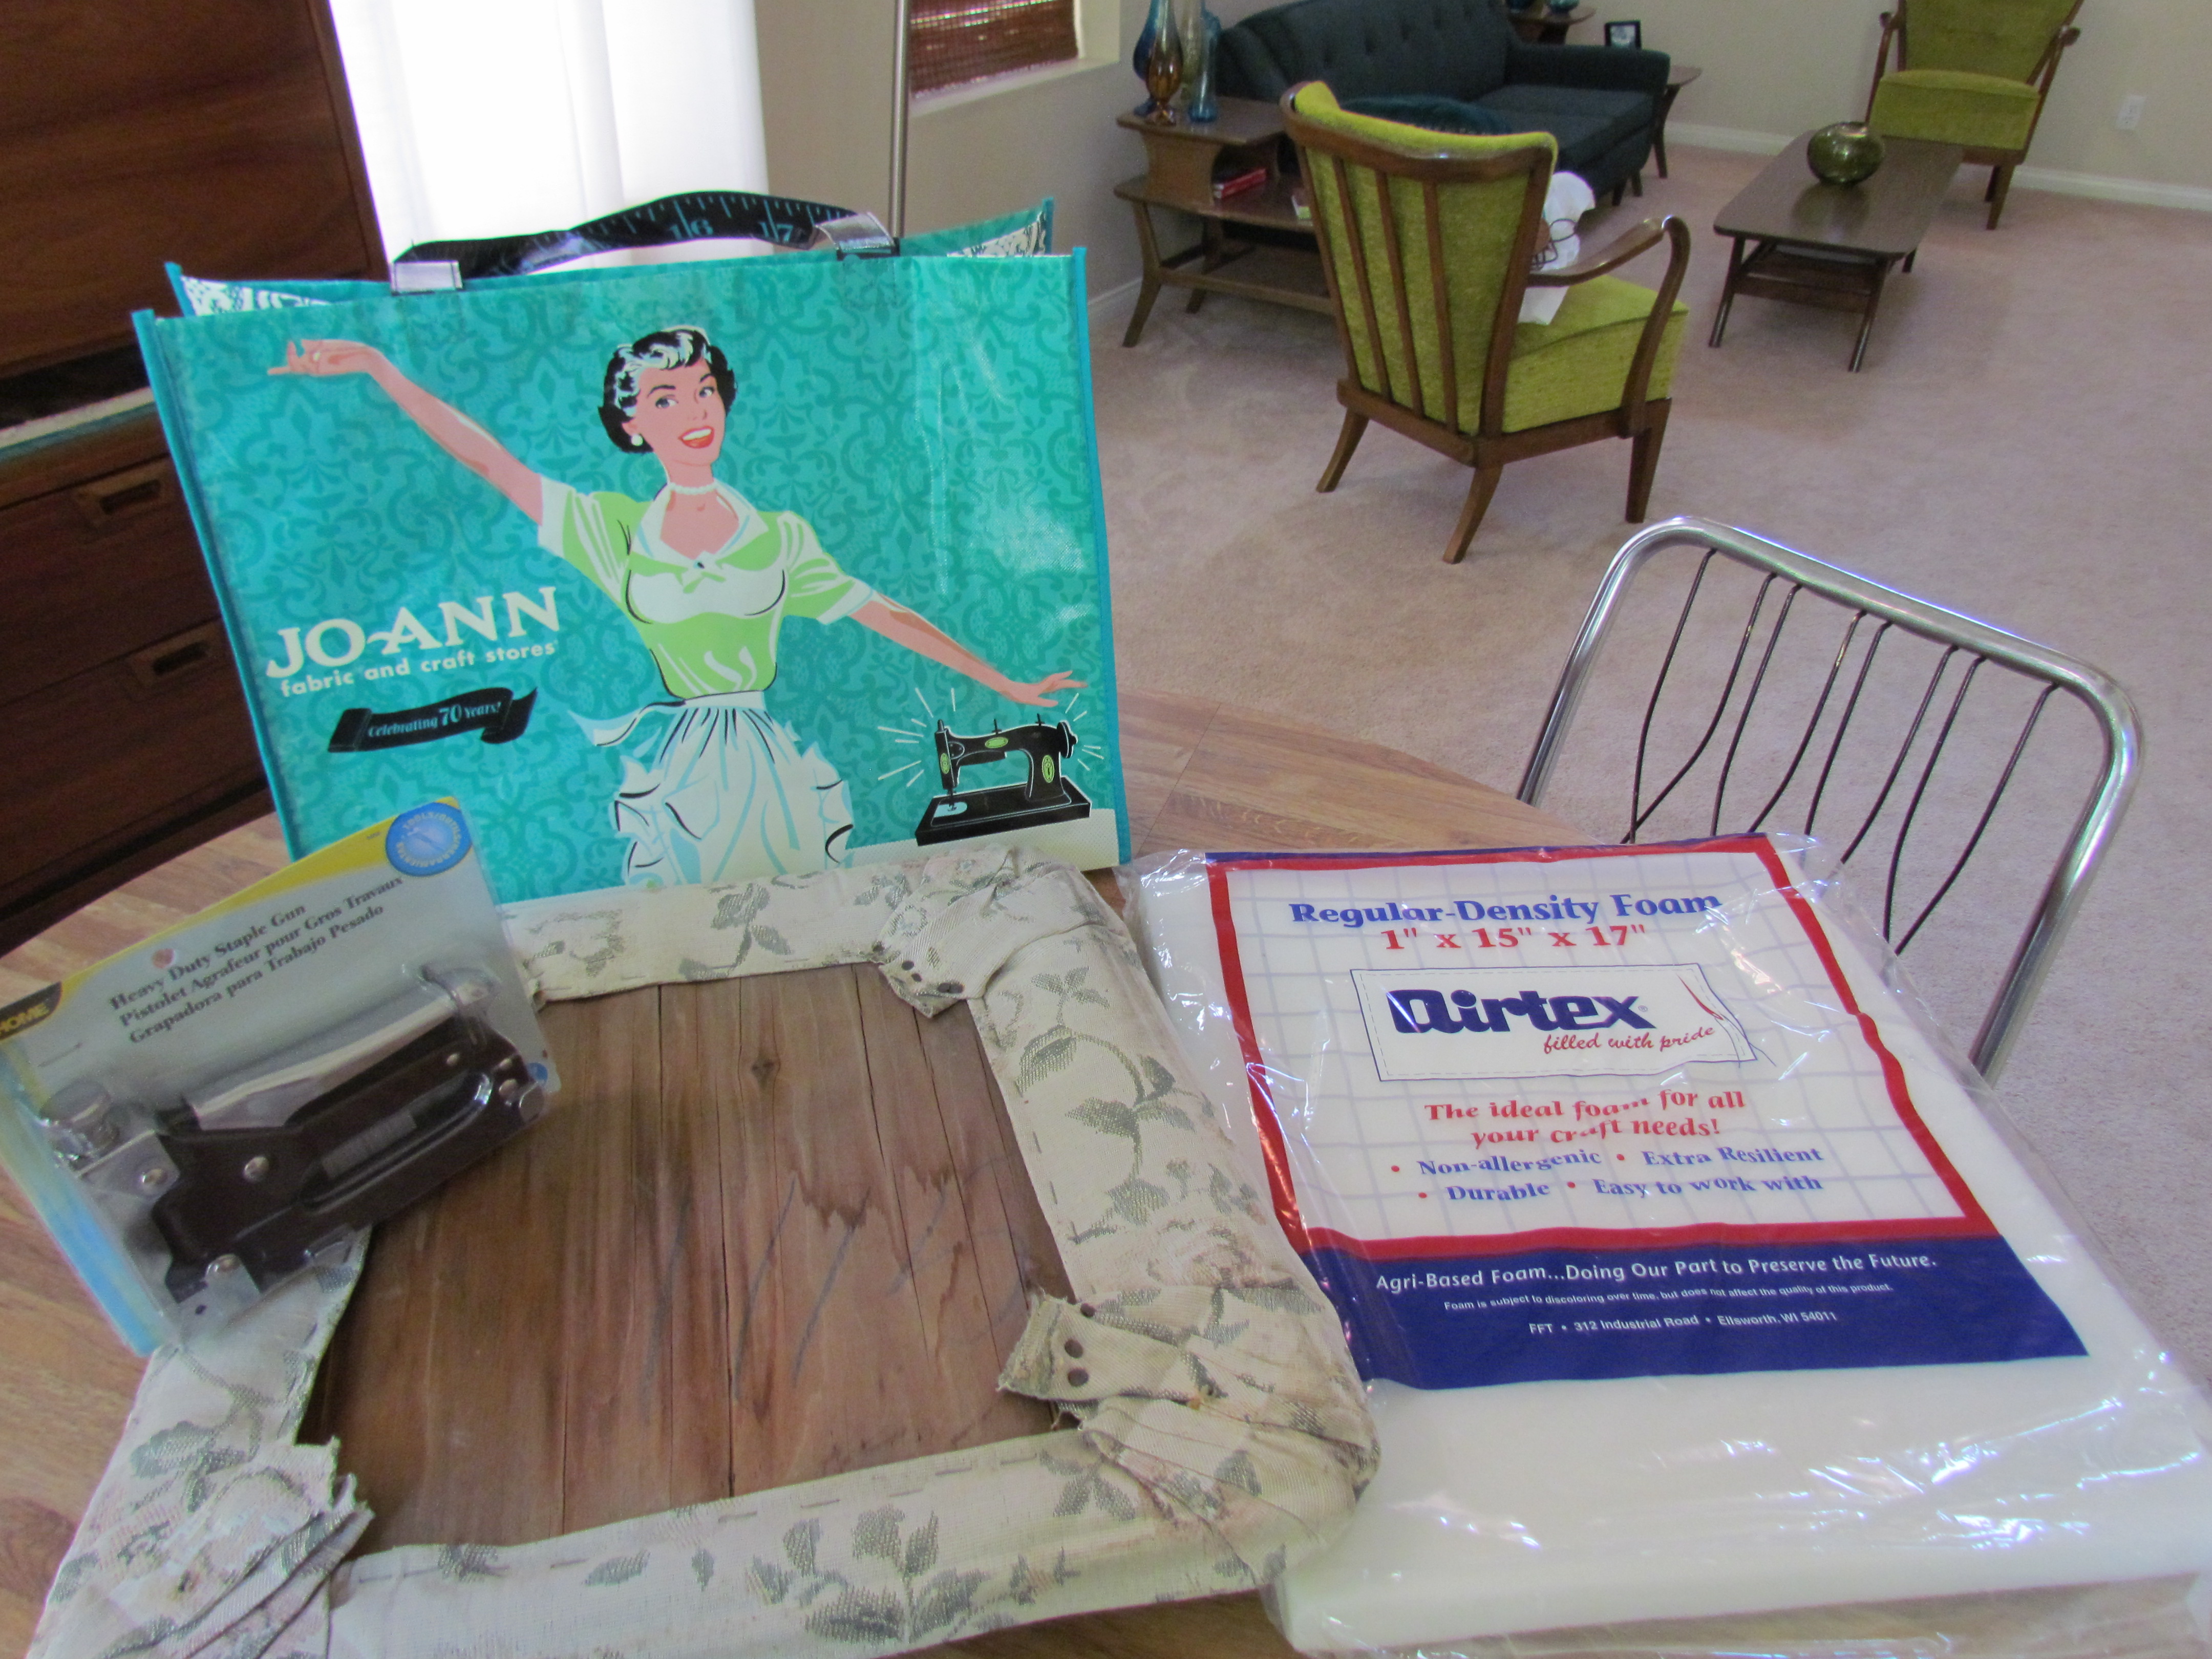
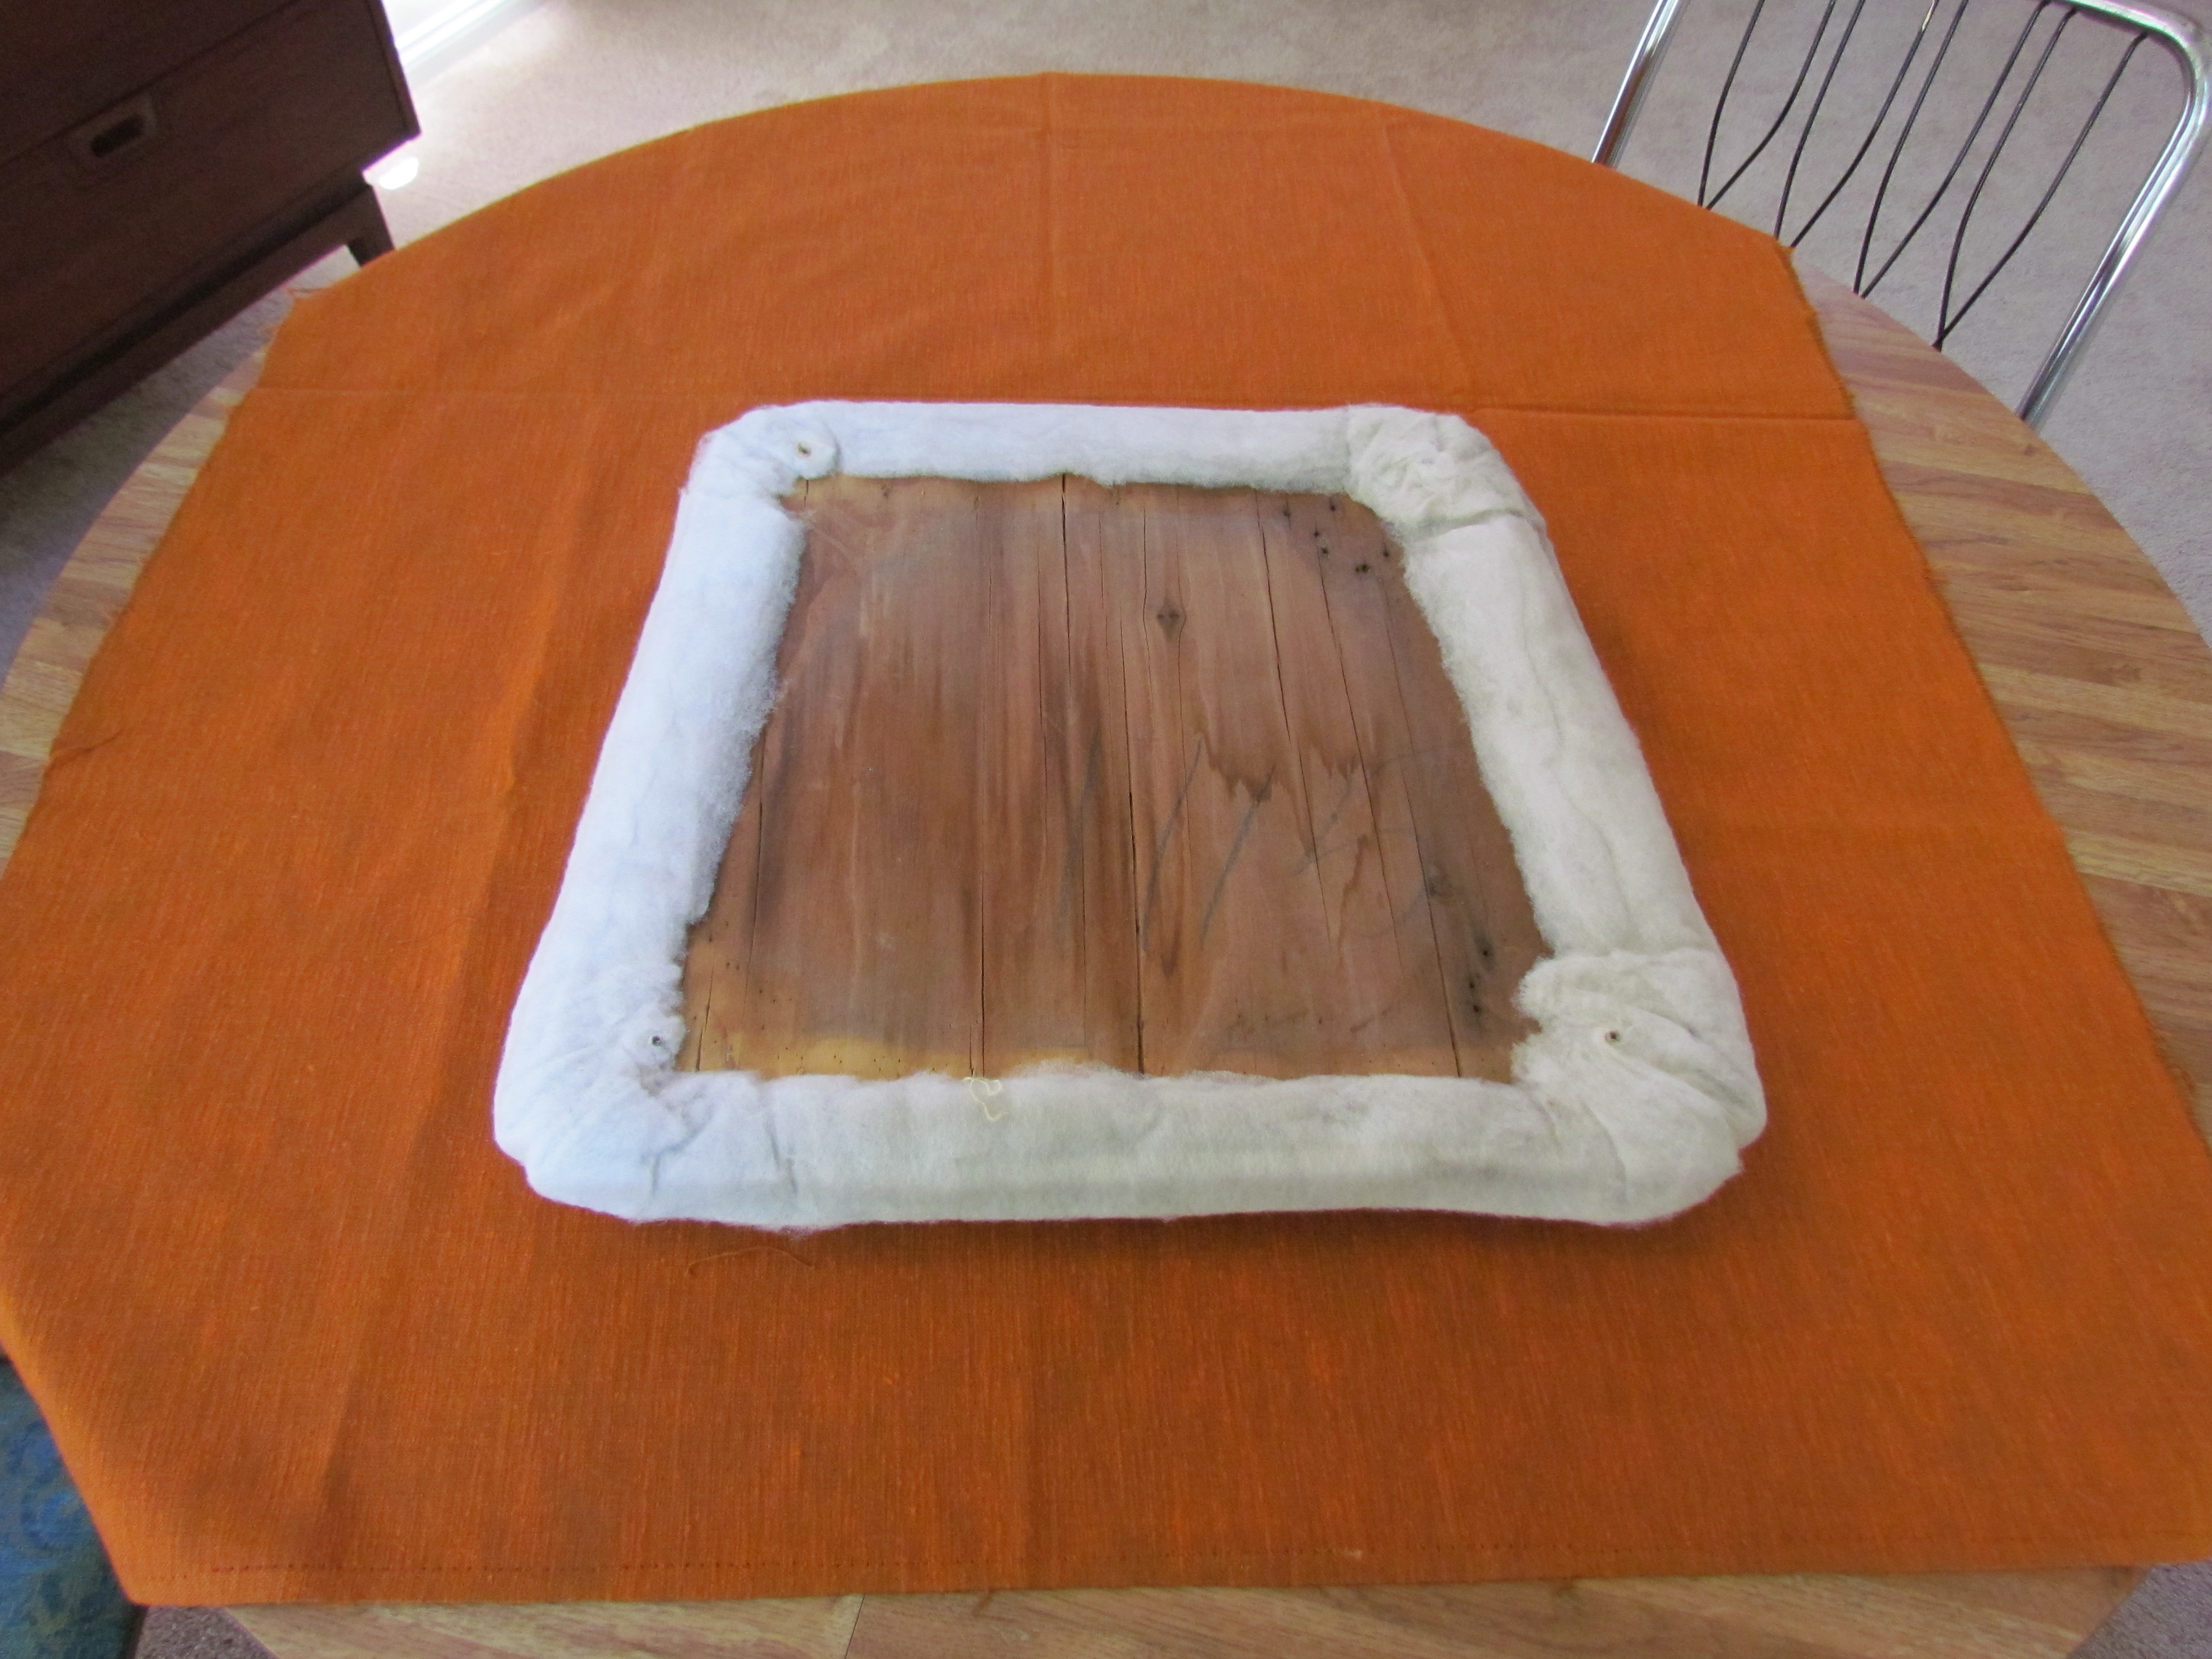
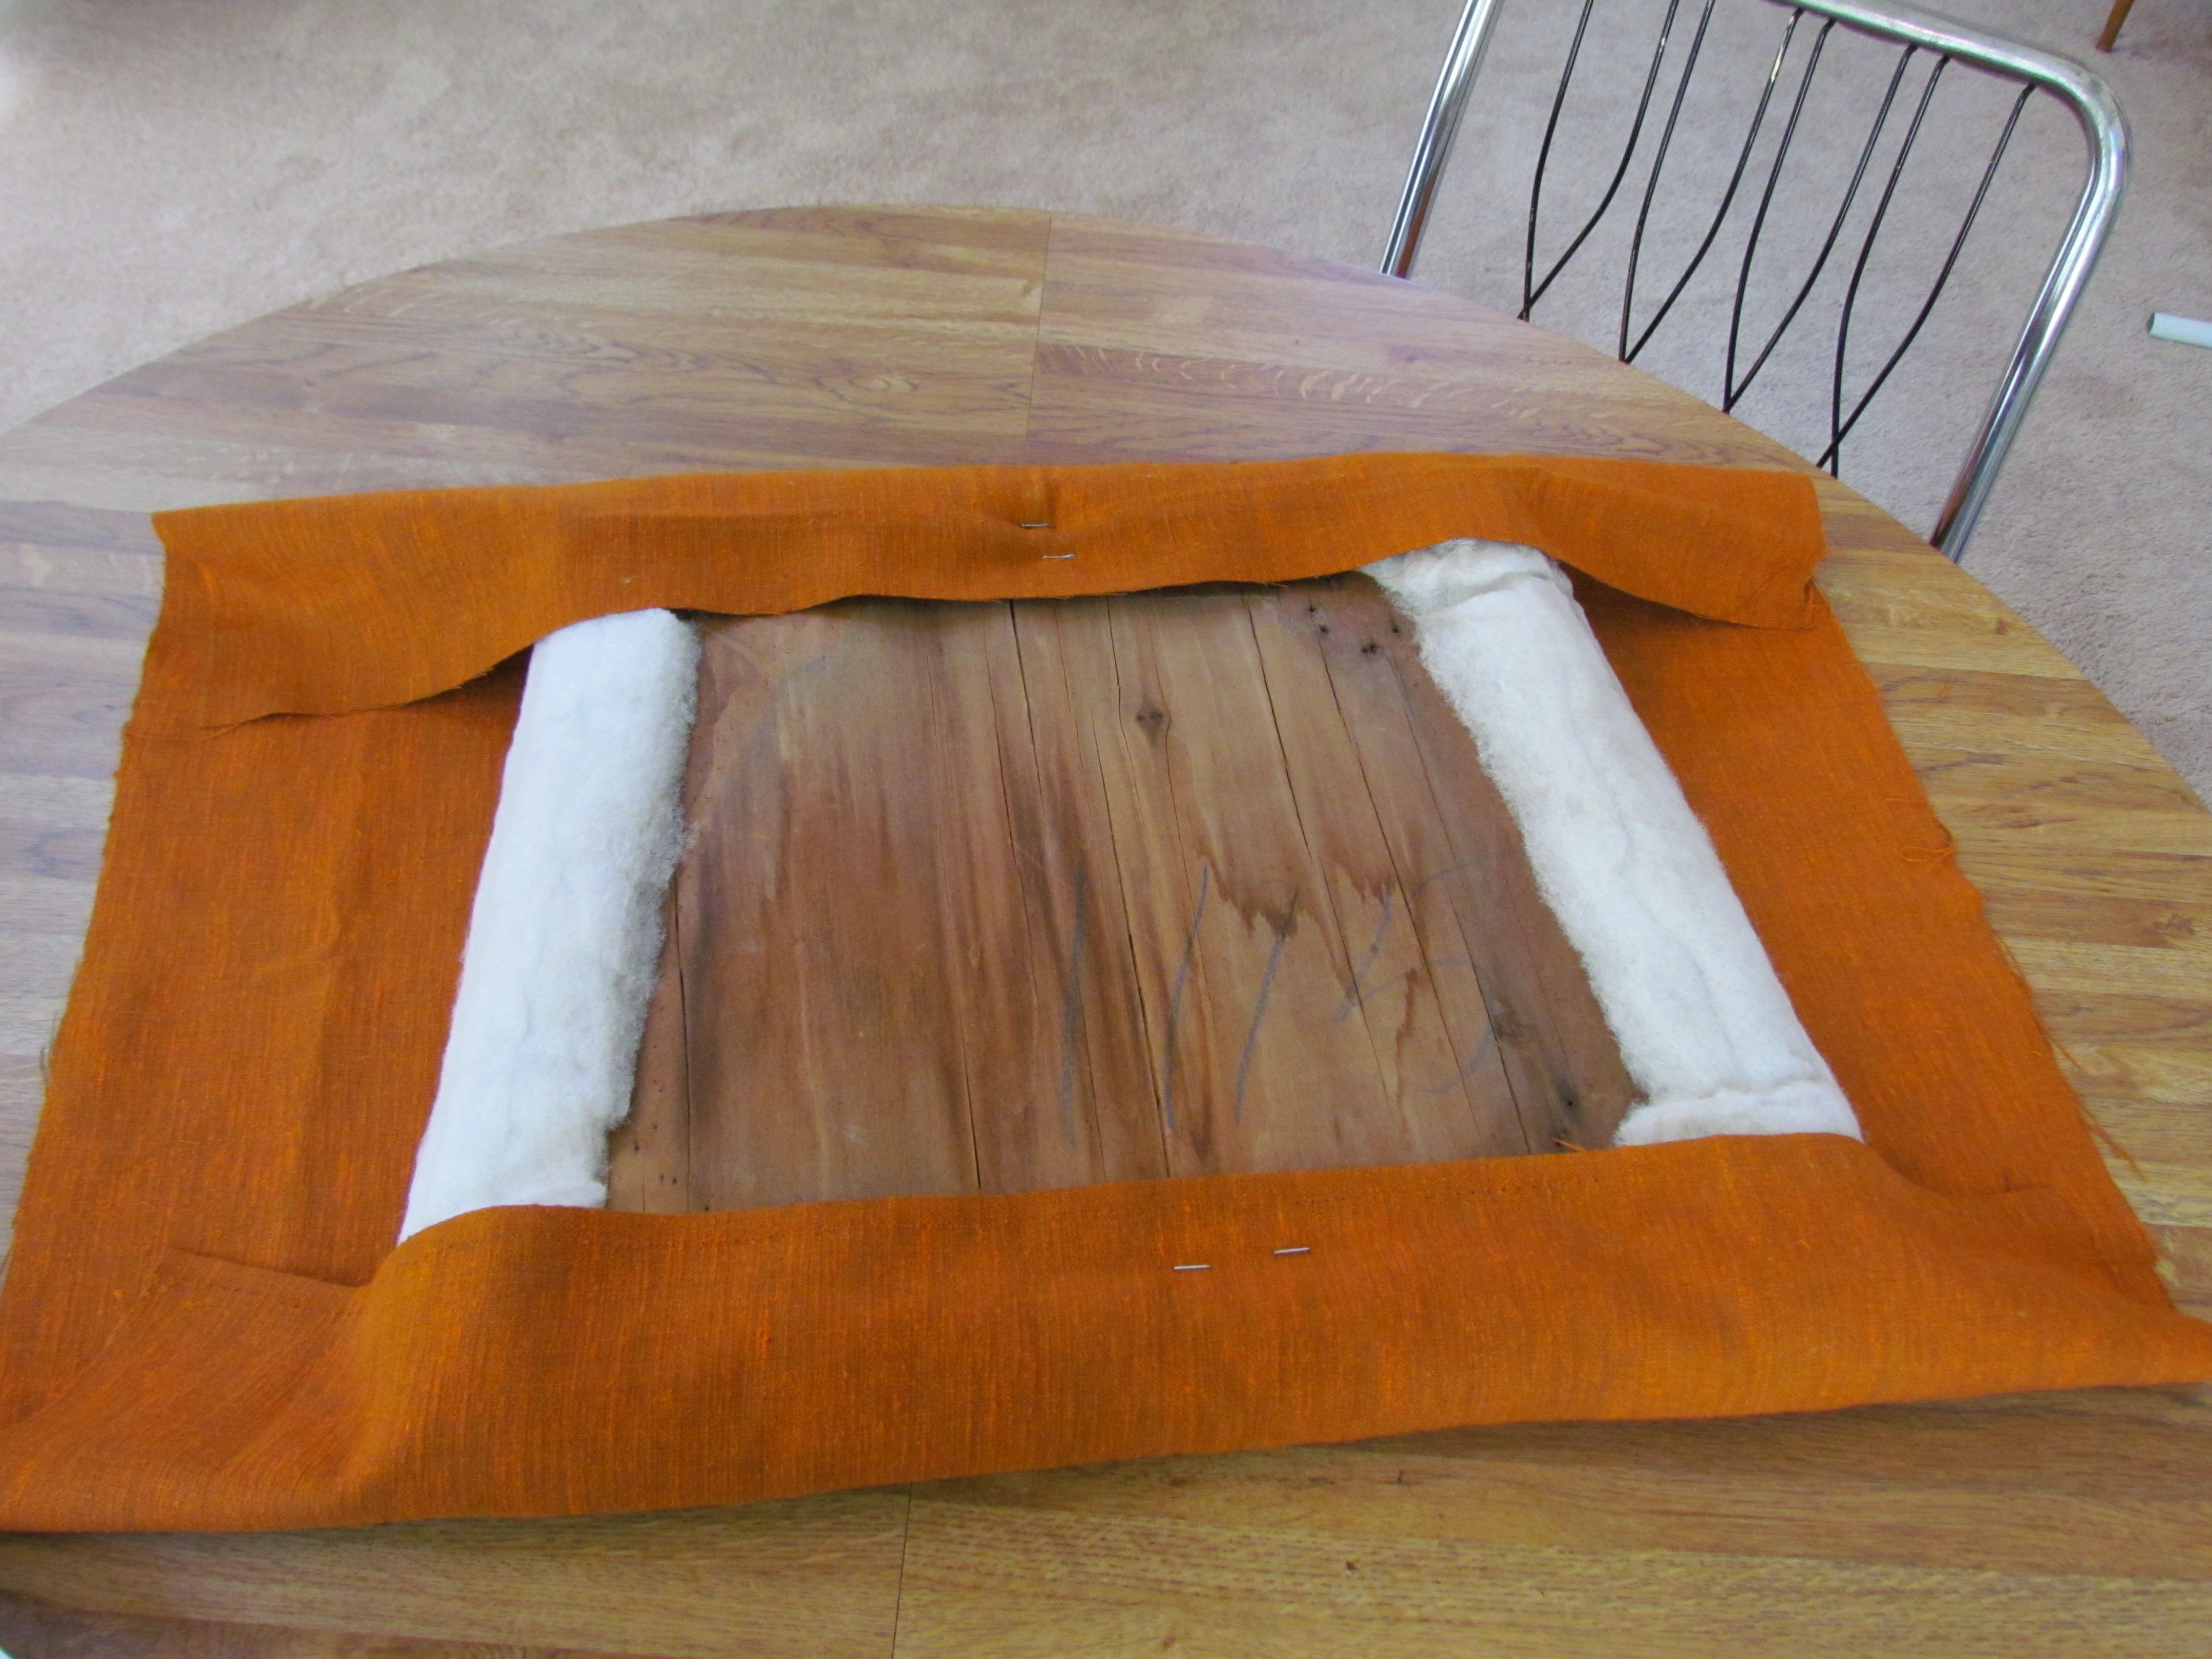
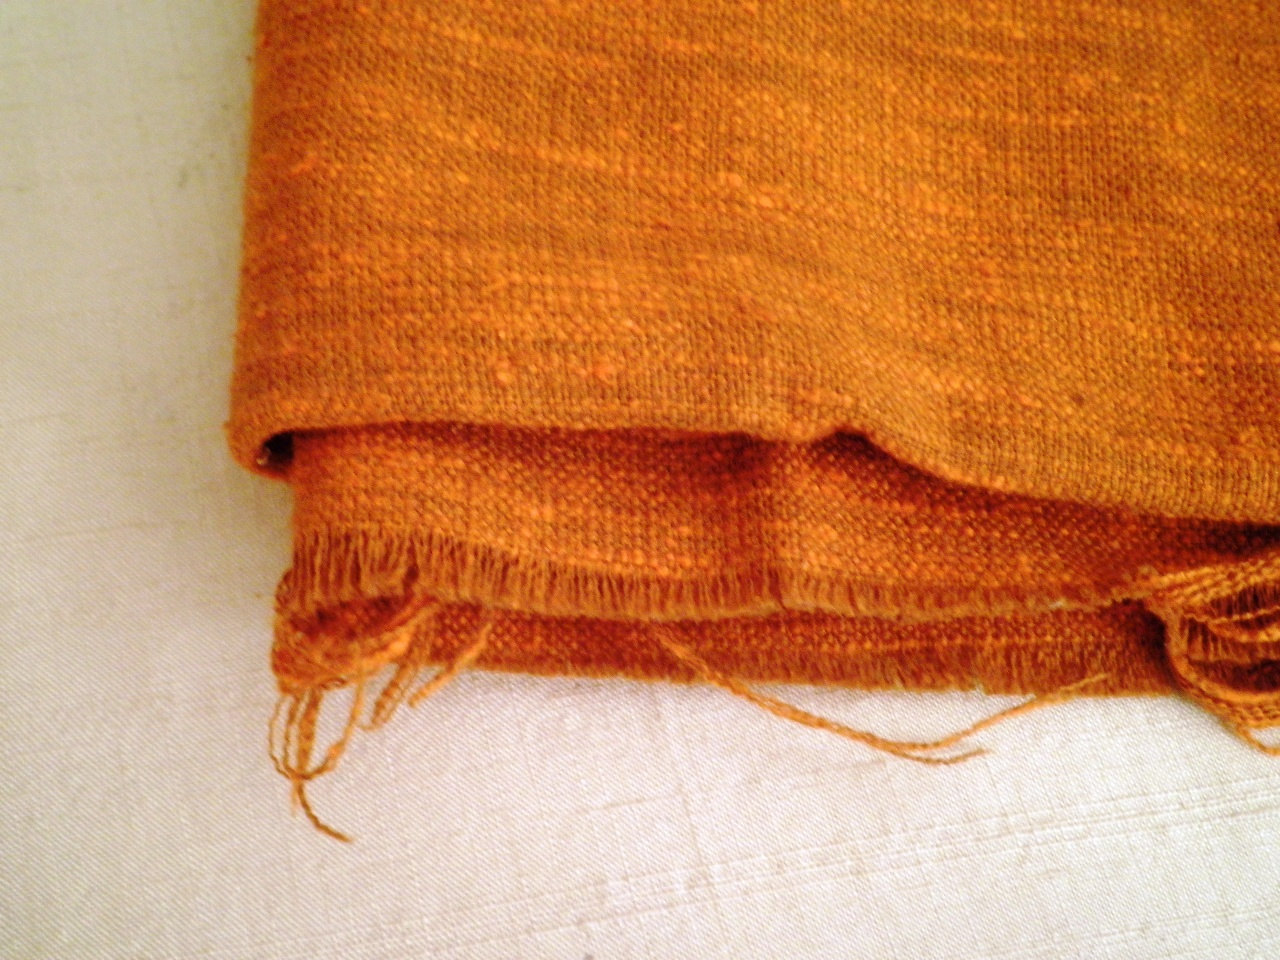
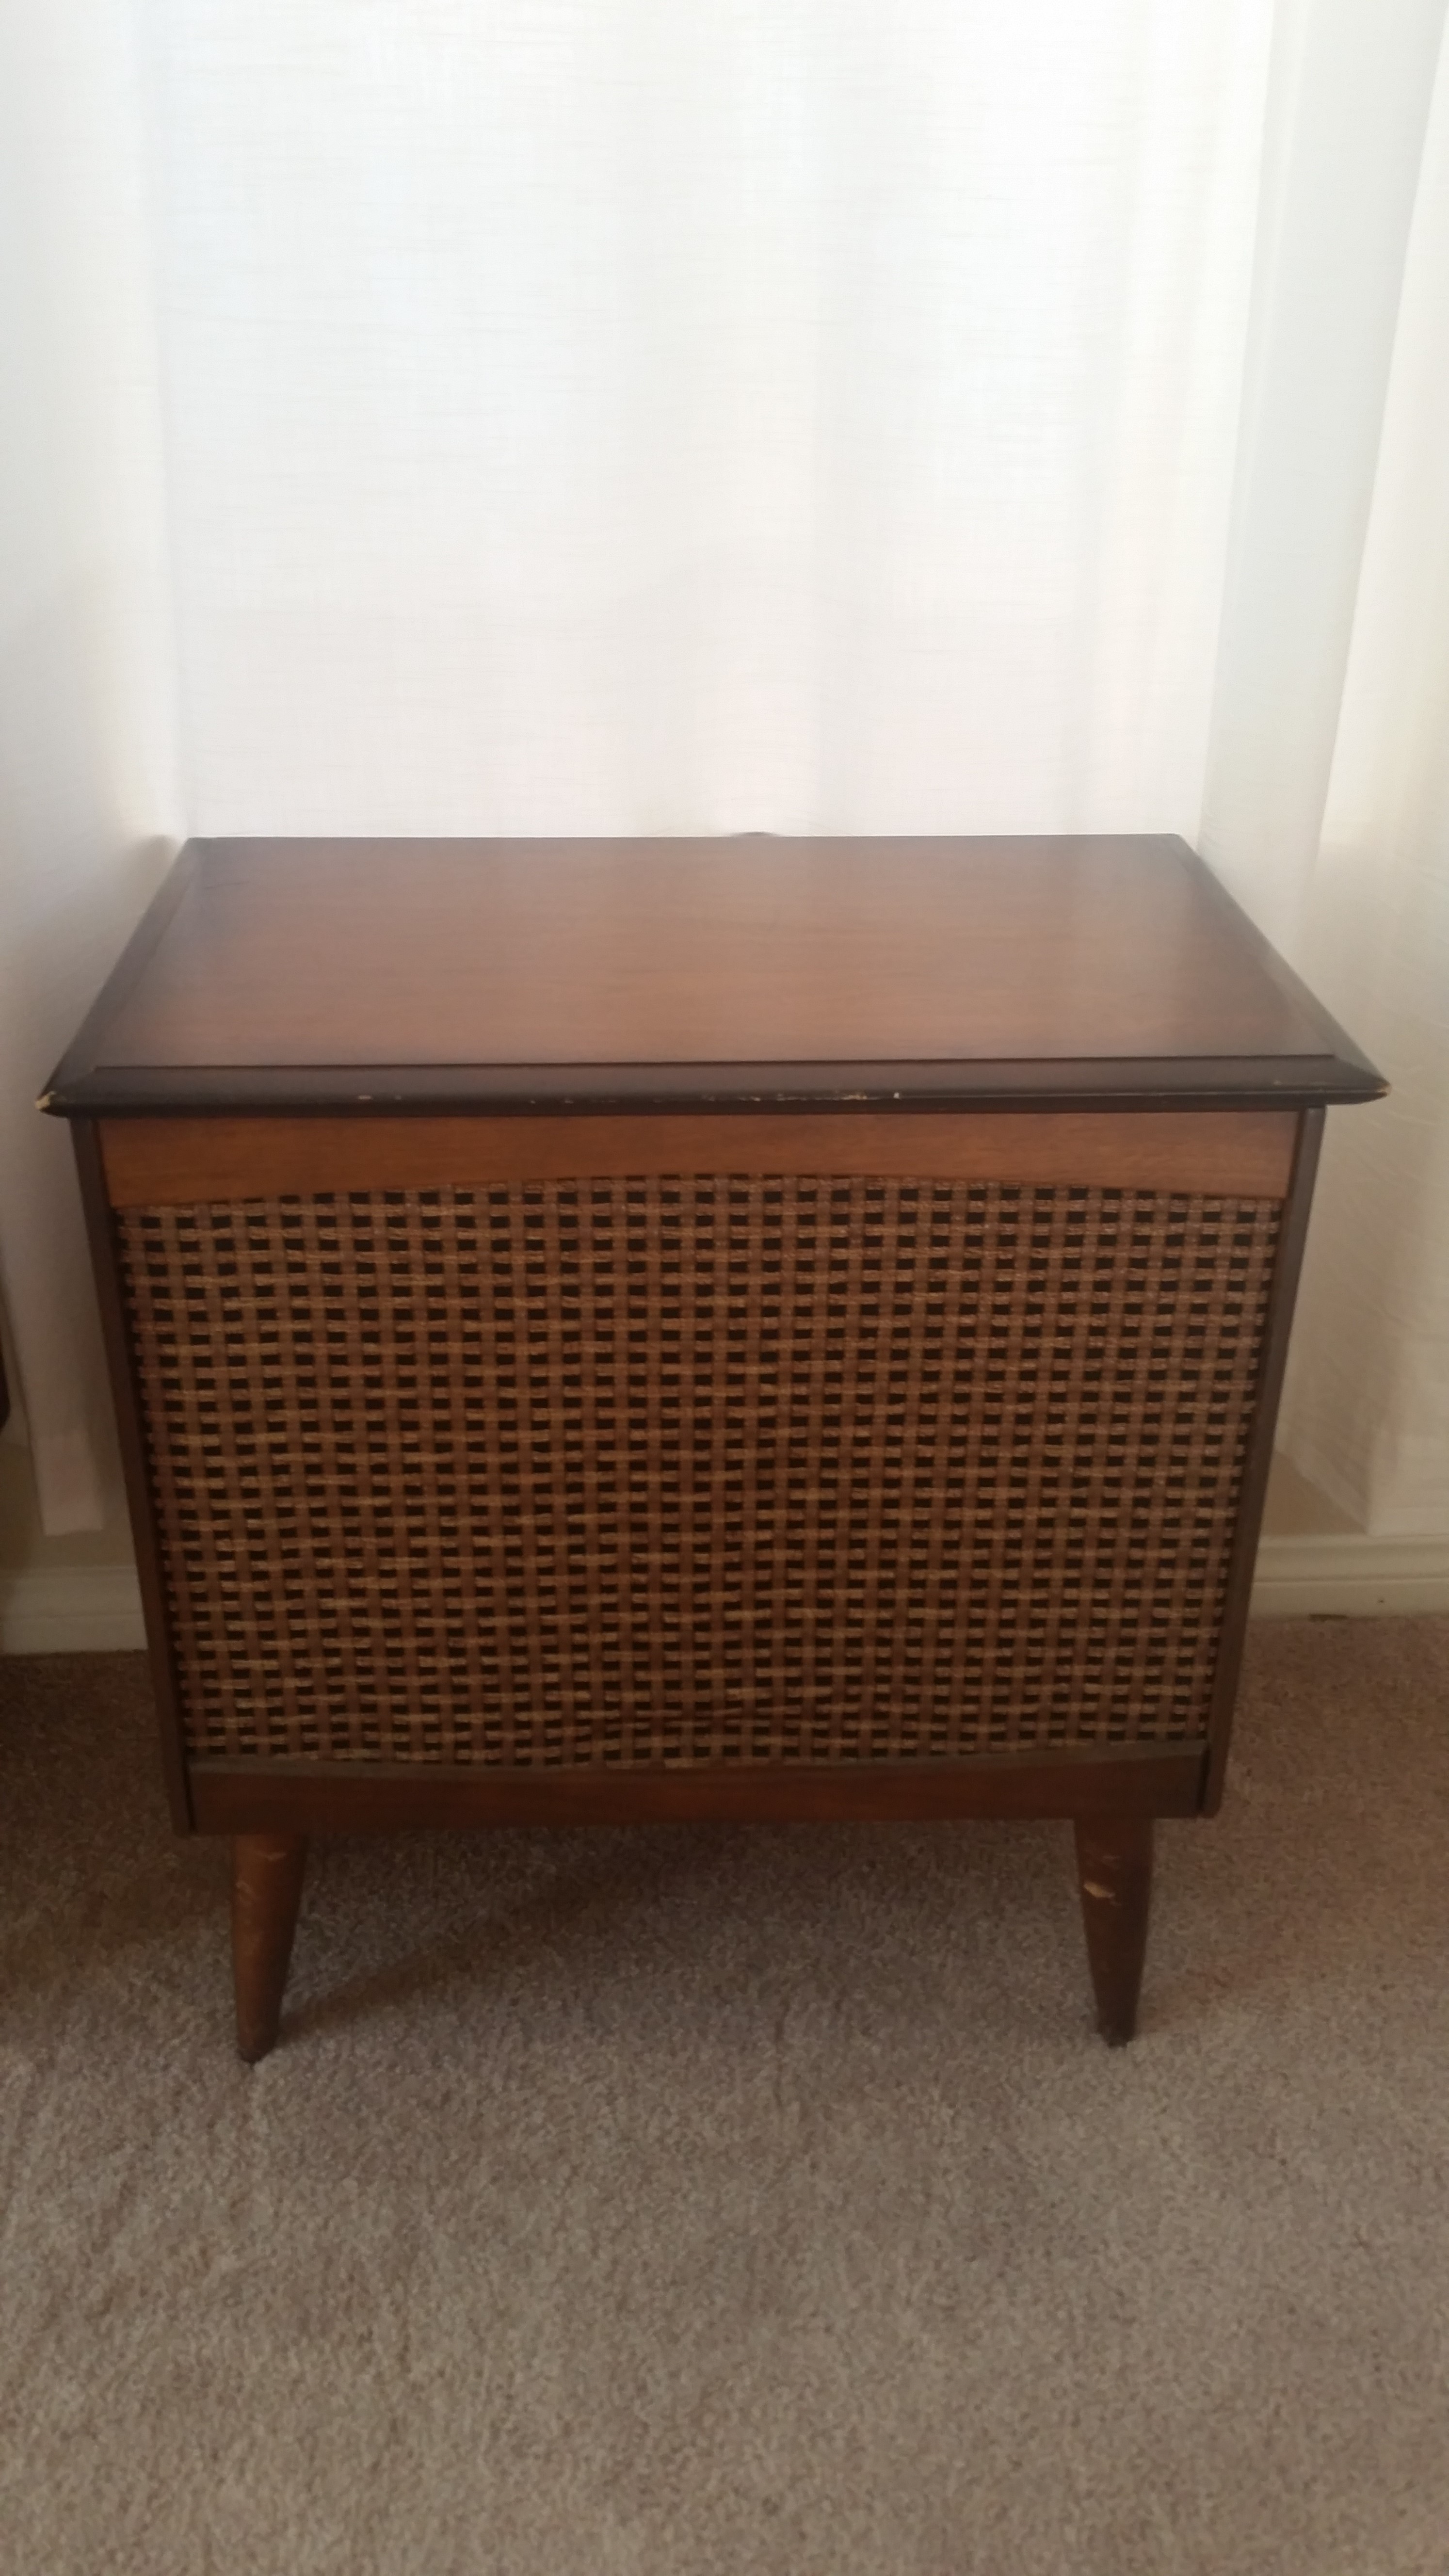
On to the fun stuff. This week, I decided to depart from my usual purist tendencies for an upcycle project. I took a useless old remote speaker from the 1960’s (once part of a larger unit) and turned it into a pet bed. I own a fat dog who would much rather fart in my lap, but I do think this piece would make a fantastic cat bed. You decide.
So unlike the usual blog…I created a YouTube video to show the transformation. Keep in mind, this was an experiment. I’d do a few things differently next time, but I am pleased with the final product.

Did you watch the video or just skip ahead? Stop being lazy. It’s like 1 minute long. Geez.
If you’re thinking I’m crazy, and you’d rather spend $400- $600 on a custom pet bed, I am as always, here to help.
No seriously. Some people love their fur babies more than their actual blood relatives. I’m not here to judge. If you’ve got major love for your dog or cat and a case of the MCM fever, check out these other options:
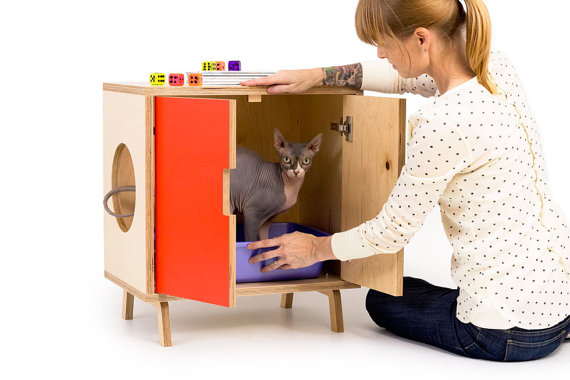
https://www.etsy.com/listing/191119047/the-mini-cabinet-mid-century-modern-pet?ref=listing-shop-header-3
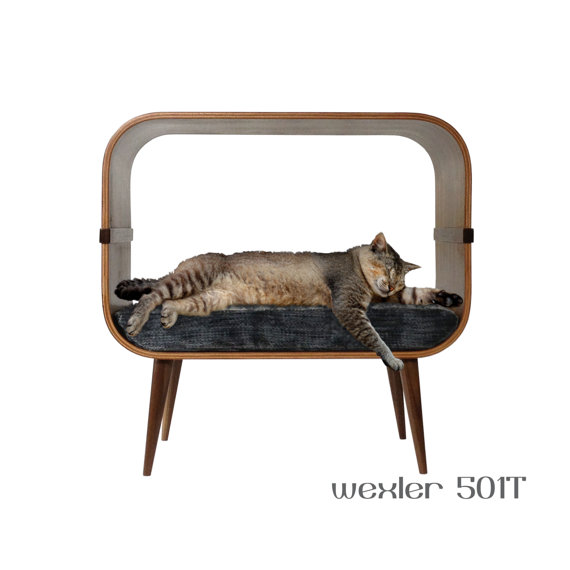
A frenchie sitting on anything gets my vote:

As it so happens, my passion is not making pet beds. I appreciate them, but I’ll leave it to the experts.
That said, my cute little custom number will be available for purchase in my Etsy shop AND at the 1st Annual Murrieta Valley High School Flea Market on November 7th.
Come and see me! I’ll have all my pieces on display and for sale! More info to follow next week.