If there’s a way for it to be done, no doubt you can find it out on the internet. There is no shortage of DIY to be seen. I read a DIY post on a very popular blog where it was assumed the readers knew how to re-wire a lamp. The author was so focused on the other parts of the do-it-yourself, that they skipped over a very large component: electricity. If there’s one thing that frustrates me, it is when a certain level of expertise is expected or there’s an implication the reader should already know.
That said, I’m really still learning about reviving, refreshing, and re-finishing vintage wares. More specifically, I didn’t know brass could be brought back to life so easily. Heard of Brasso? It’s so simple ANYONE can use it….and it can be found at Home Depot, Lowe’s and the like for just a few bucks. For all you chemical-hating hippies, there are other recipes, sure. One gal at a thrift shop recently noticed my brass purchase and informed me that 1/2 part vinegar to 1/2 part water would quickly and harmlessly revive my brass. Tried it, dipped it, worked at it…but no cigar. Brasso is the way forward if you want results and a lack of pungent vinegar stench.
I can’t tell you how many times I’ve walked right past a brass piece while thrifting thinking to myself the pieces looked too old, or too dirty. Now, there are some who like a healthy “patina” on a piece of vintage metal. Me? Nope. I like it as shiny as the day it was made.
So here’s a DIY piece as easy as pie. Well….easier than that even.
You’ll need: Gloves for them baby soft hands, Brasso, a junk towel to keep the mess from getting on your working table top, one soft/lint-free cloth for application, and a second one for removal of the Brasso and polishing of the piece. (Side note: Brasso works for many different types of metals….its use is not limited to brass.)

I LOVE horses….but I almost passed on this $10 piece at a thrift shop both because I felt $10 was steep (see? I AM thrifty) and it looked like work. At this point, it’s night-time, and I’m just ready to get polishing.


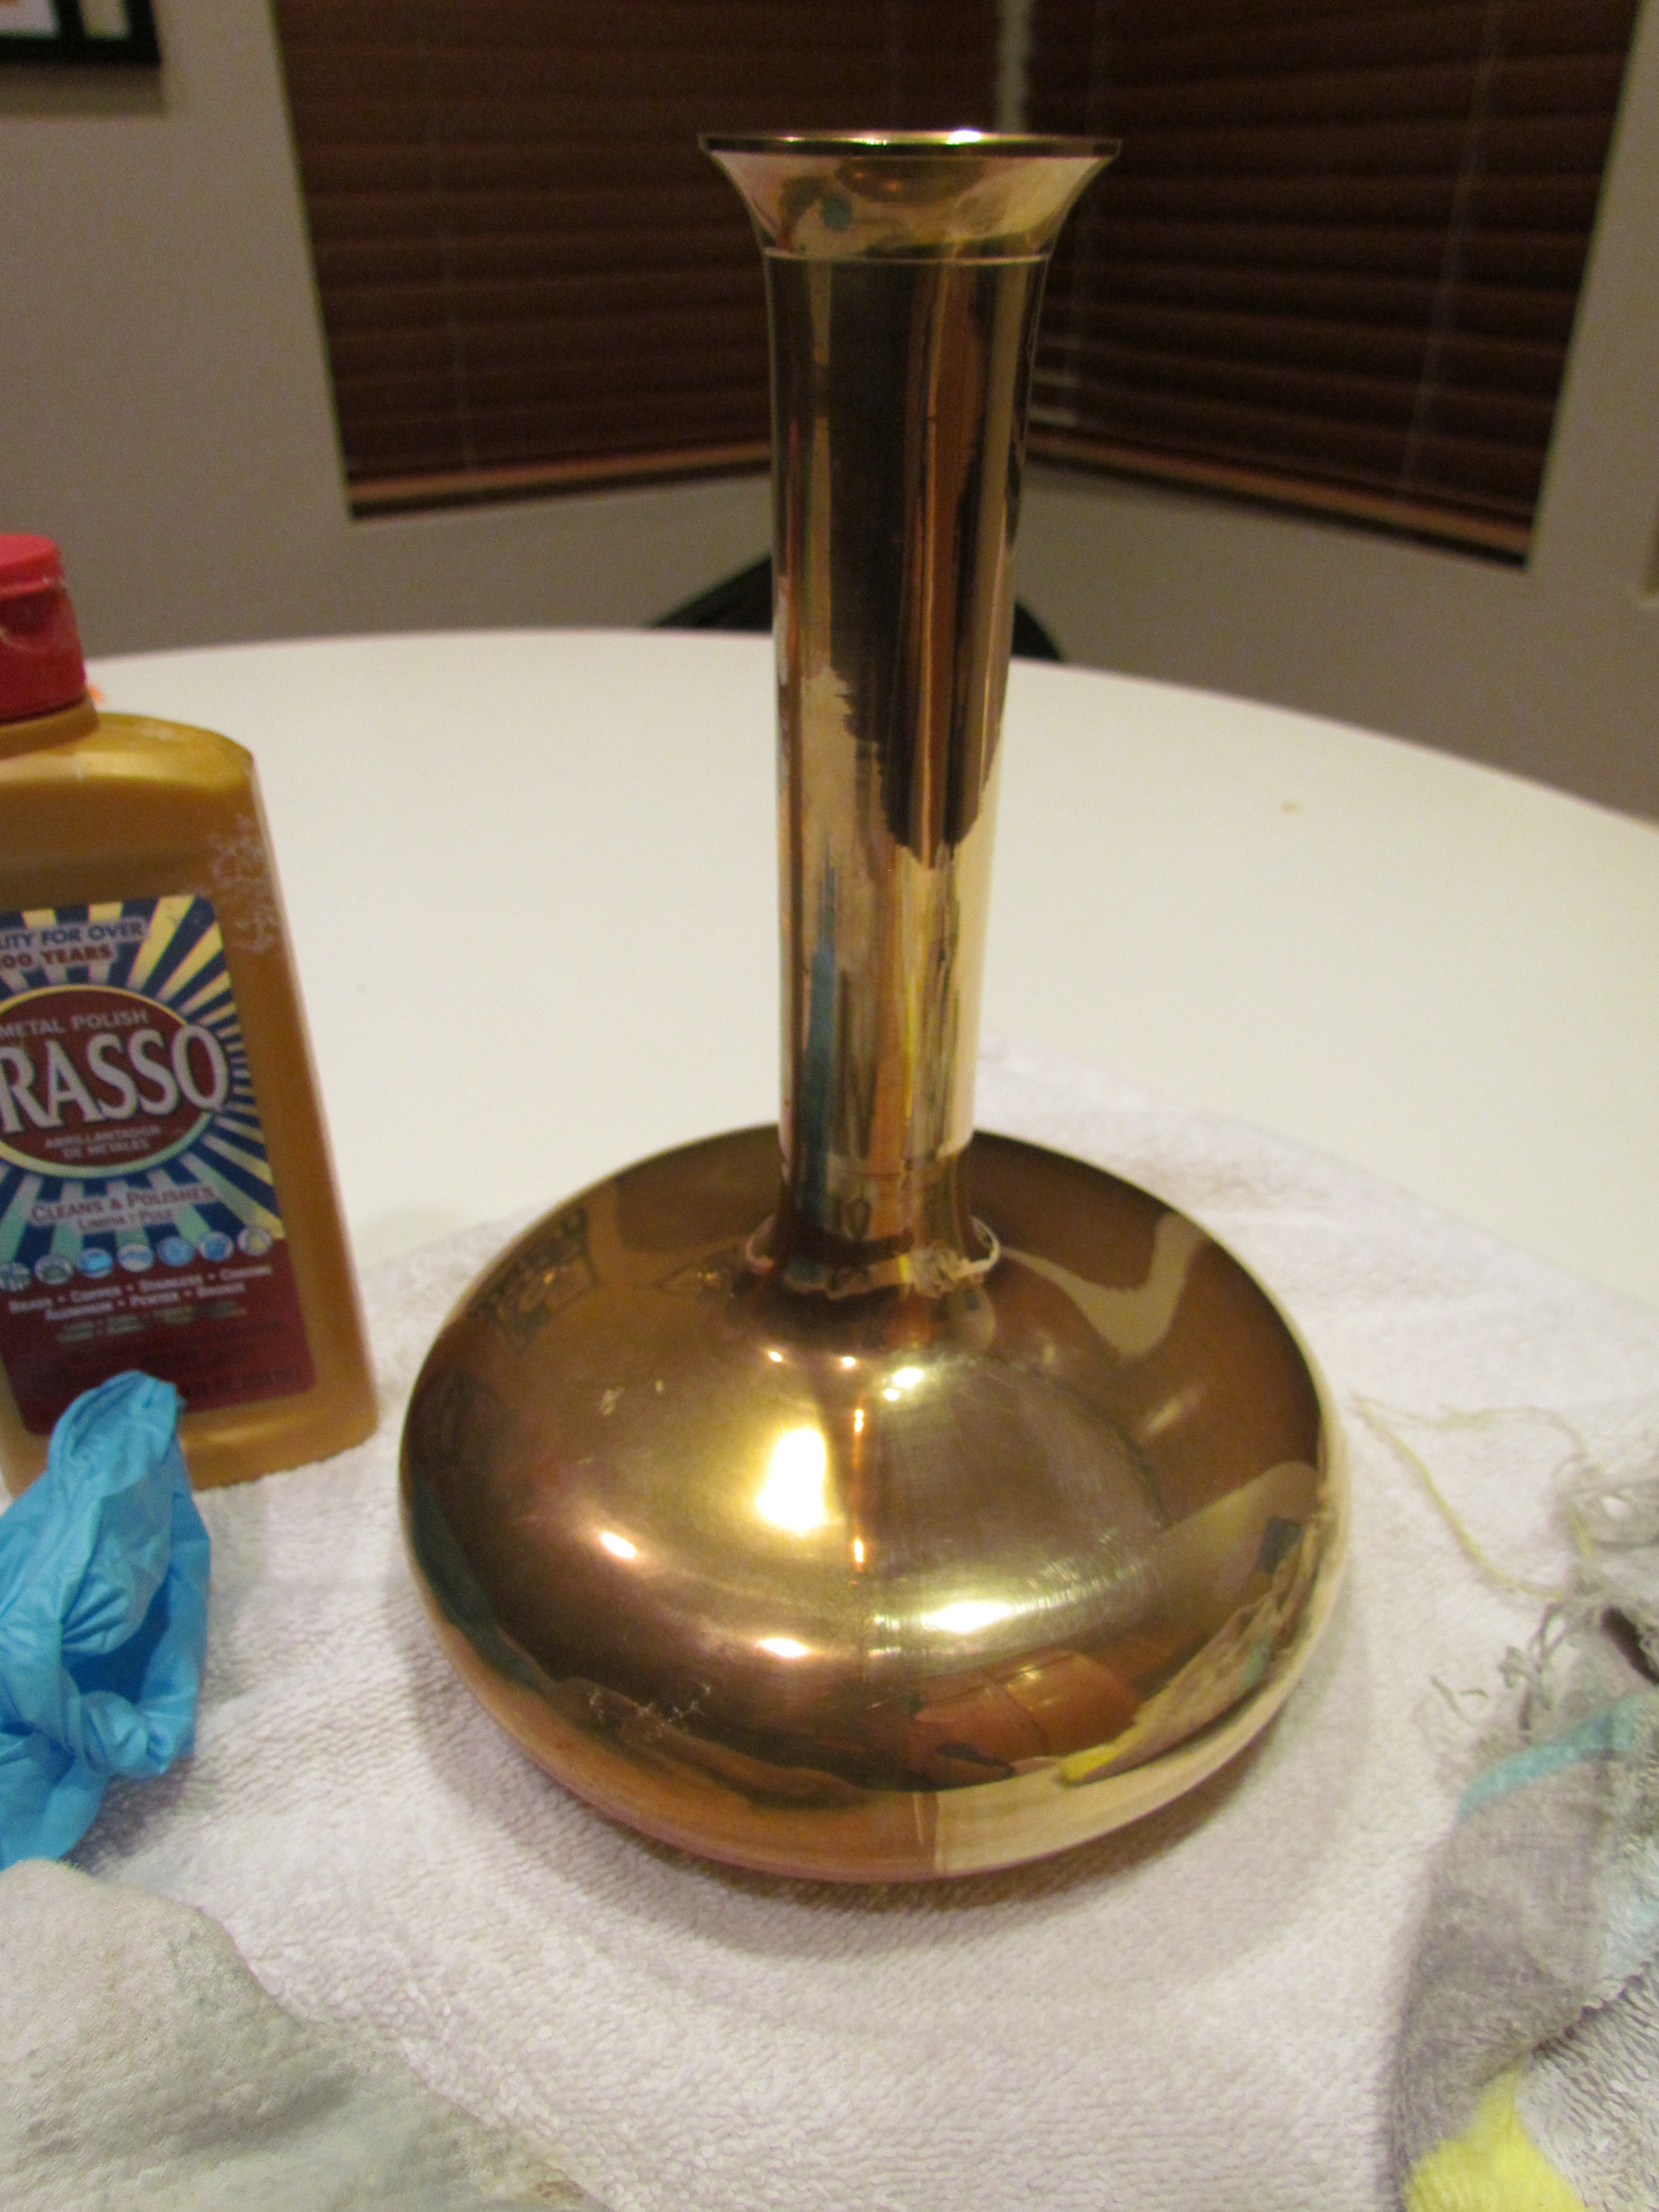
Ah…Here’s a decent before. This is a brass vase found at Salvation Army with a halfway decent shot of my beloved Brasso in the background.

You can see at the tail portion pictured above how far we had to come for this piece. Mr. Ed was DOO-DOO BROWN when I found him, y’all. He had some serious dark circles around his eyes, and I was thinking we may have to put him down..but they came right out!
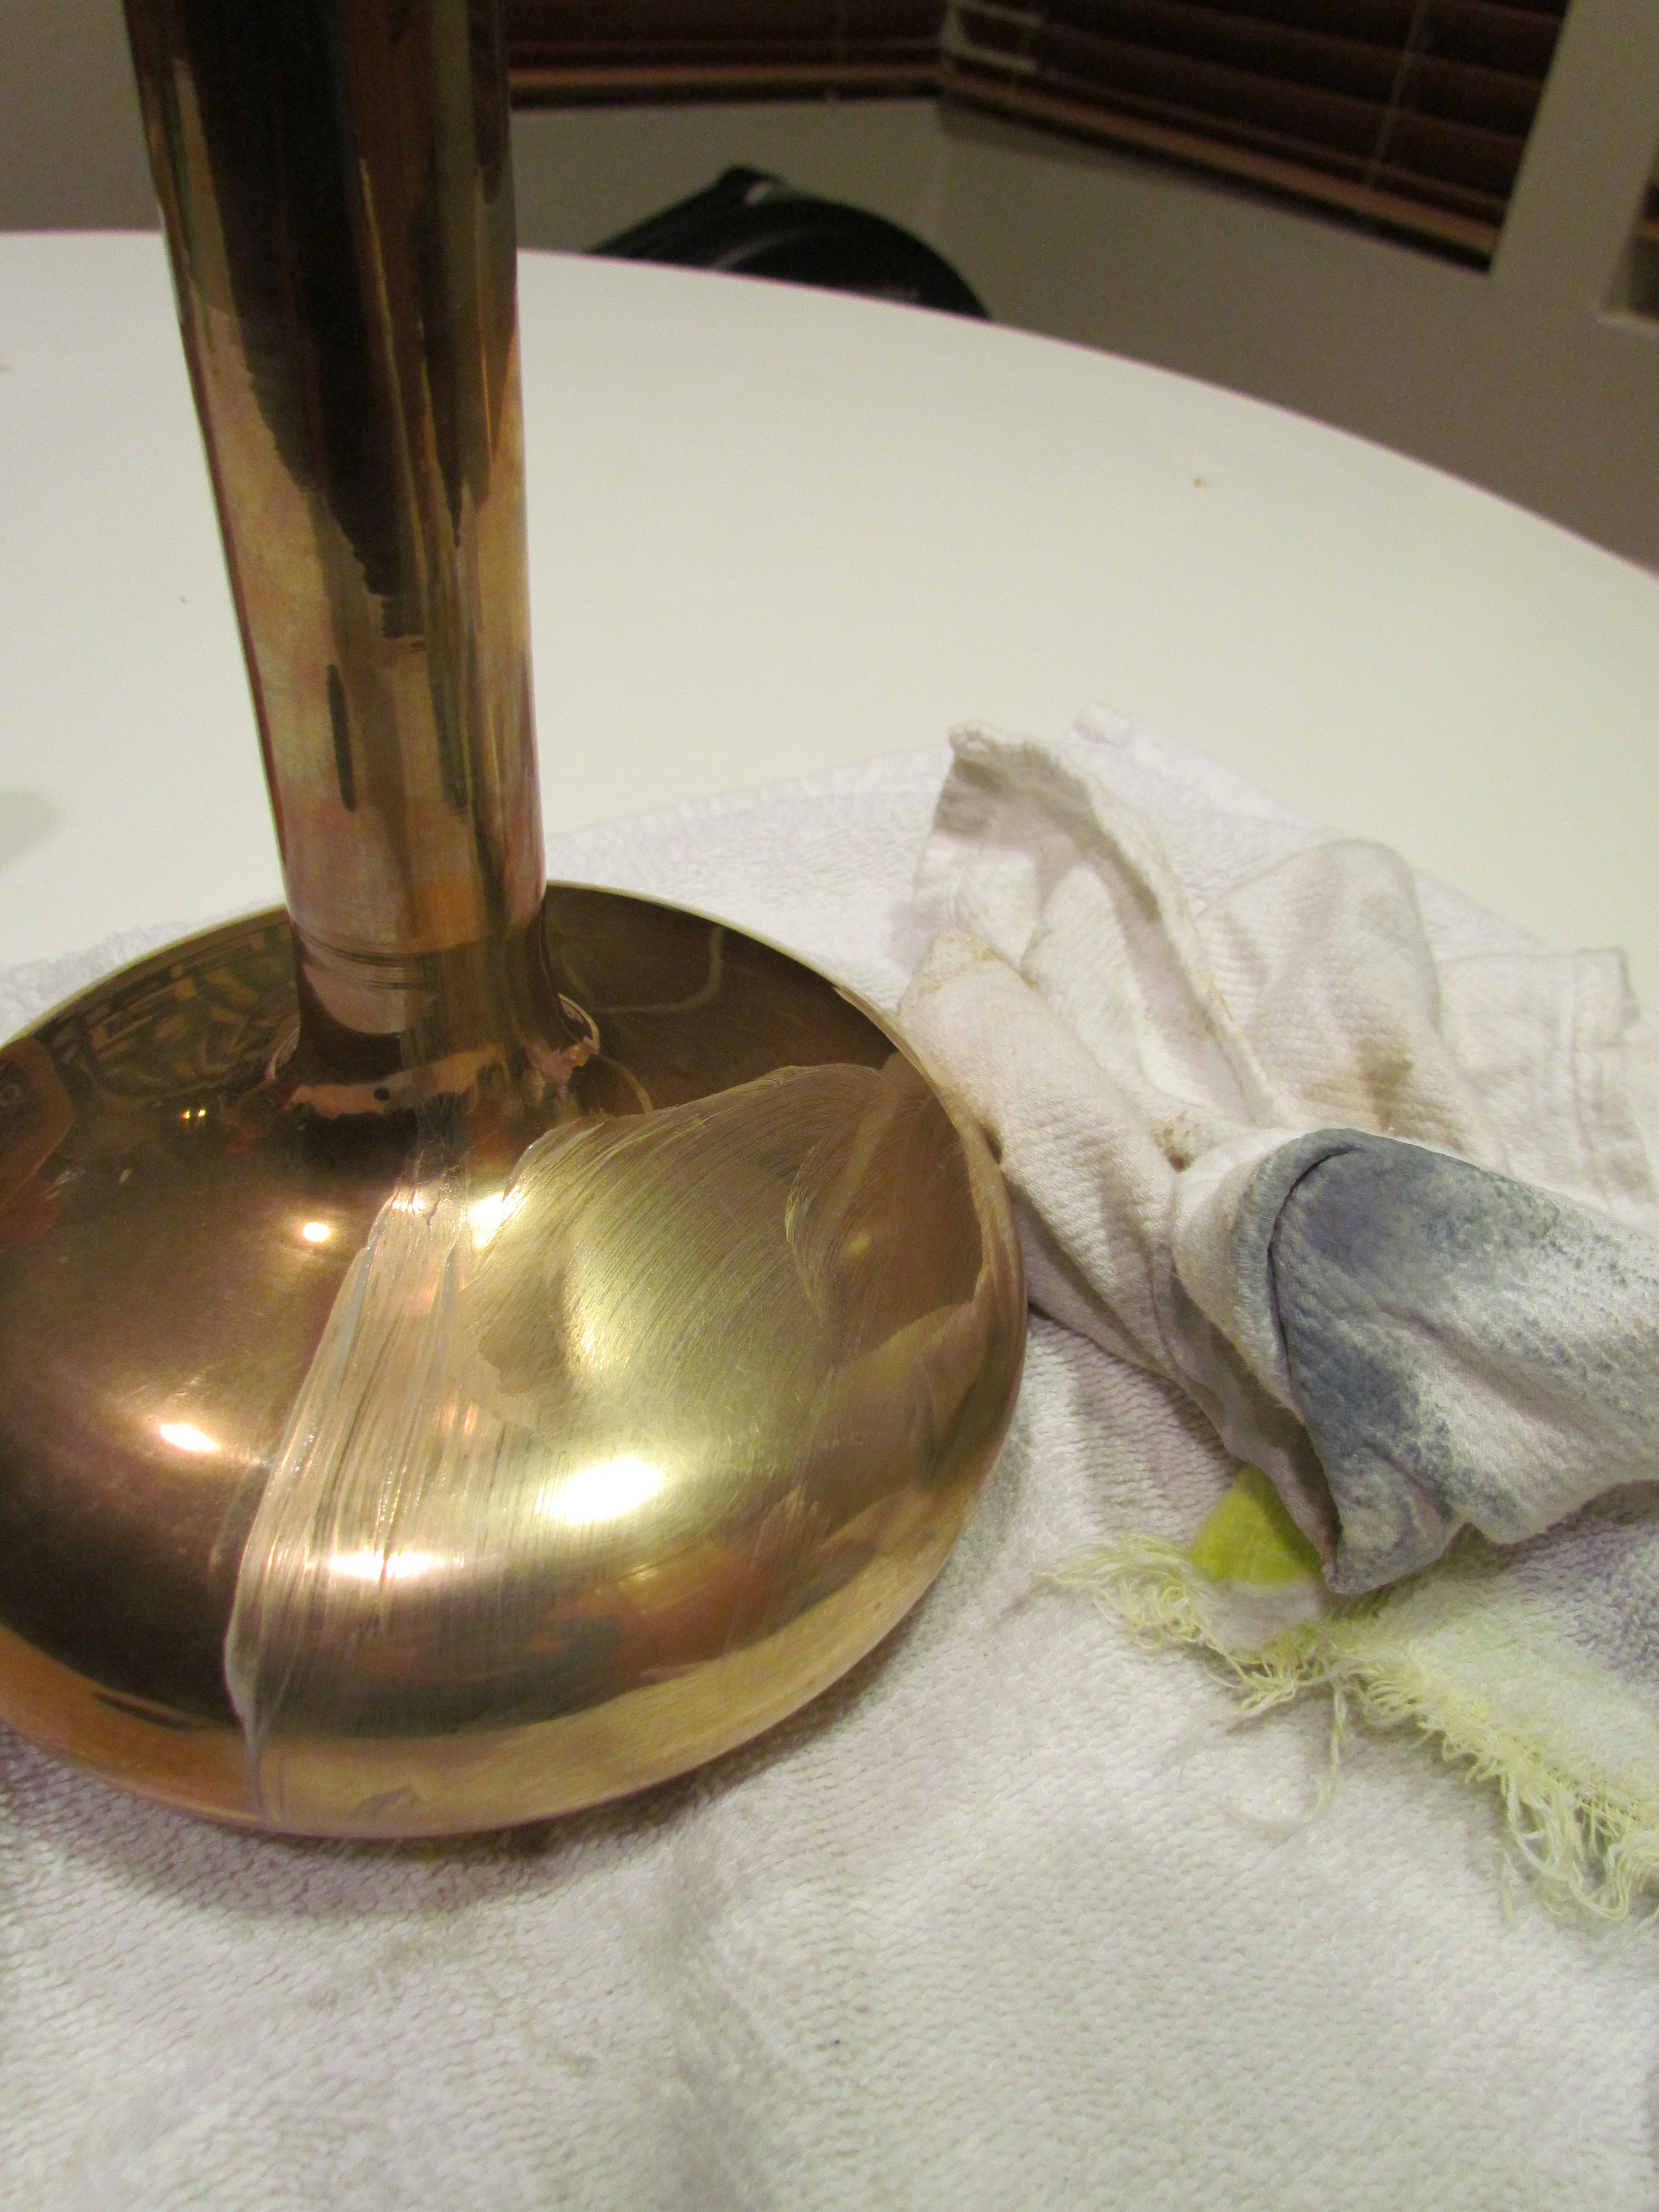
Okay…so here’s the scoop! Apply the Brasso generously to a dry cloth and then apply to the metal piece like you would if you were waxing a car. Don’t get crazy and wax your entire brass piece all at once. The Brasso will dry too quickly and your results won’t be quite as good. Wax on, wax off, my friends. Take your time…it will be worth it.

Here’s my gorgeous Mr. Ed…in all his glory

Here’s a re-cap:
UBER-easy DIY, y’all! So next time you’re out bargain hunting…don’t pass on the brass. Lasso the Brasso and give it some lovin’ and rubbin’. You’ll be glad you did.

Love brasso and love your horse!!
Thanks for the Brasso tip. It compliments my ultra fine sandpaper that takes the tarnish off and the spots so much better and quicker. The sandpaper takes half the time and your brass comes alive. Brasso is good but I find that you need to continue to redo the Brasso over and over to get the effect. I soak everything in Simple Green for 20 minutes first, dry the brass off and proceed to sand for a while then I dry again and use the Brasso. Repeat the sand process and Brasso until you get the desired effect.
I will use a clear coat of spray lacquer on my brass house numbers and light fixture, it will prevent tarnishing for years.
Mind BLOWN, John. Nice tip! Thank you….I didn’t know about that!