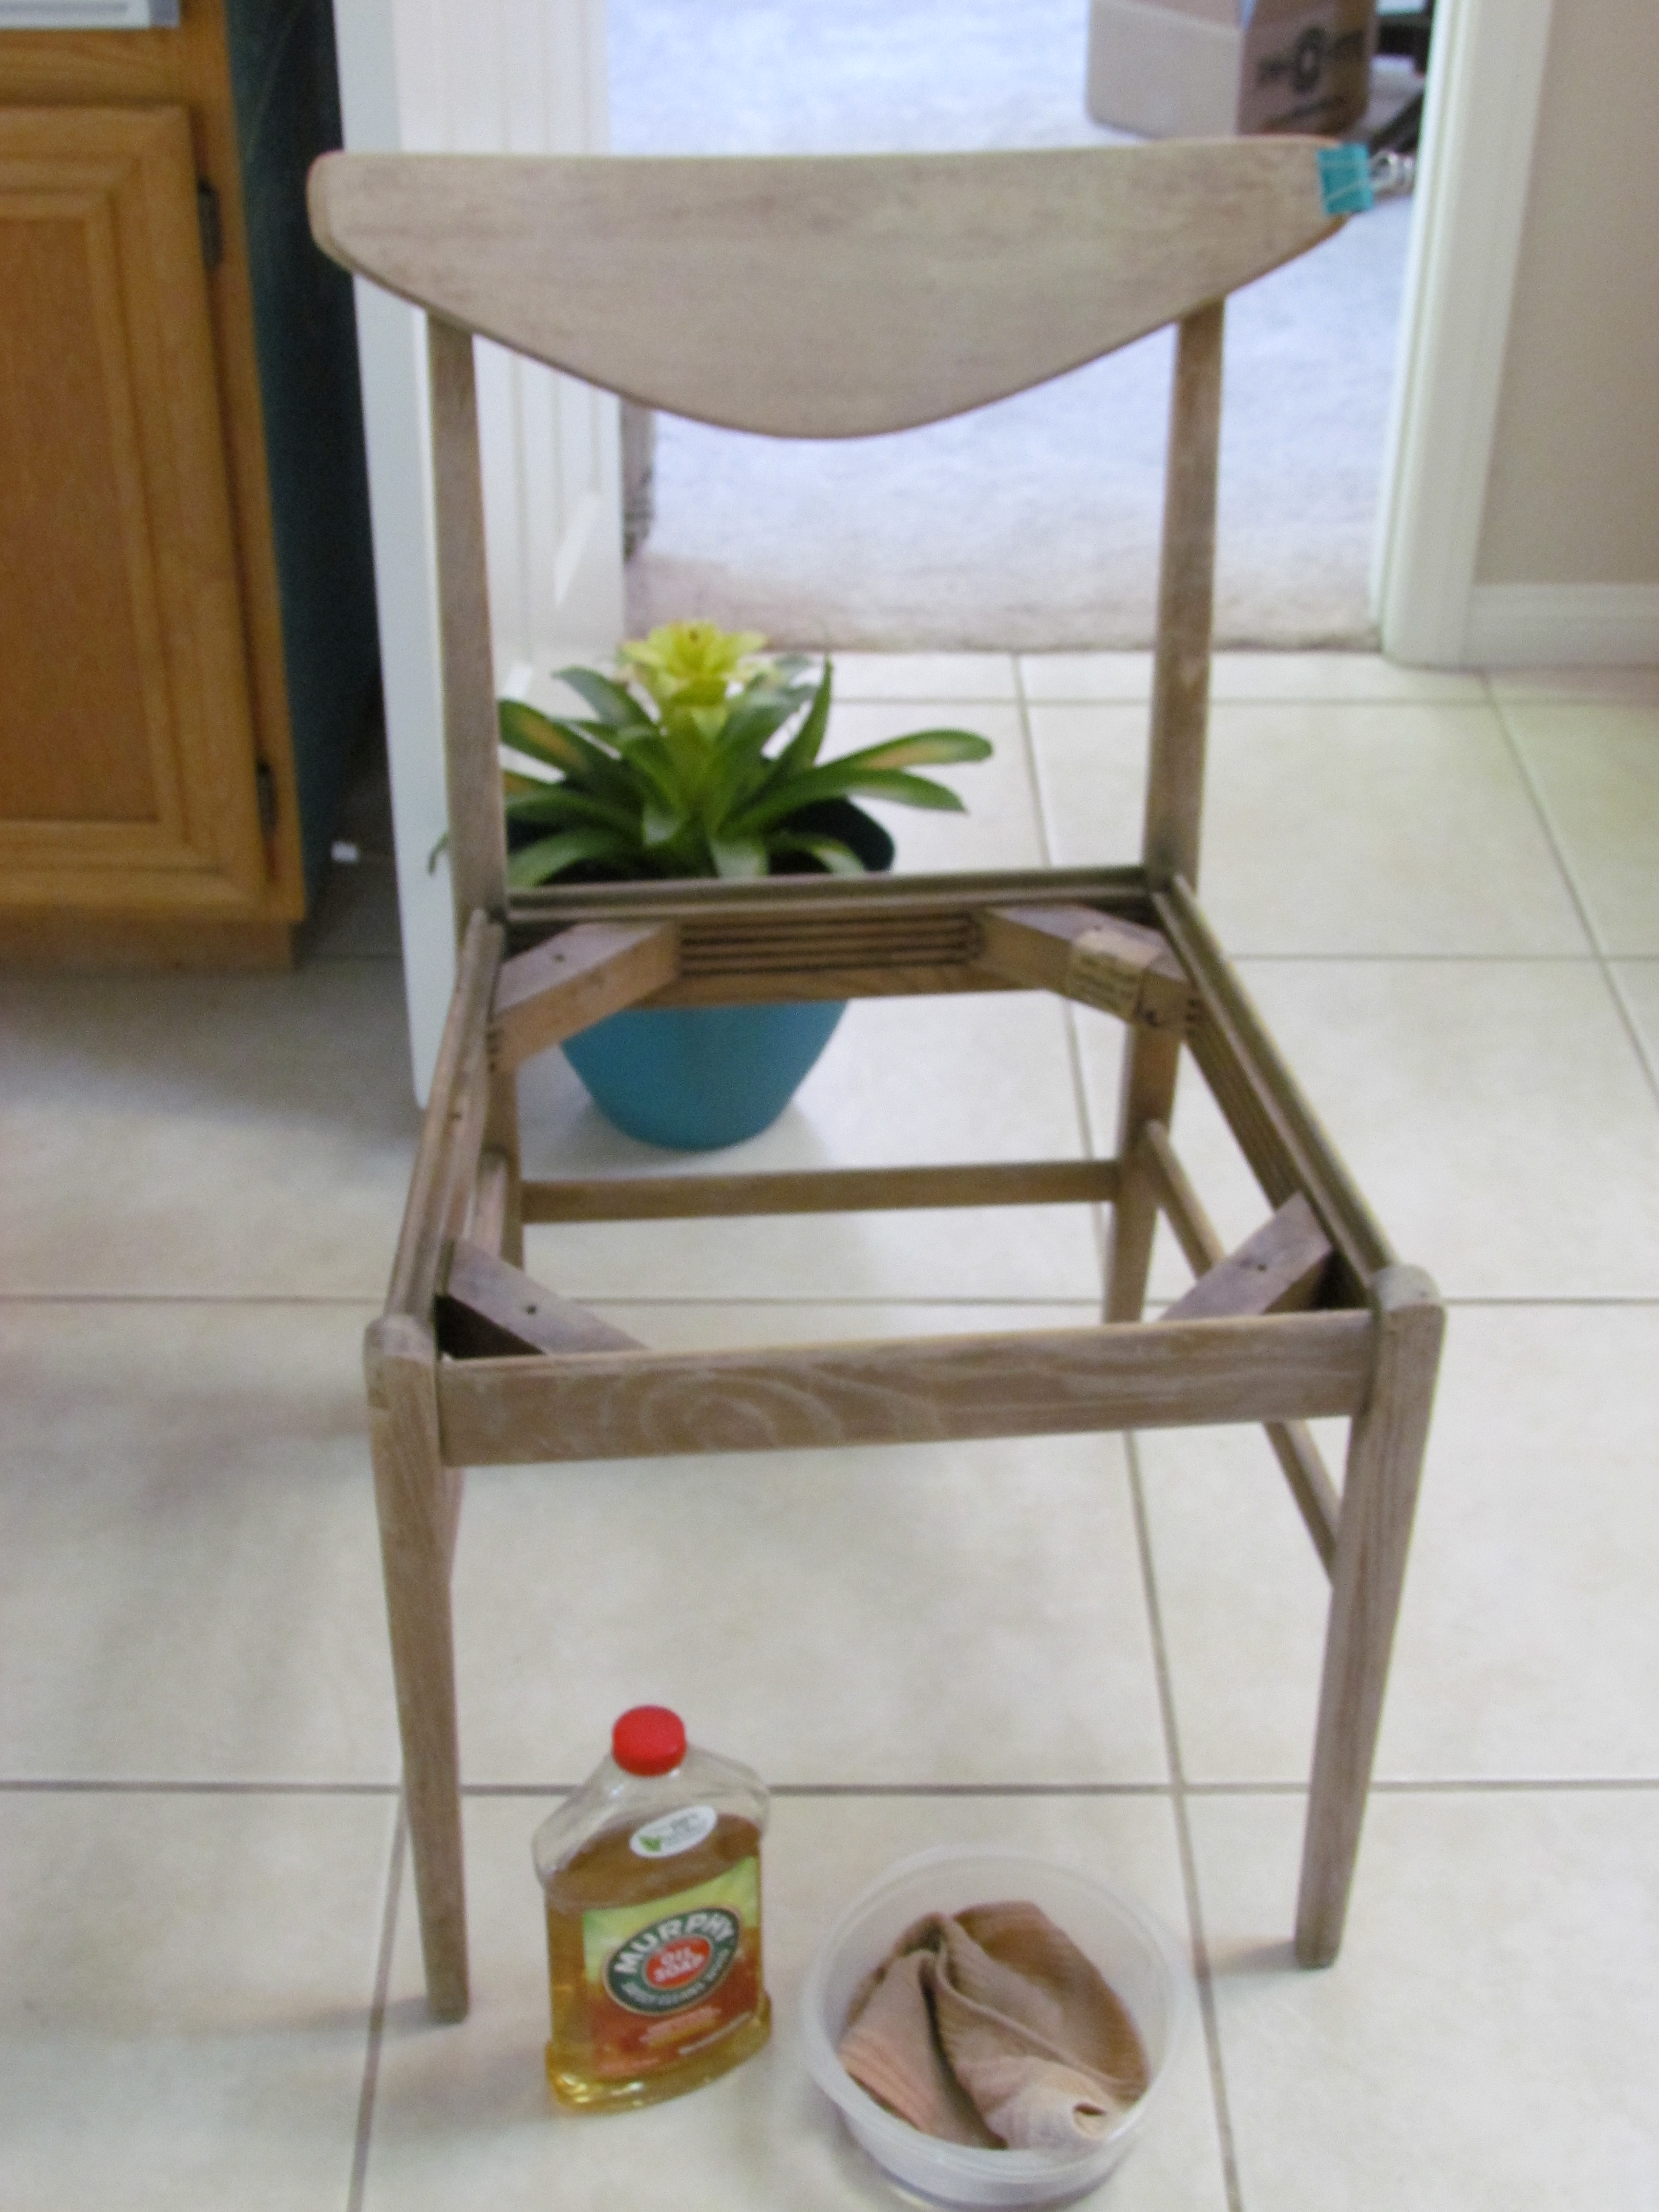
Remember this guy? Well….I made him my biyatch this weekend.

Actually, I think it was the other way around….but who’s keeping track? Buckle your seatbelts, because I’m going to take you on a magical mystery tour of the how-to’s and what-not-to-do’s of refinishing a really old chair.
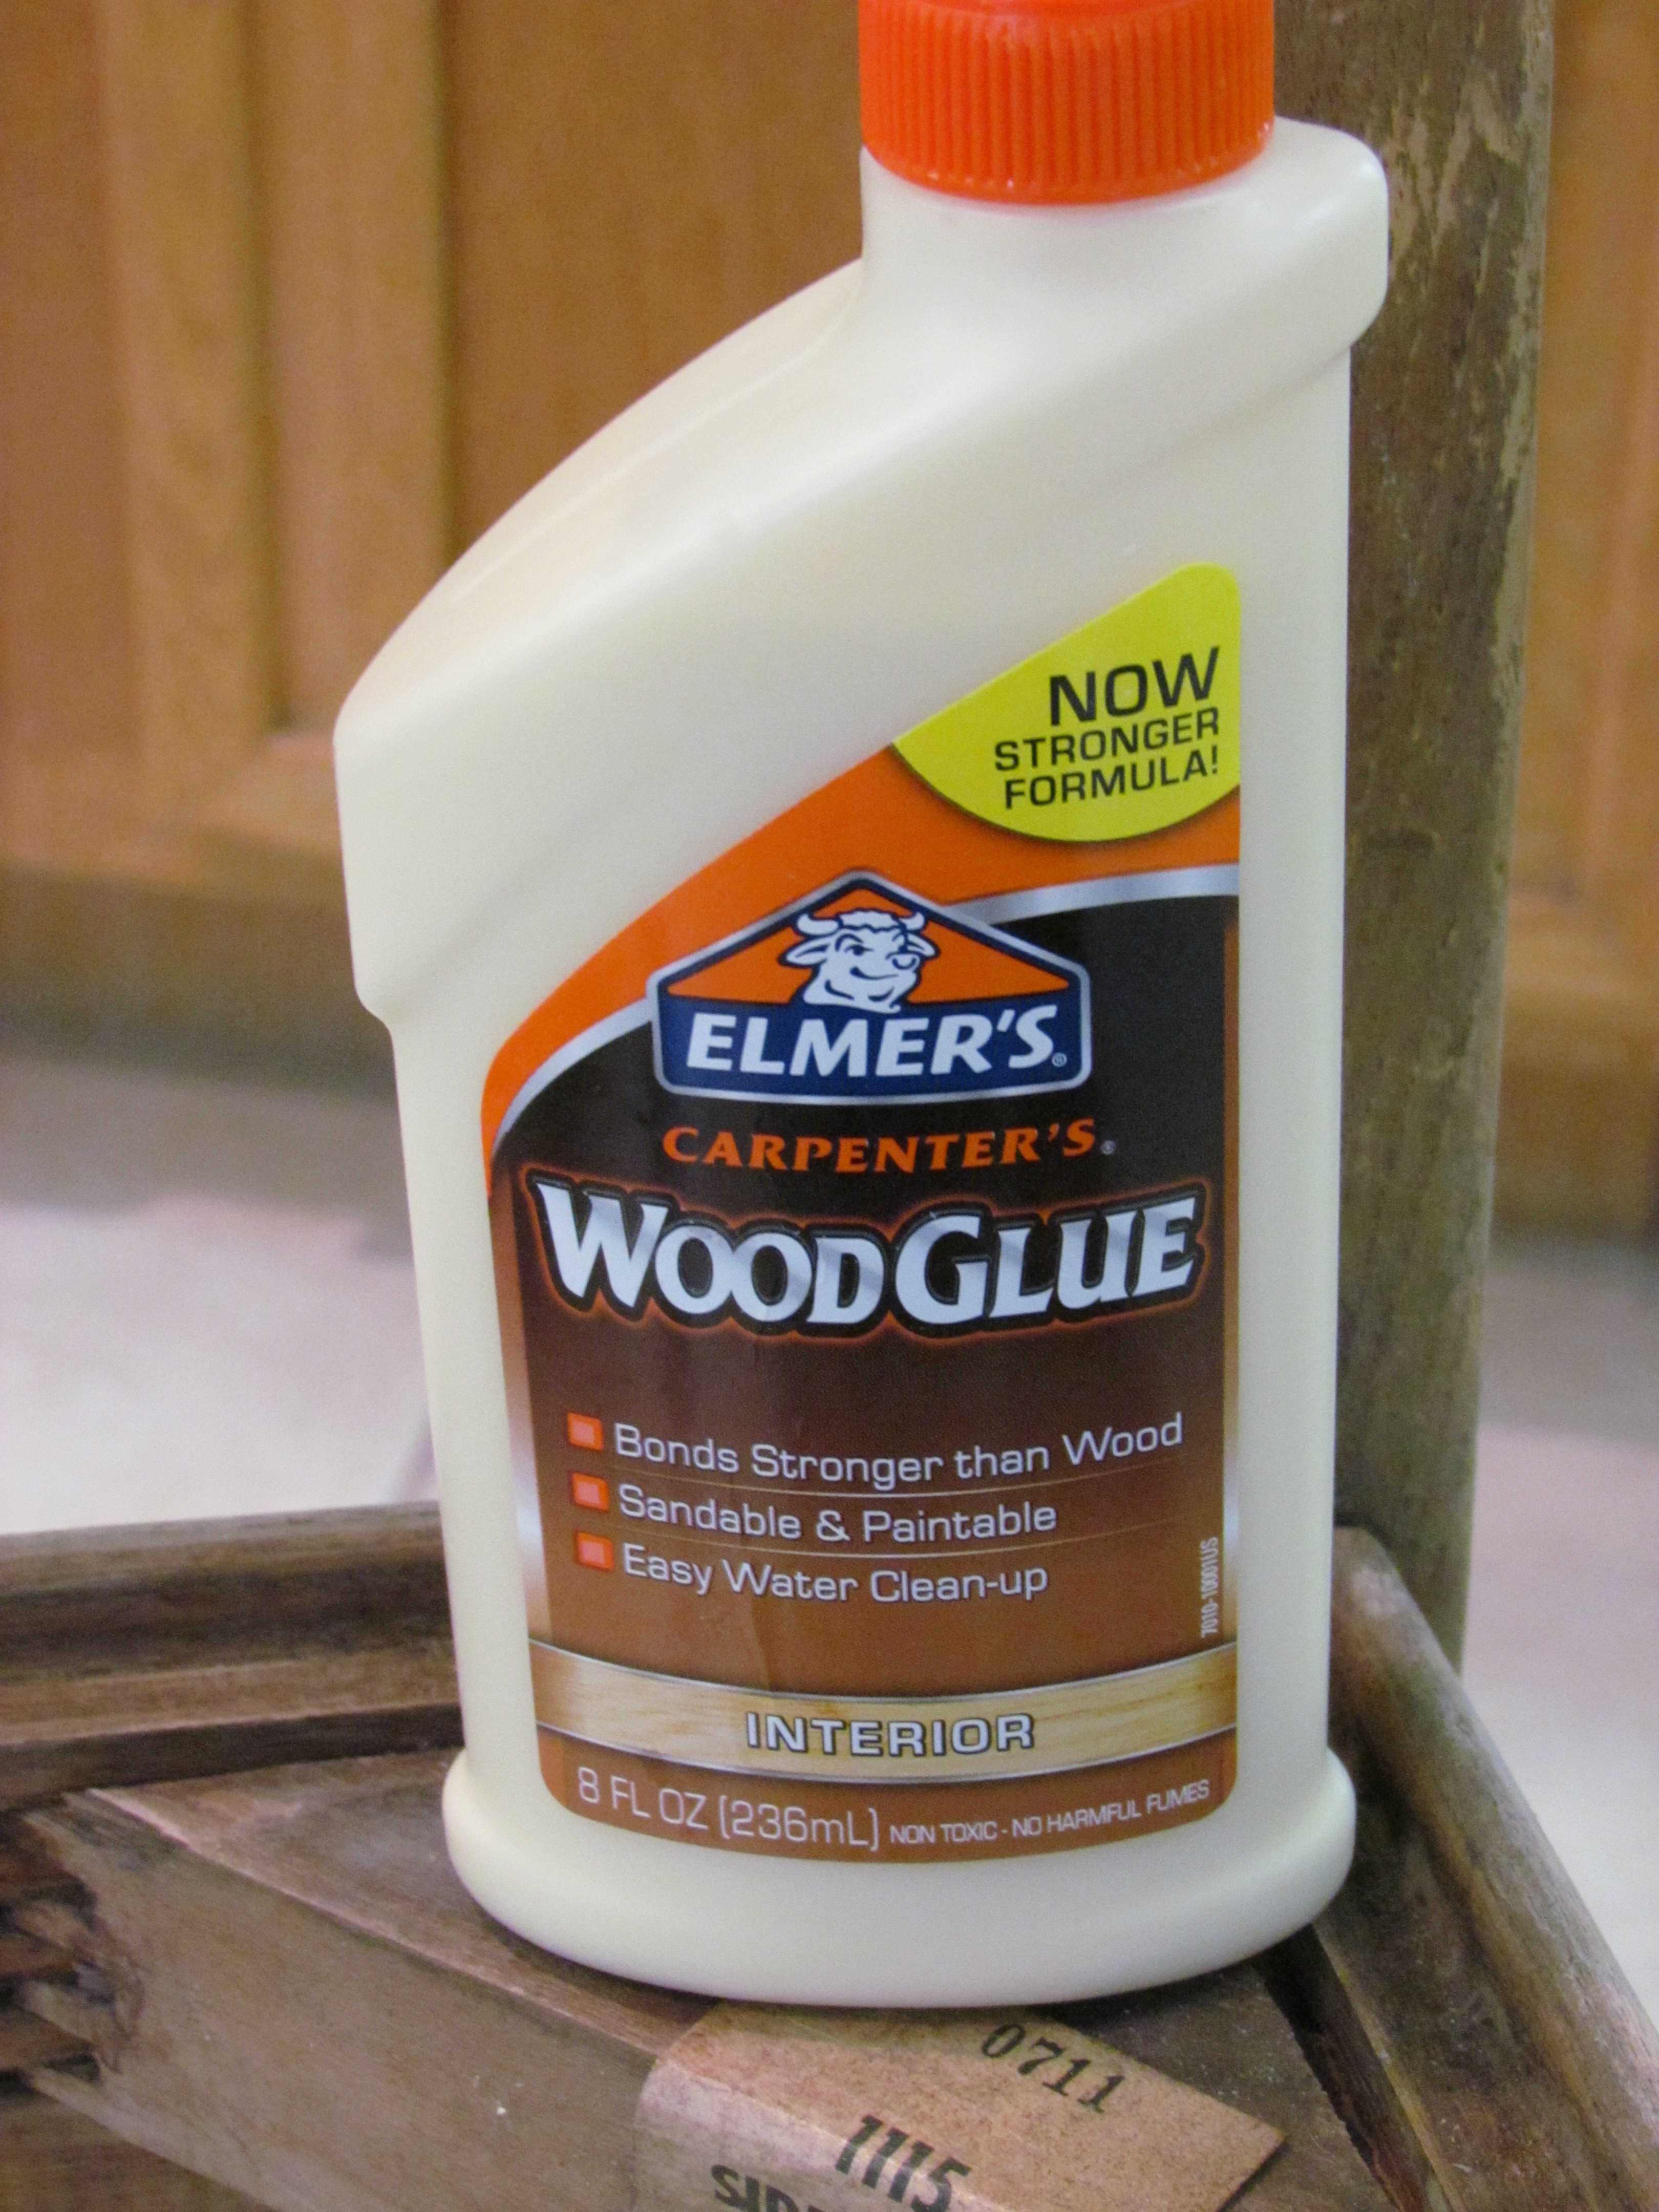
Here’s what I used: 400 Super Fine Sandpaper, Elmer’s Wood Glue, Murphy’s Oil Soap, Watco Danish Oil (Medium Walnut), a Wood Stain Marker Pen and Howard’s Feed-N-Wax (like conditioner for wood.)


Here is what I would have done differently:
1. I wouldn’t have sanded the chair in my kitchen. My “Ah-ha” moment was realizing that I was quite possibly releasing really nasty crap into the air….IN MY KITCHEN…where I prepare food. Dumb.
2. I wouldn’t recommend using Danish Oil in conjunction with a repair job. But if not for my glue spot, the chair would have had a perfect finish. Alternatively, I would have sanded, cleaned and applied the stain BEFORE the glue so that there would have been some stain underneath the repair. Turns out the “sandable, paintable” glue isn’t Danish Oil-able.
This was a quick and easy project to complete. Most of the products I already had in my arsenal and so far, this project has cost a total of $18 in supplies, including the cost of the chair. Not bad for a weekend of DIY entertainment!
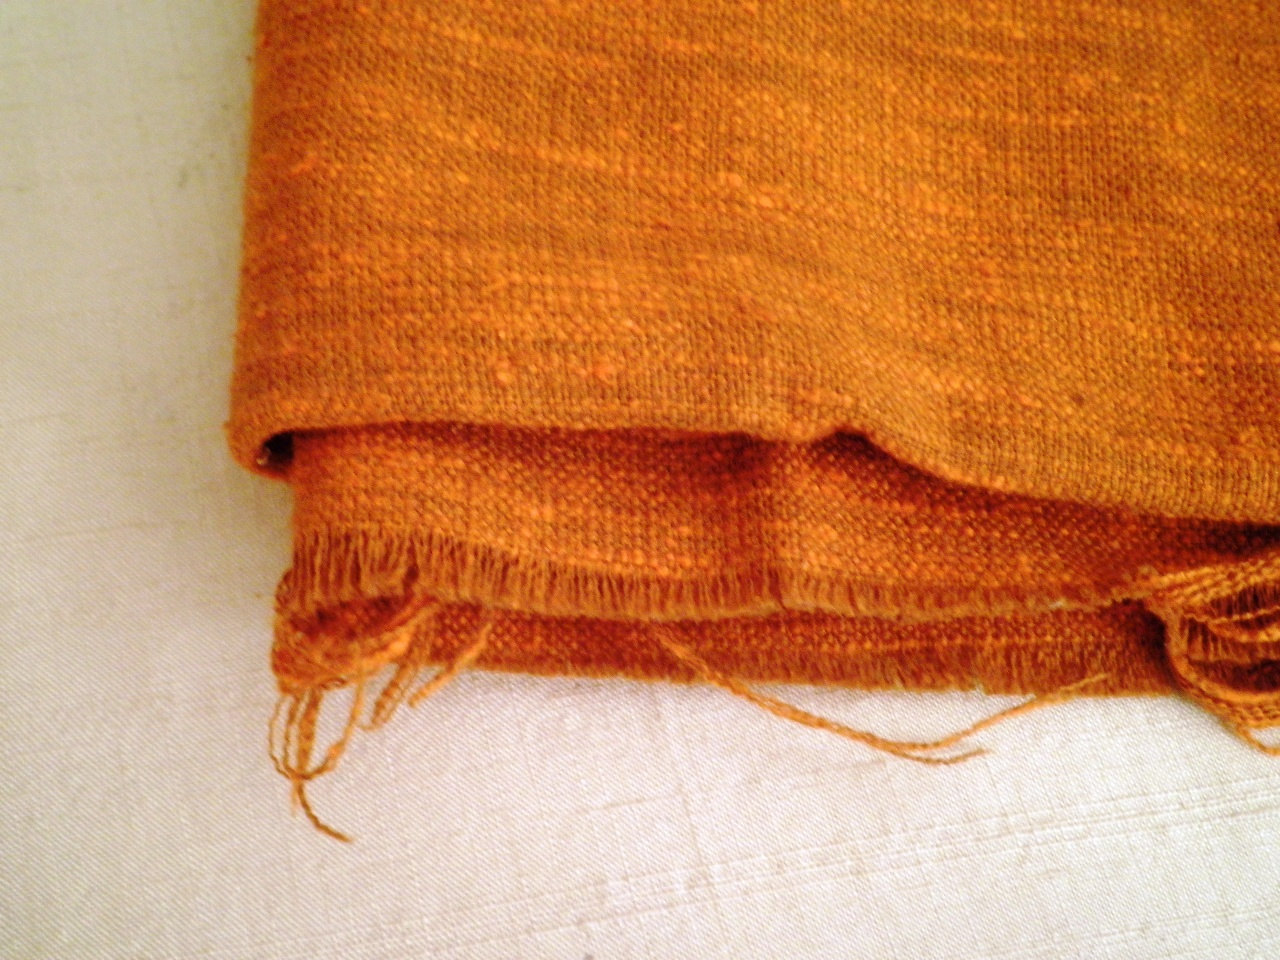
I located vintage 1960’s orange fabric on Etsy.com for only 10 bucks including shipping. If you’re not currently subscribed, please come back next week, as I’ll feature a seat re-covering tutorial.

Ooh, gorgeous chair! Thanks for the good info. I have a chair in my garage that needs lots of help! 🙂
Nice work. I am glad you share the learning process. I also learn on the job haha.
I think it’s the best way to do it! Just try it! 🙂
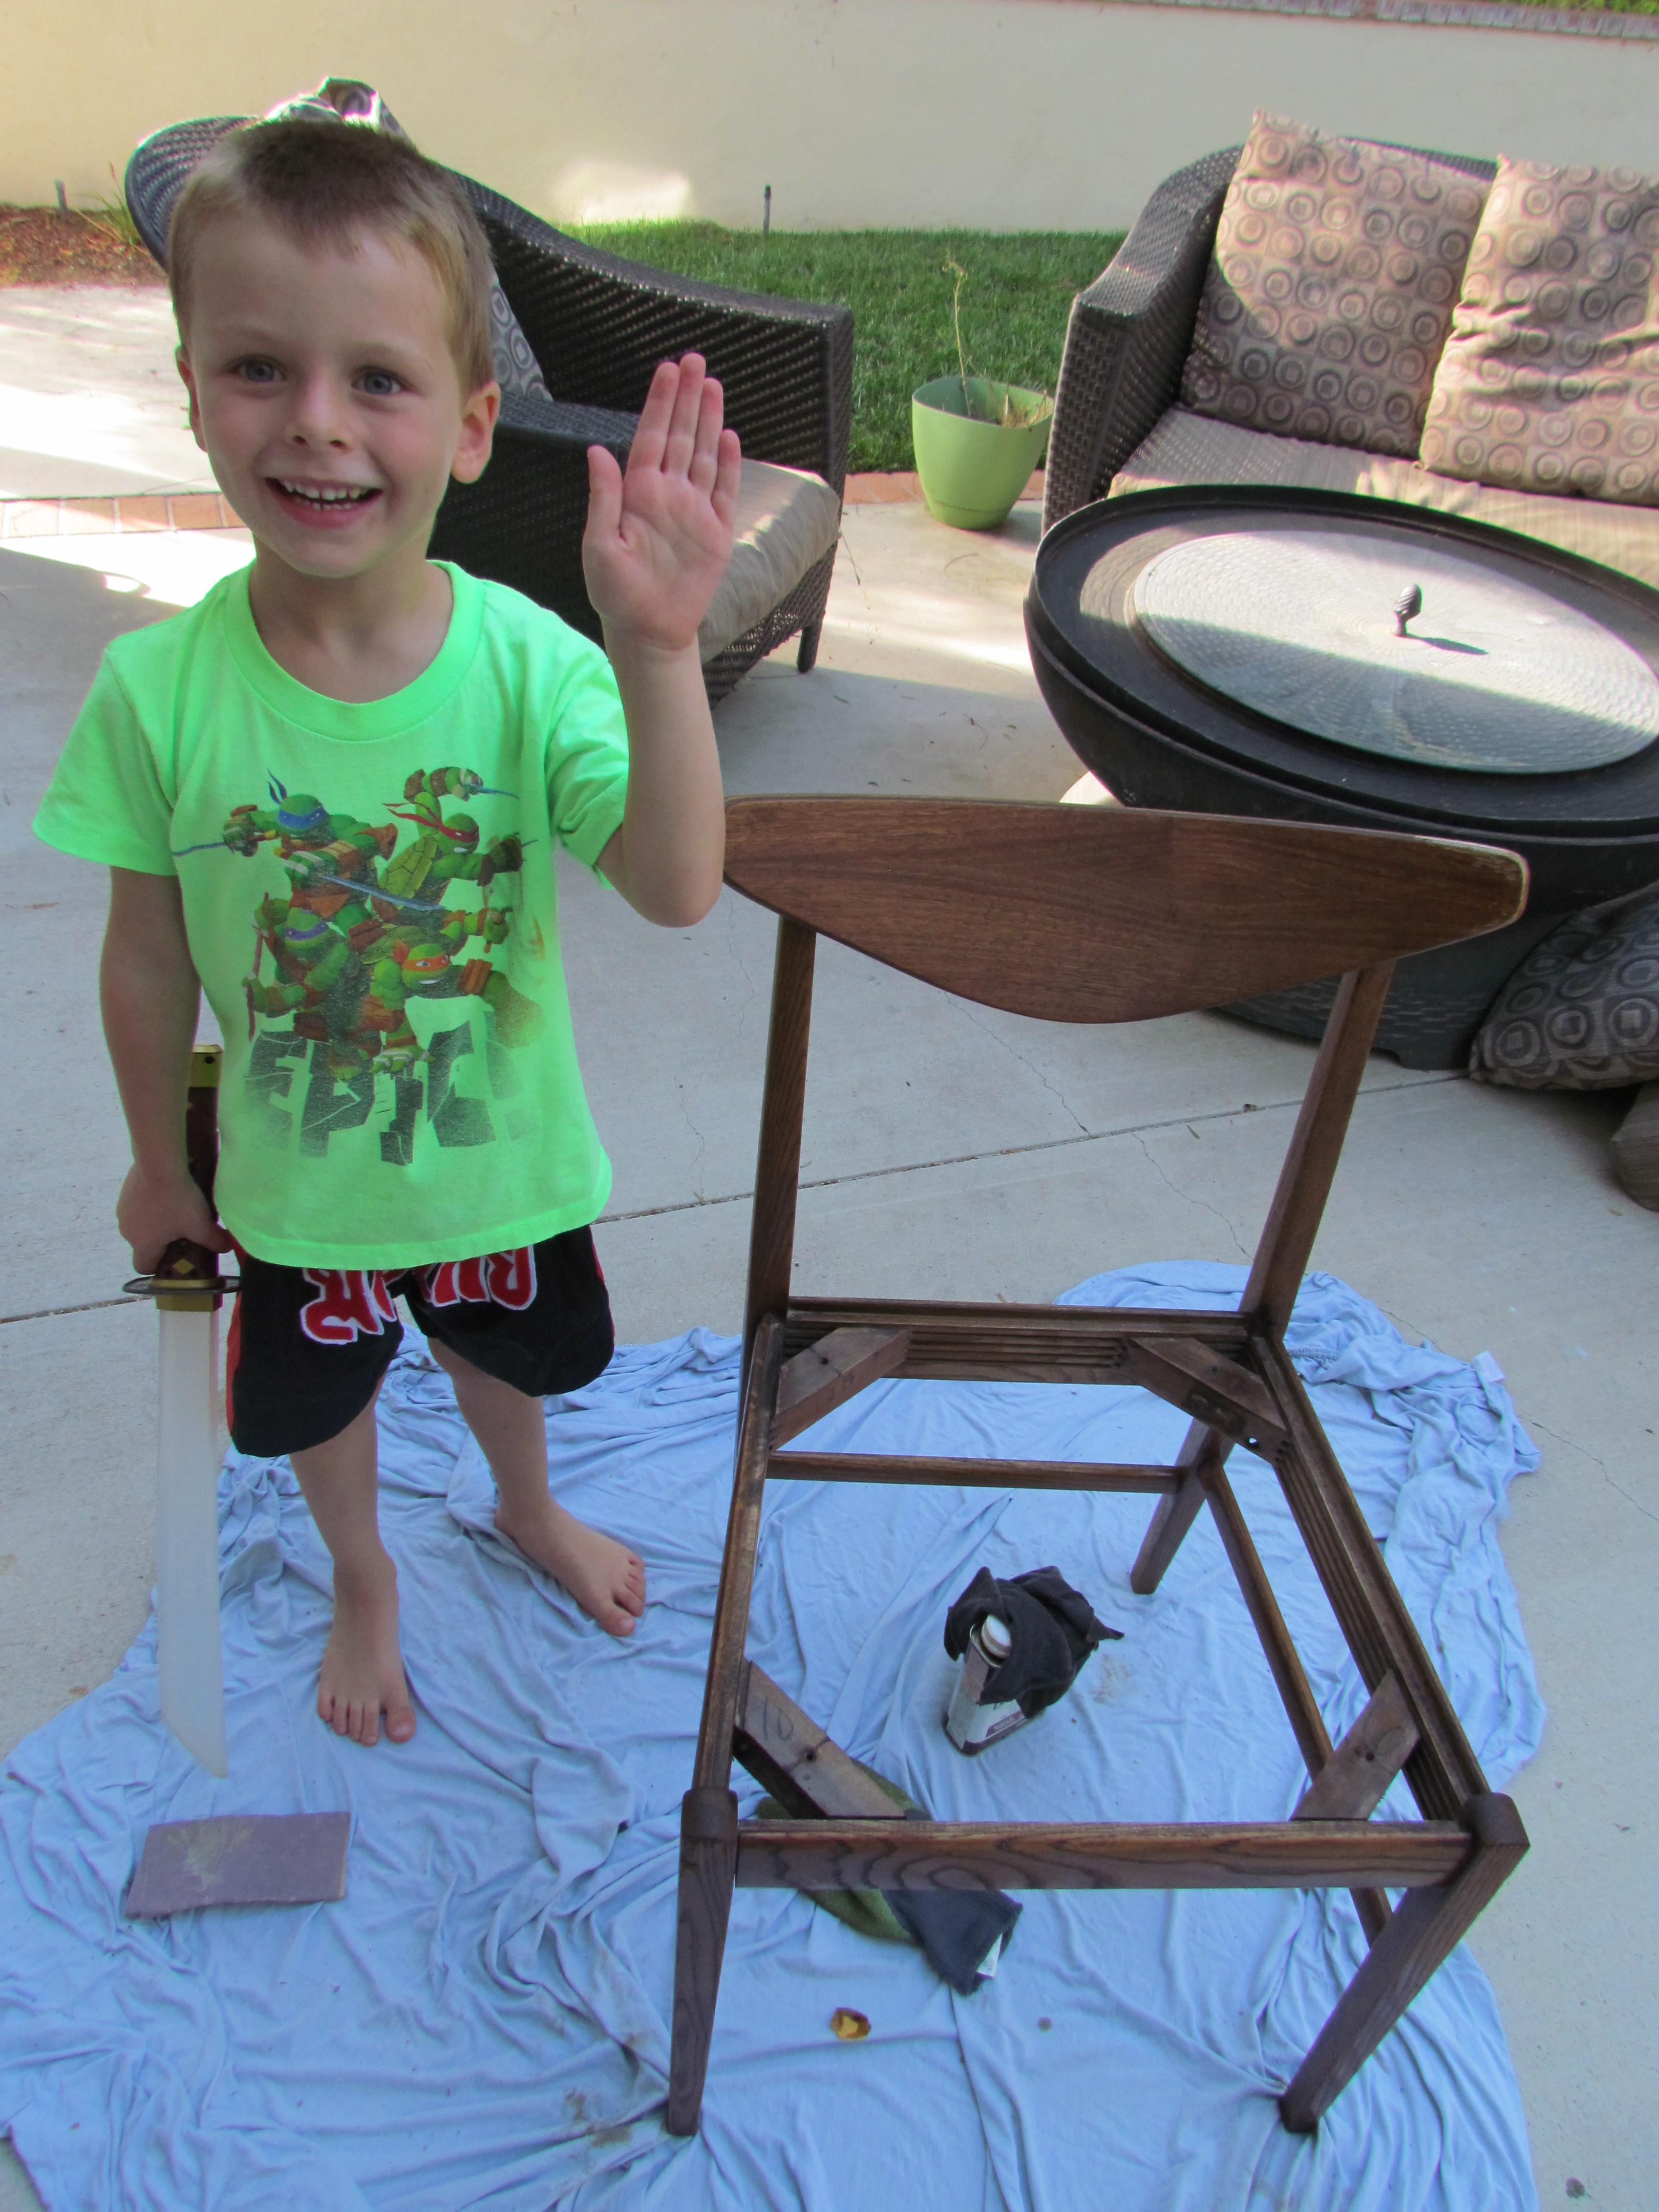
Awesome! Perhaps I need a Ninja warrior too? Chair looks great. I didn’t even know the cushions came off. Hmm. 🙂
Splendid! Splendid! I love the chair backing. So RETRO! Good find and job fearless leader ;o)
Love love love!! For some reason, I’m not getting email notifications on your new posts. This must be rectified stat!!!
Ah!!! That’s no bueno. Try and enter your email again, and let me know if doesn’t start up again. Very weird! 🙂
Thanks for visiting! 🙂