Discovering Re-covering – a DIY Project

The Danish Modern Chair Rescue Project is finished! For those of you new to the blog, a couple of weeks ago I scored a chair in need of some serious lovin’ for $5 at a garage sale. Then, I happily re-finished the wood. Follow me now, as I take you through a quick re-upholstering lesson.

Once again, here is the Danish Modern beauty in its rough original condition:

Weekend Warrior Project

Before we move on, I’d like to stress to you just how uncomfortable I was with this project. I knew at some point, I’d have to walk into the dreaded Joann’s craft store. It’s like walking into BabiesRUs when you’ve never had a kid before; intimidating, and overwhelming.  Why are there 20 different bottle nipples? No one knows. Similarly, Joann’s Fabrics makes me just as uncomfortable.  Smug and talented homemakers standing around with their bolts of fabric and perusing craft books. There is an entire 2-sided aisle devoted to scissors. Here’s a little known fact: I’m not crafty. I never took Home Economics in school. I was much too busy playing volleyball and putting the smack down on my competitors to worry about girlie crap like sowing. Now that I’m a bit older, I wish I would have taken “HomeEc” and learned a few “girlie” things.

HGTV Fabrics spied at Joann's.
HGTV Fabrics spied at Joann’s.

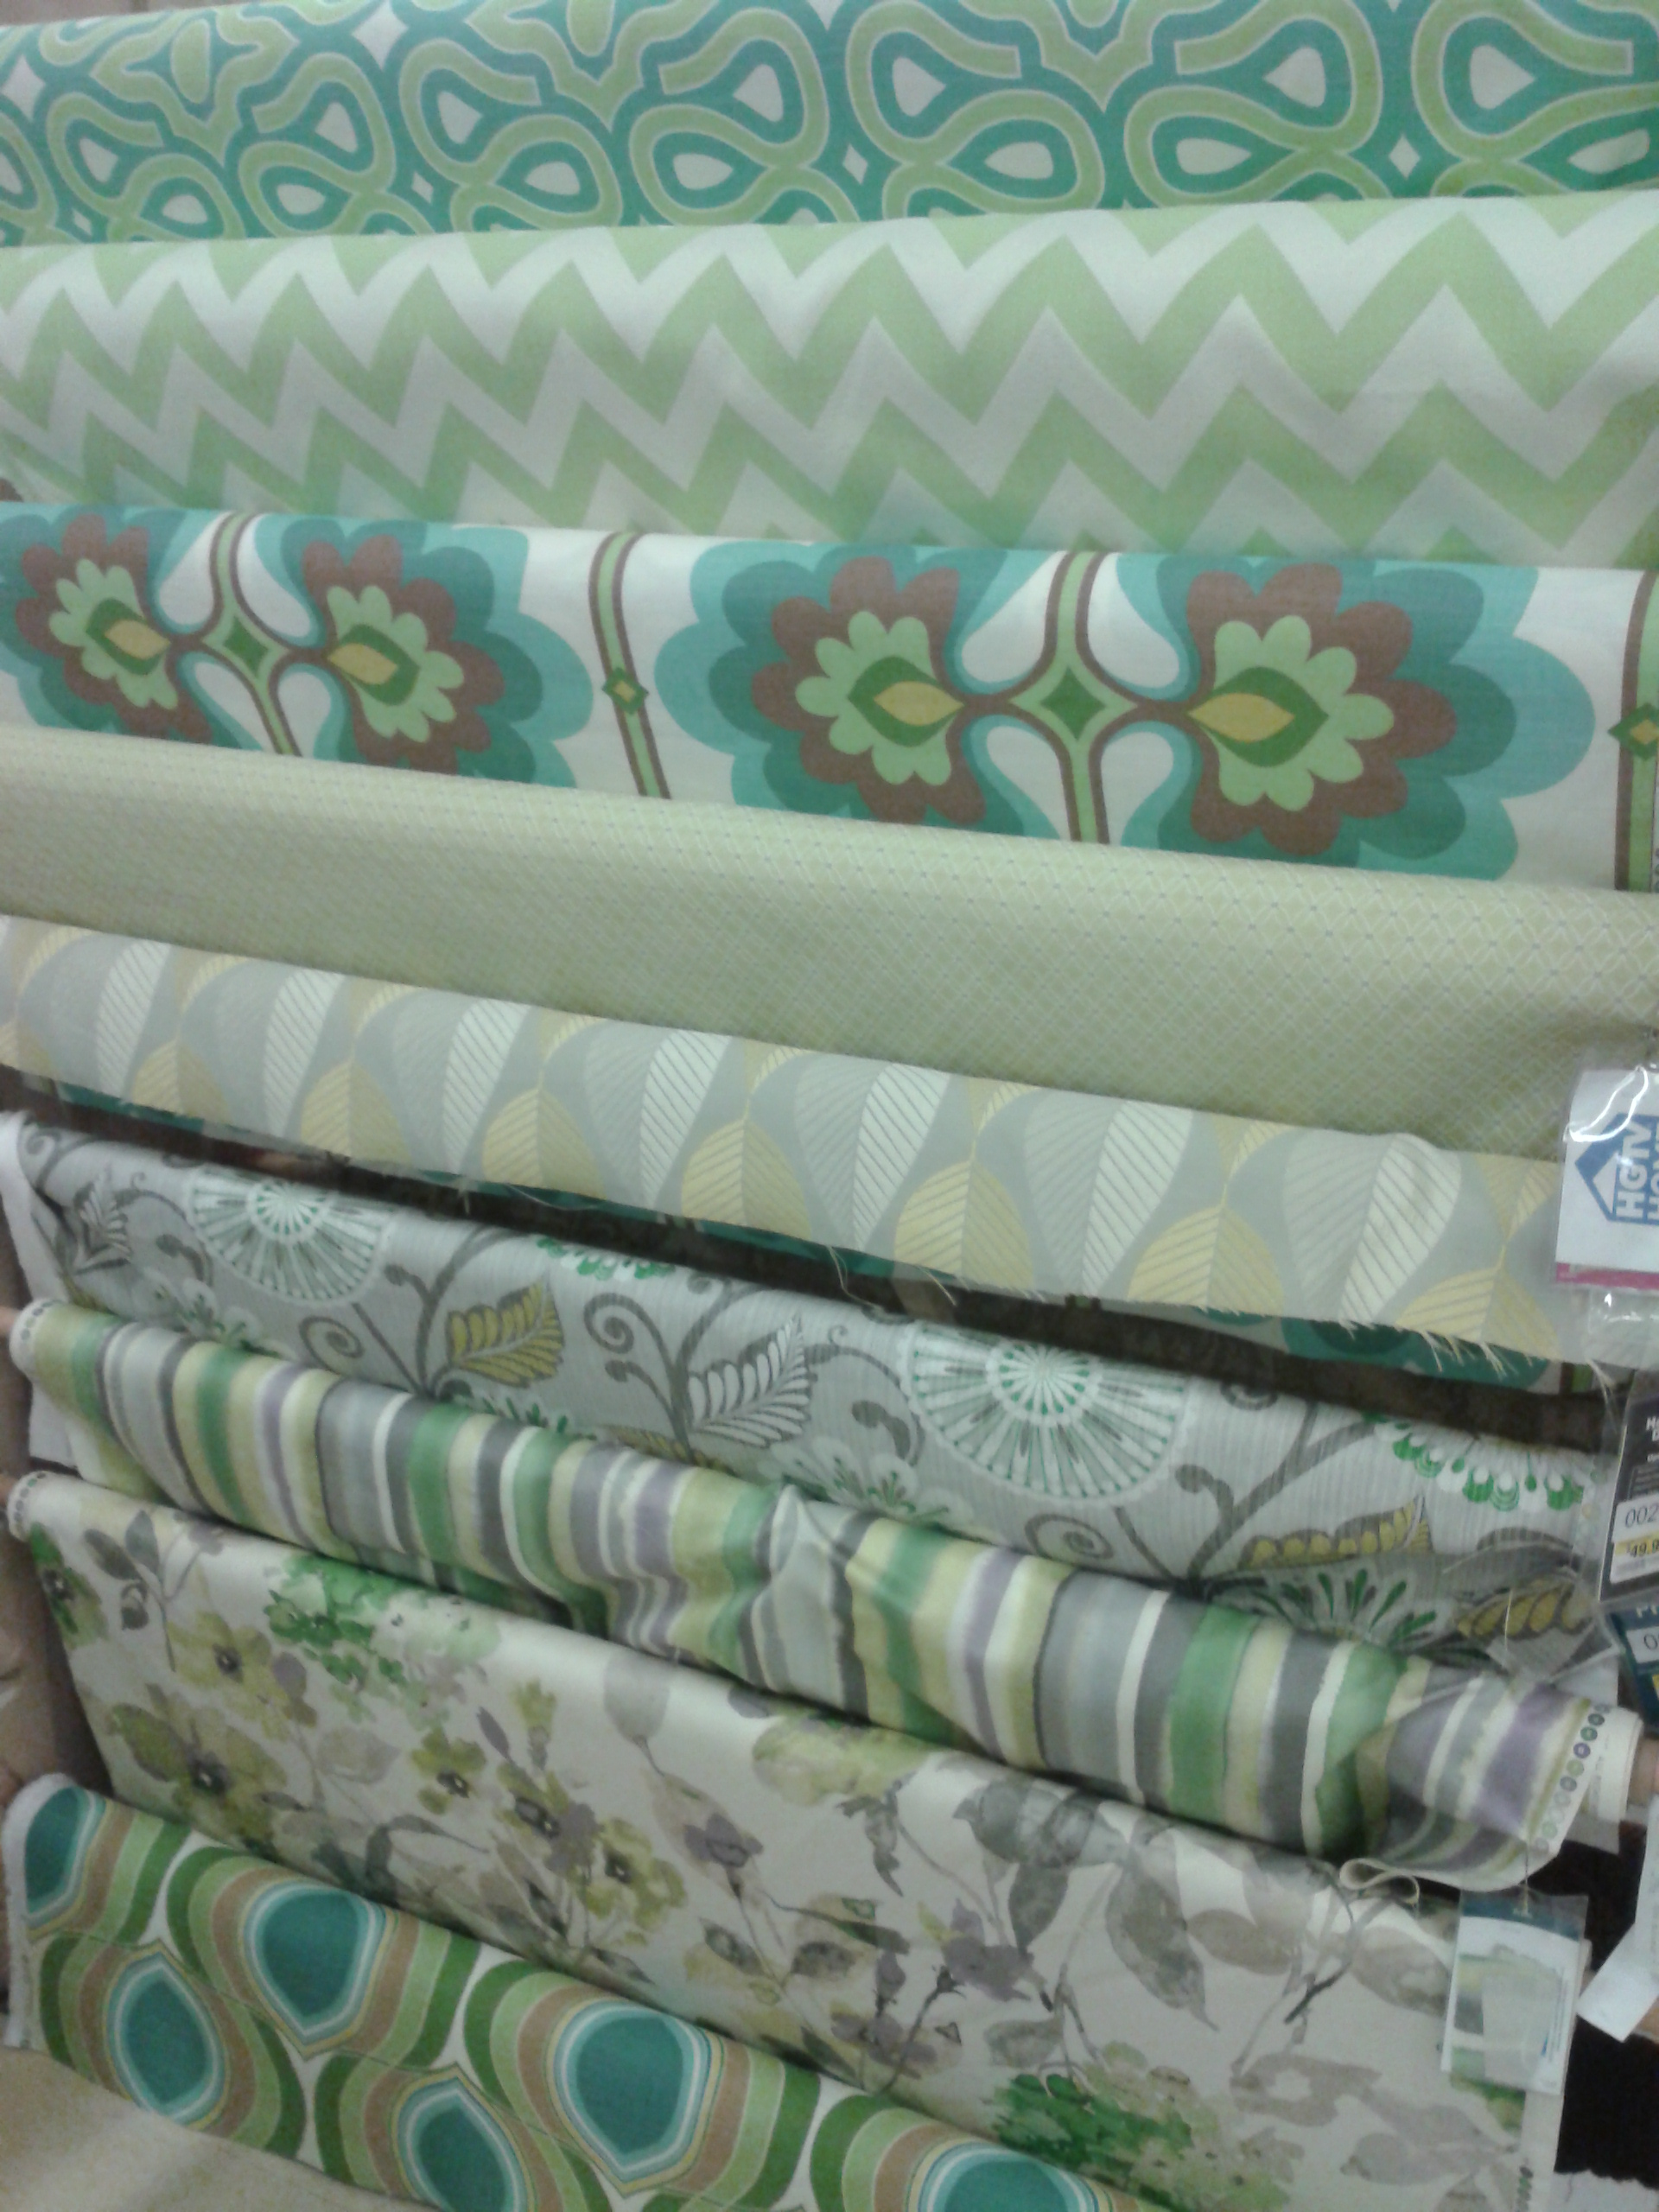
After seeing some of the really cool fabrics Joann’s had, I began to consider becoming a convert. How cool would it be to be able to make your own stuff….in the fabric/pattern/style of your choosing? Incredibly cool and empowering. I might just take a class in the near future. If you can’t beat ’em, join ’em!

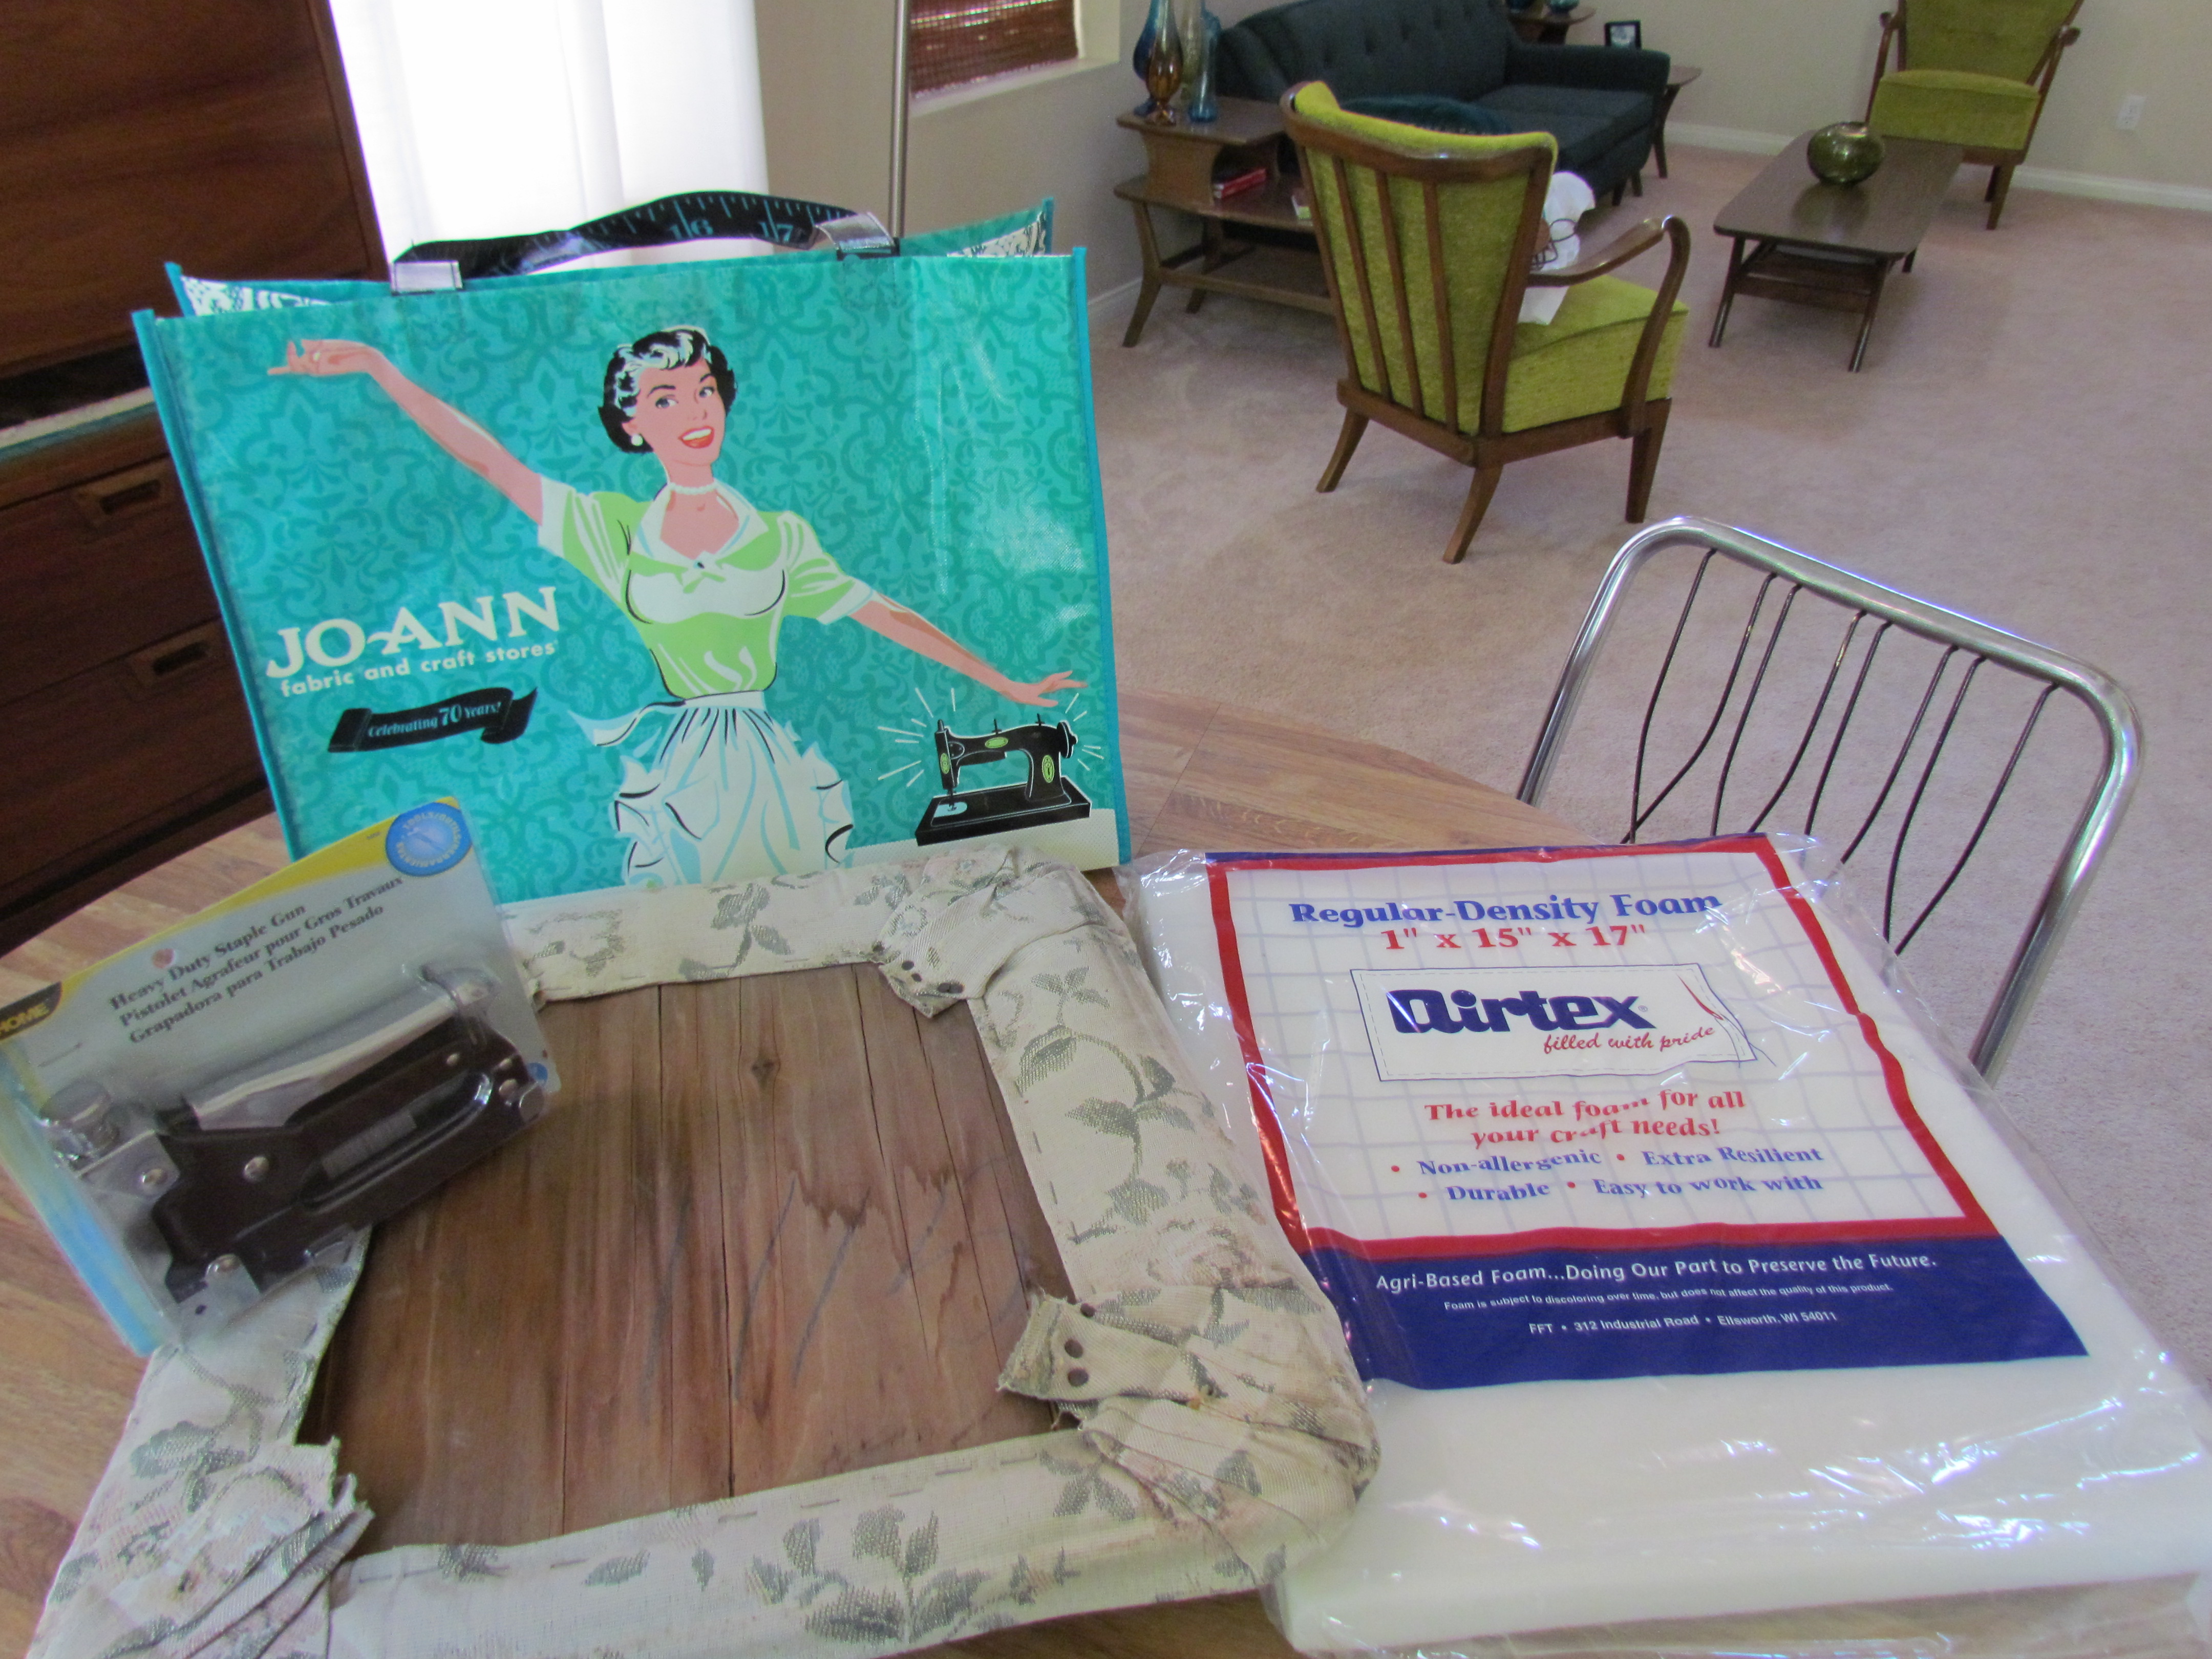
Anyway…I knew what I was looking for after watching a YouTube video tutorial. I got in and out of there as quickly as possible. Here’s what I bought:

Heavy Duty Stapler, Regular Density Foam, and a $1 recyclable commerative "Sucker Bag" as I call them.
Heavy Duty Stapler, Regular Density Foam, and a $1 recyclable commemorative “Sucker Bag” as I call them. Oh come on! It’s only a dollar! And look! Joann’s is celebrating 70 years!

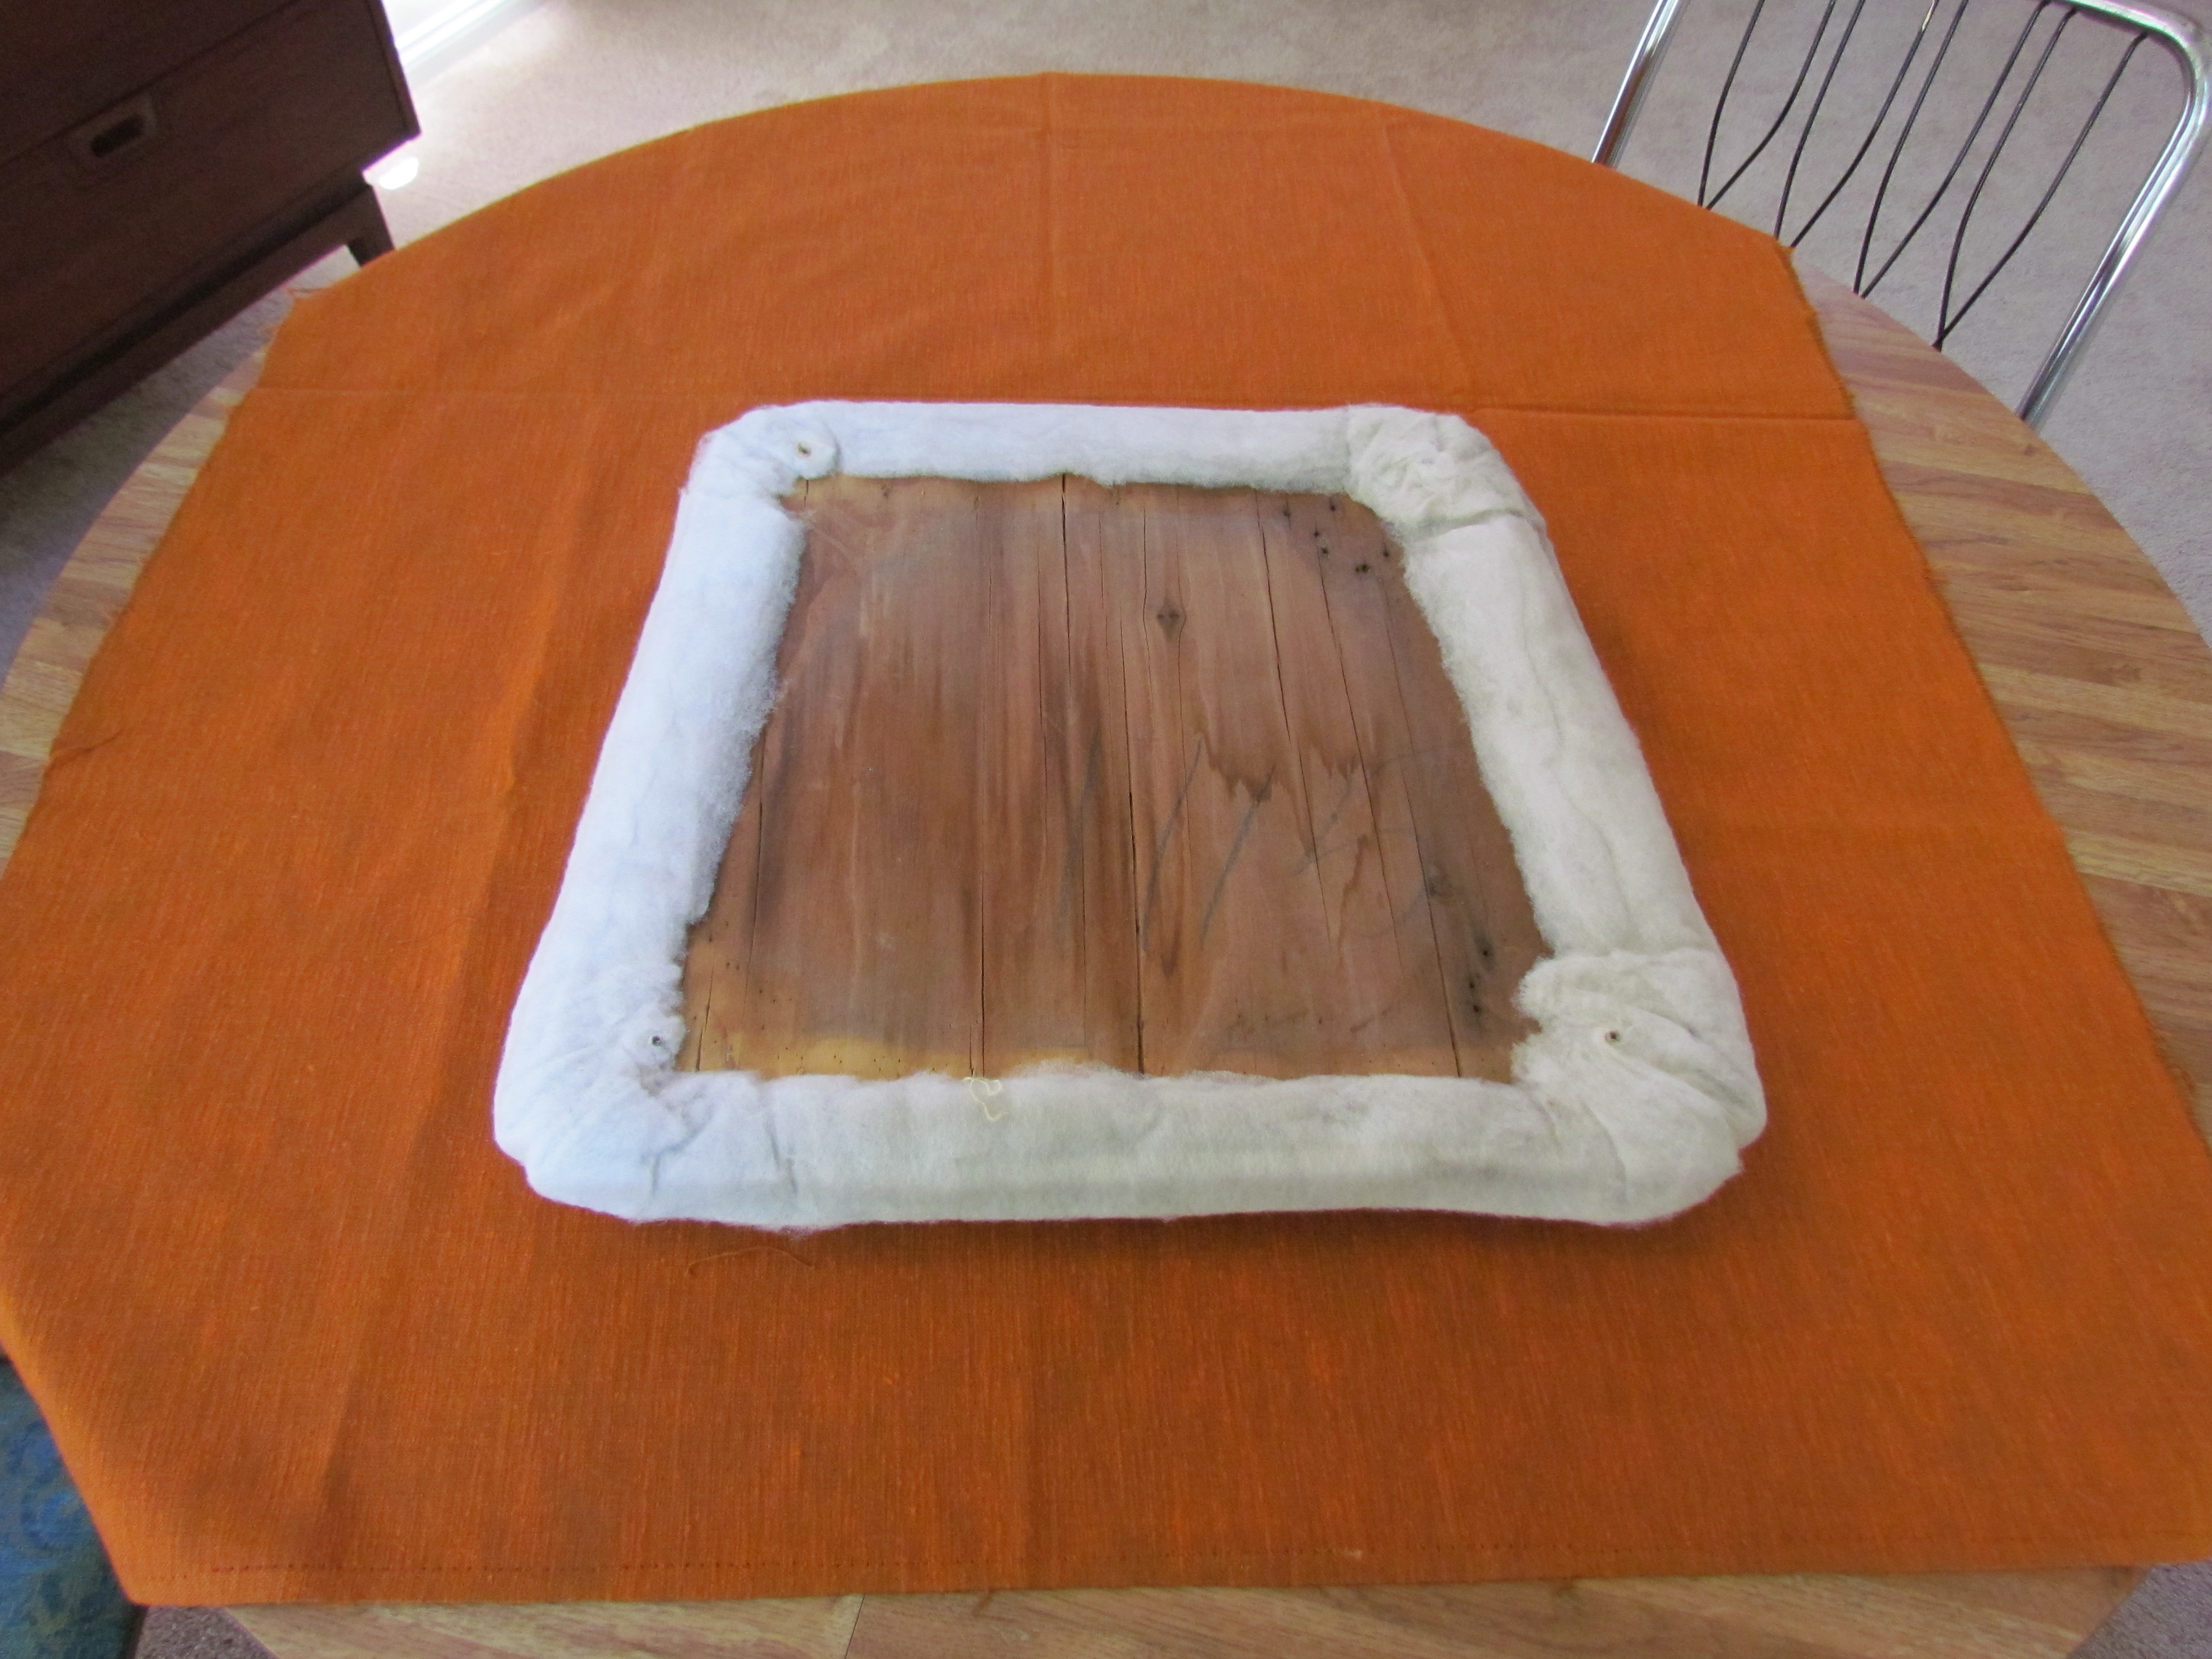
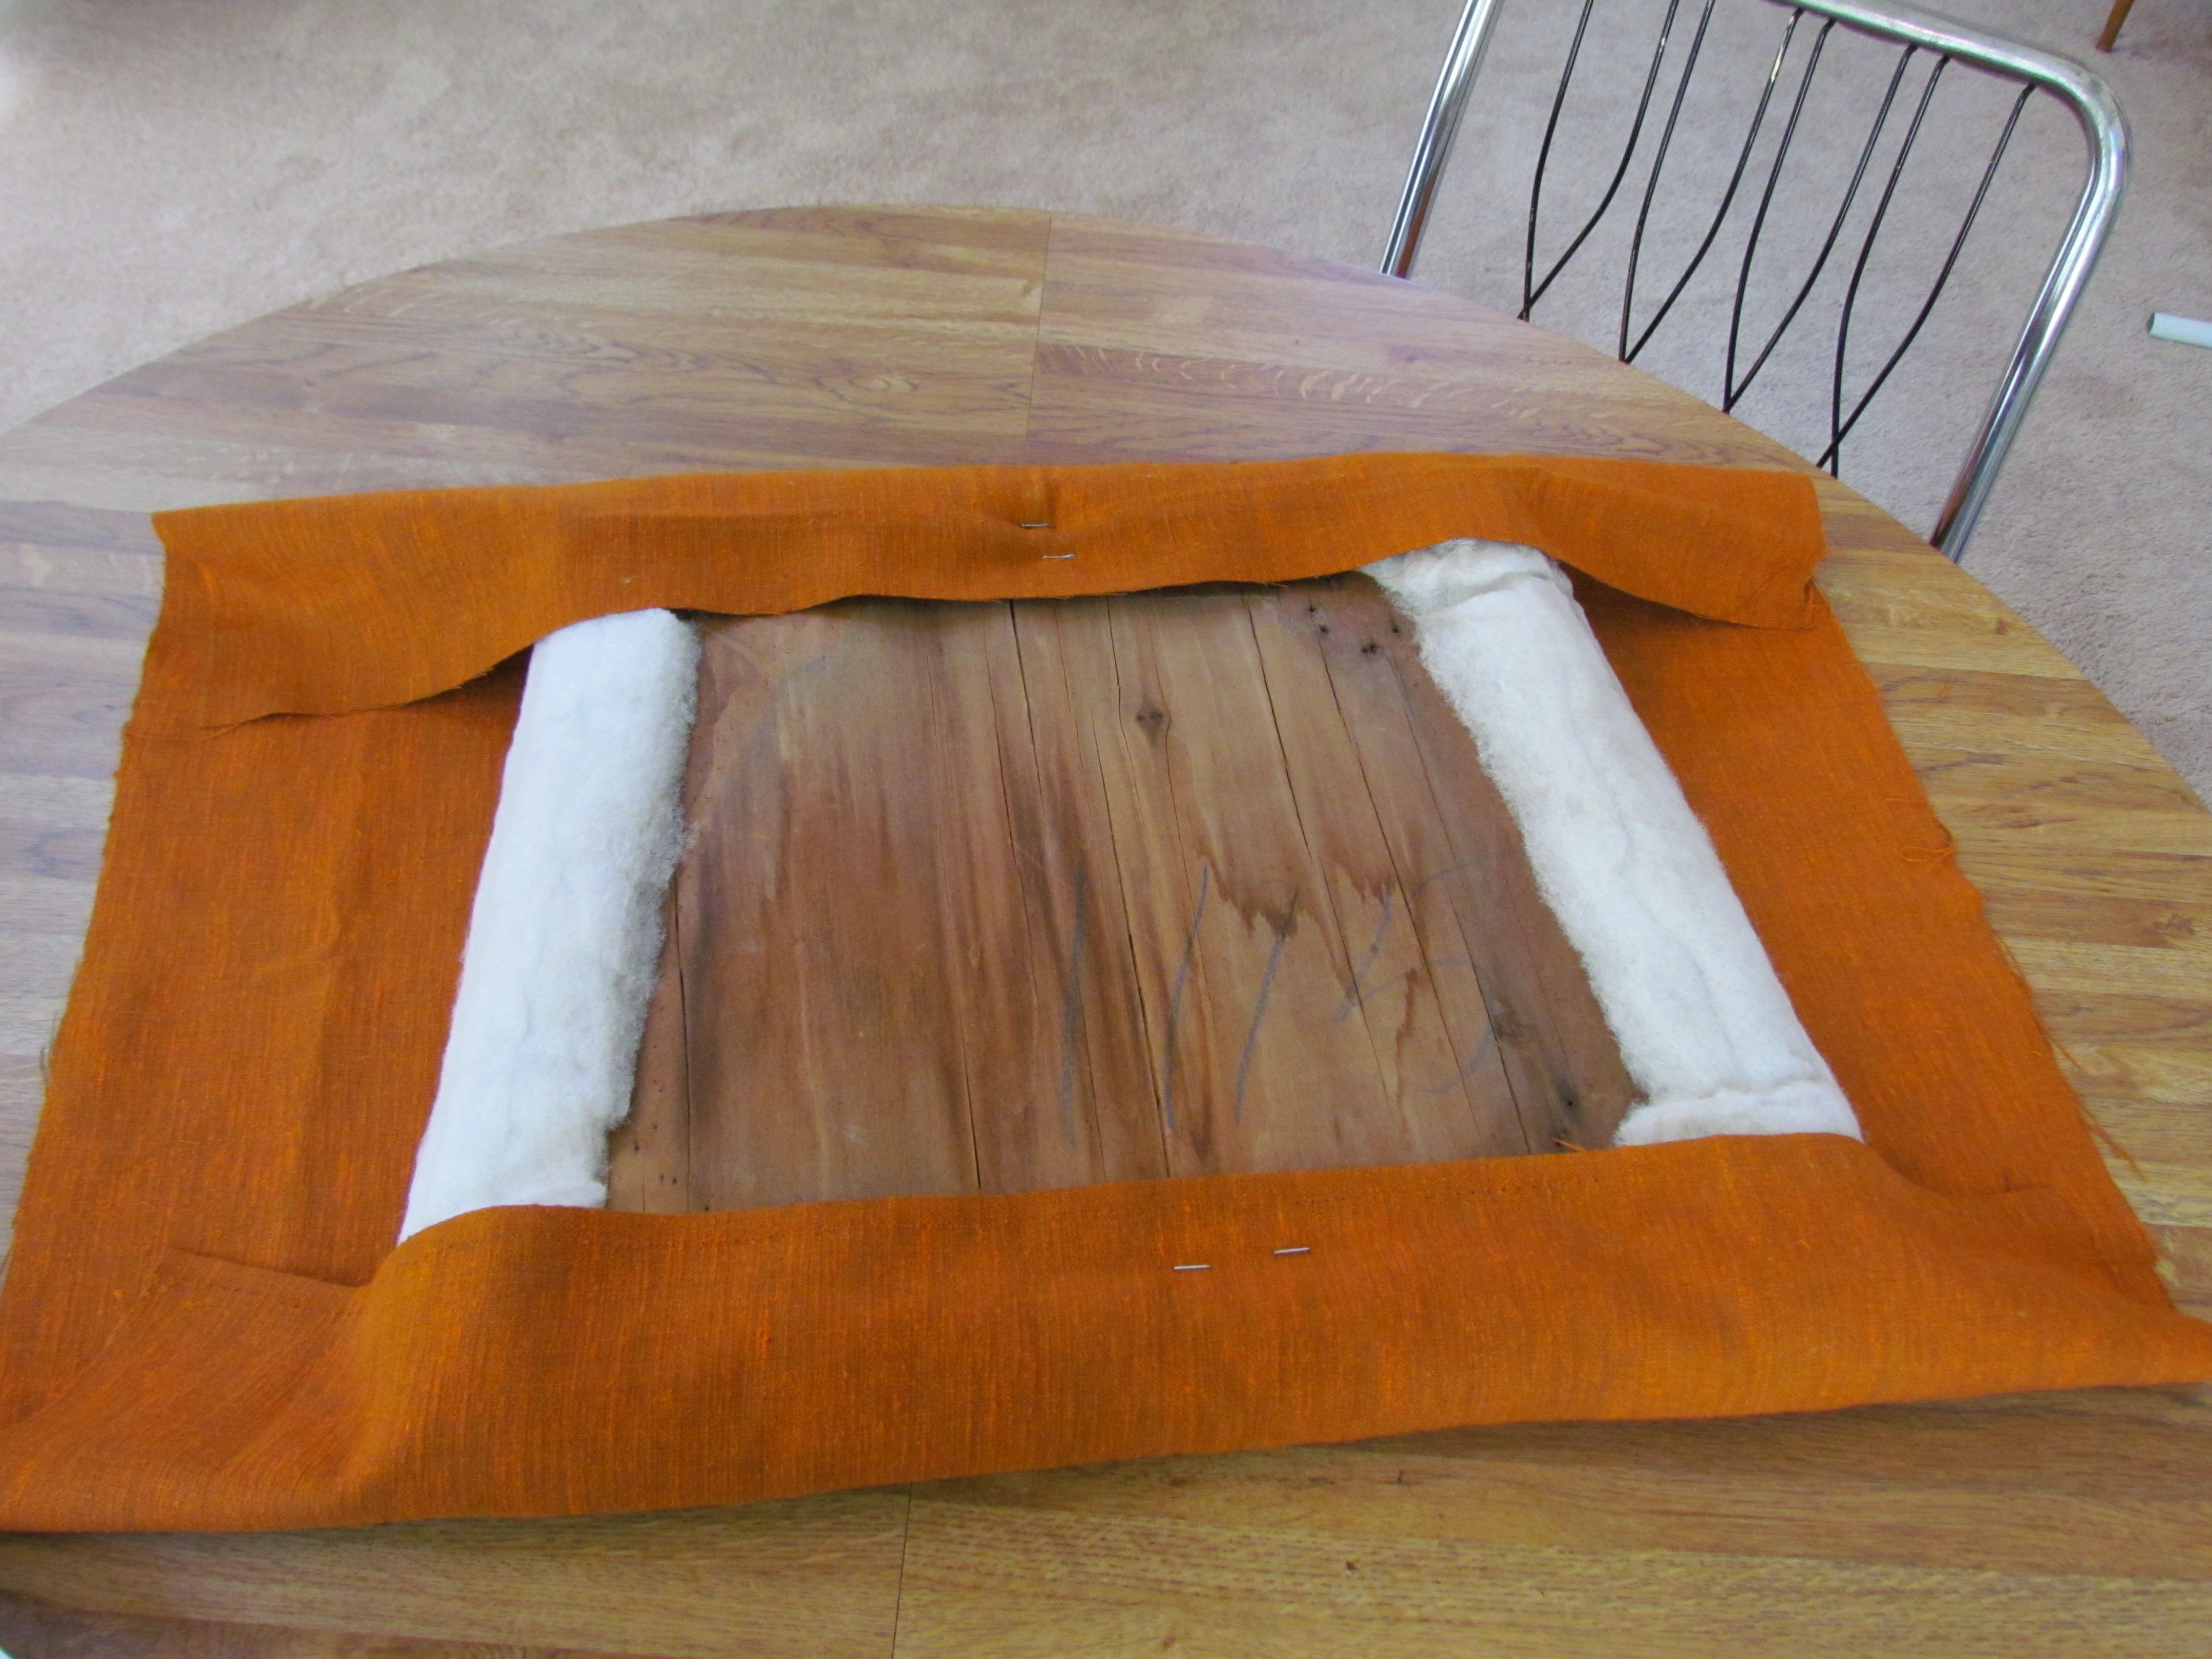
Okay…now that we have supplies…let’s get to the business.

Step One...Remove the funk-tastic fabric from 1980.
1. Remove the funk-tastic fabric from 1980.
2. Discover the bonus of perfectly good batting and padding. I can return my "regular density foam" upcycle what I already have, and move on!
2. Discover the bonus of perfectly good batting and padding. I can return my “regular density foam” upcycle what I already have, and move on!
Lay out your fabric (I found vintage fabric at rue23vintage on Etsy.com)
3. Lay out and line up your fabric (I found vintage fabric at rue23vintage on Etsy.com)
4. Trim your fabric. Eyeball it. It's not difficult. If you leave too much, you can trim later.
4. Trim your fabric. Eyeball it. It’s not difficult. If you leave too much, you can trim later. (I used regular scissors. But if you want fabric scissors, I’m pretty sure Joann’s has one thousand different versions.)
5. Pick a side and let that stapler rip!
6. Pull fabric taut at the opposite side and let 'er rip again! (Once complete, turn pad over to make sure your fabric is straight. This is more important if you've got stripes or pattern.)
6. Pull fabric taut at the opposite side and let ‘er rip again! (Once complete, turn pad over to make sure your fabric is straight. This is more important if you’ve got stripes or pattern. By design, my fabric was pretty idiot proof.)
7. Pull in other sides, and staple to your hearts content leaving the corners for last.
9. Create a "pleat" at the corners and check your pad side to make sure it's to your satisfaction.
8. Create a “pleat” at the corners and check your pad side to make sure it’s to your satisfaction.
9. Done and Done.
9. Done and Done. I finished my corners and trimmed away a bit of the excess fabric so that I would have an easier time screwing the seat back onto the chair frame. Always thinkin’!
Here's what I started with..... (Drumroll please!)
So with some time, and very little moolah, I was able to go from this…..
(Drumroll please!)
To this!!!!!
To this!!!!!

021

019

Now that I’m done, this sweet little chair has been moved up to the guest room as an accent…and place for people to take their shoes off, or drape their clothes! What’s more, I was able to rescue a little piece of history and give it new life. Hooray! I have finally discovered the art of the re-cover, and I can’t wait for an opportunity to do it again!

6 thoughts on “Discovering Re-covering – a DIY Project

  1. It turned out great! I actually just recovered the chair I bought from you yesterday…it was my first too! I will post on fb soon. Annnnddd I totally bought that same bag!

Leave a Reply

Fill in your details below or click an icon to log in:

WordPress.com Logo

You are commenting using your WordPress.com account. Log Out /  Change )

Facebook photo

You are commenting using your Facebook account. Log Out /  Change )

Connecting to %s