MidCenturyObsession is growing! If you have enjoyed the Do It Yourself features, Thrifty Tips and other mid century modern-obsessed content, please click here and subscribeto my new and improved site so that my MCM goodness keeps coming your way!
MidCenturyObsession.co (No…I didn’t forget the “m” The IT nerds are saying “.co” is the new “.net”!!!!)
If you have suggestions on features, feedback or just wanna send some love, please email me at midcenturyobsession@gmail.com
As you can see, website under major construction. Here’s a fellow MCM writers beautiful feature of a Cliff May Long Beach Ranch Home. LOVED IT, and had to share it. Thanks, Rebecca!
Now that the living rooms are pretty much “decorated” and done, I can turn my focus to other projects. We live in a 20-year old home that has done pretty well to retain it’s new-ish look…well, all except for the kitchen cabinets which are like going back in time. Simply put, they’re a dated dead-giveaway. The rest of my house is just so with regard to design, but that’s entirely intentional. I love mid-century modern decor and that’s evident when you walk in. A large scale renovation really isn’t in the cards, unless someone at Houzz.com decides to pick me up as a staff blogger. I’m no negative Nelly, but let’s be realistic here: that’s so not going to happen.
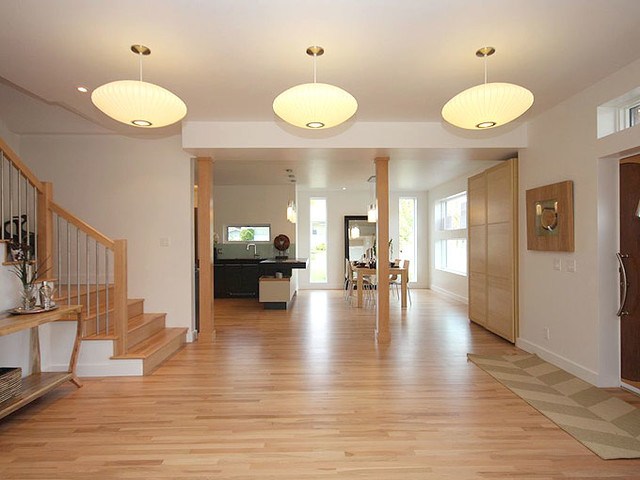
Until then, I’ll be dreaming, and building my kitchen “ideabook” on Houzz.com. Here is a particularly inspiring blog featuring the favorite Kitchens of the Week for 2012. Do yourself a favor and open a Houzz.com account if you haven’t already. It’s free. You can find pictures that strike you, and save them to a folder of your own creation.
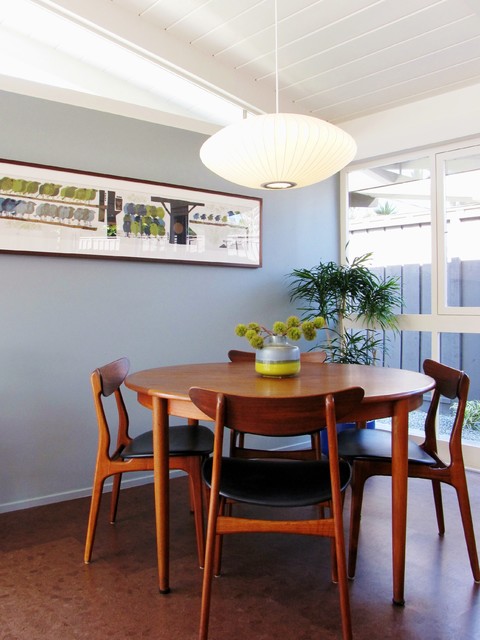
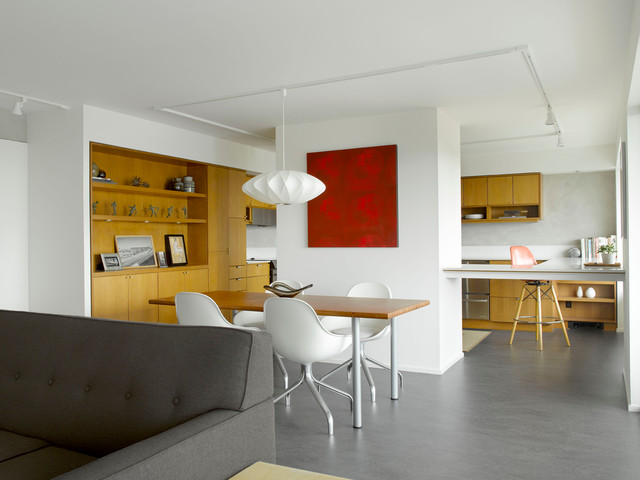
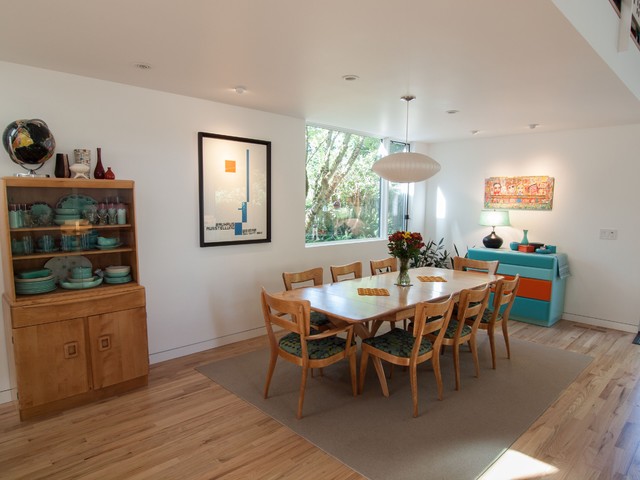
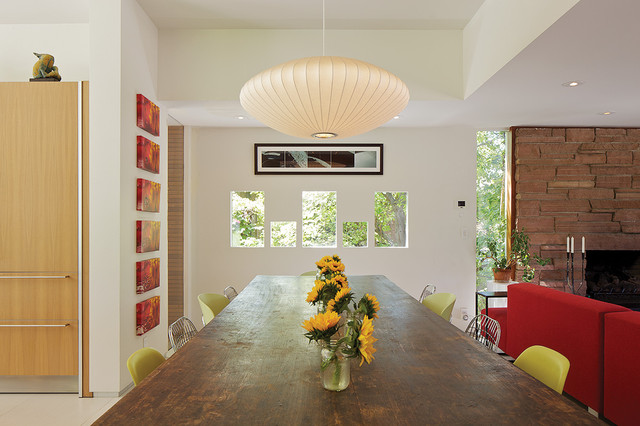
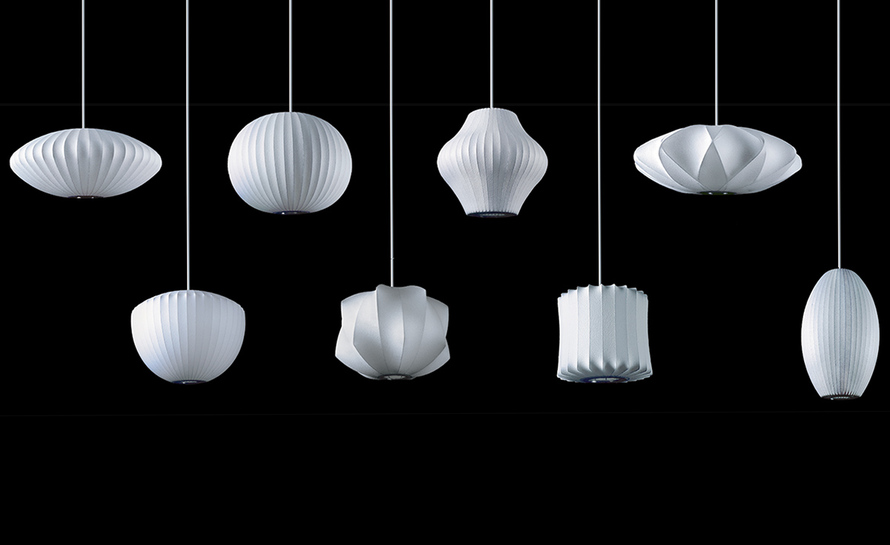
You’ve probably seen it a few times before: The George Nelson bubble lamp. It’s Mid-Century Modern design at its absolute best. George Nelson was one of the quintessential leaders of the mid-century modernism movement. He and the Herman Miller furniture company teamed up to produce some of the time’s most iconic modern creations. Today, one can’t seem to escape the sight of the must-have bubble lamp. Despite its popularity, I feel that I too, MUST have one.
Three Nelson lamps in one entryway? Now that’s just greedy, that is!
Naked Nook needs Nelson
As for me, I can picture a smallish or perhaps medium lamp gracing the ceiling above my tulip table creating a sort of mid-century zen vibe.
Suddenly, dinner would be guaranteed pleasant. My family and I would laugh as we enjoyed our always-delicious meals and shared our news of the day; never forgetting to pray first. Our 4-year-old wouldn’t interrupt as my husband and I exchanged adult pleasantries. He would patiently wait his turn to say something extremely mature and charming. Gone would be the days of chaotic meal arrangements, requests for t.v. during mealtime and talk of farting.
If you too, NEED a piece of cloud-like zen to come into your home, here’s the scoop on where you can find them:
The Danish Modern Chair Rescue Project is finished! For those of you new to the blog, a couple of weeks ago I scored a chair in need of some serious lovin’ for $5 at a garage sale. Then, I happily re-finished the wood. Follow me now, as I take you through a quick re-upholstering lesson.
Once again, here is the Danish Modern beauty in its rough original condition:
Weekend Warrior Project
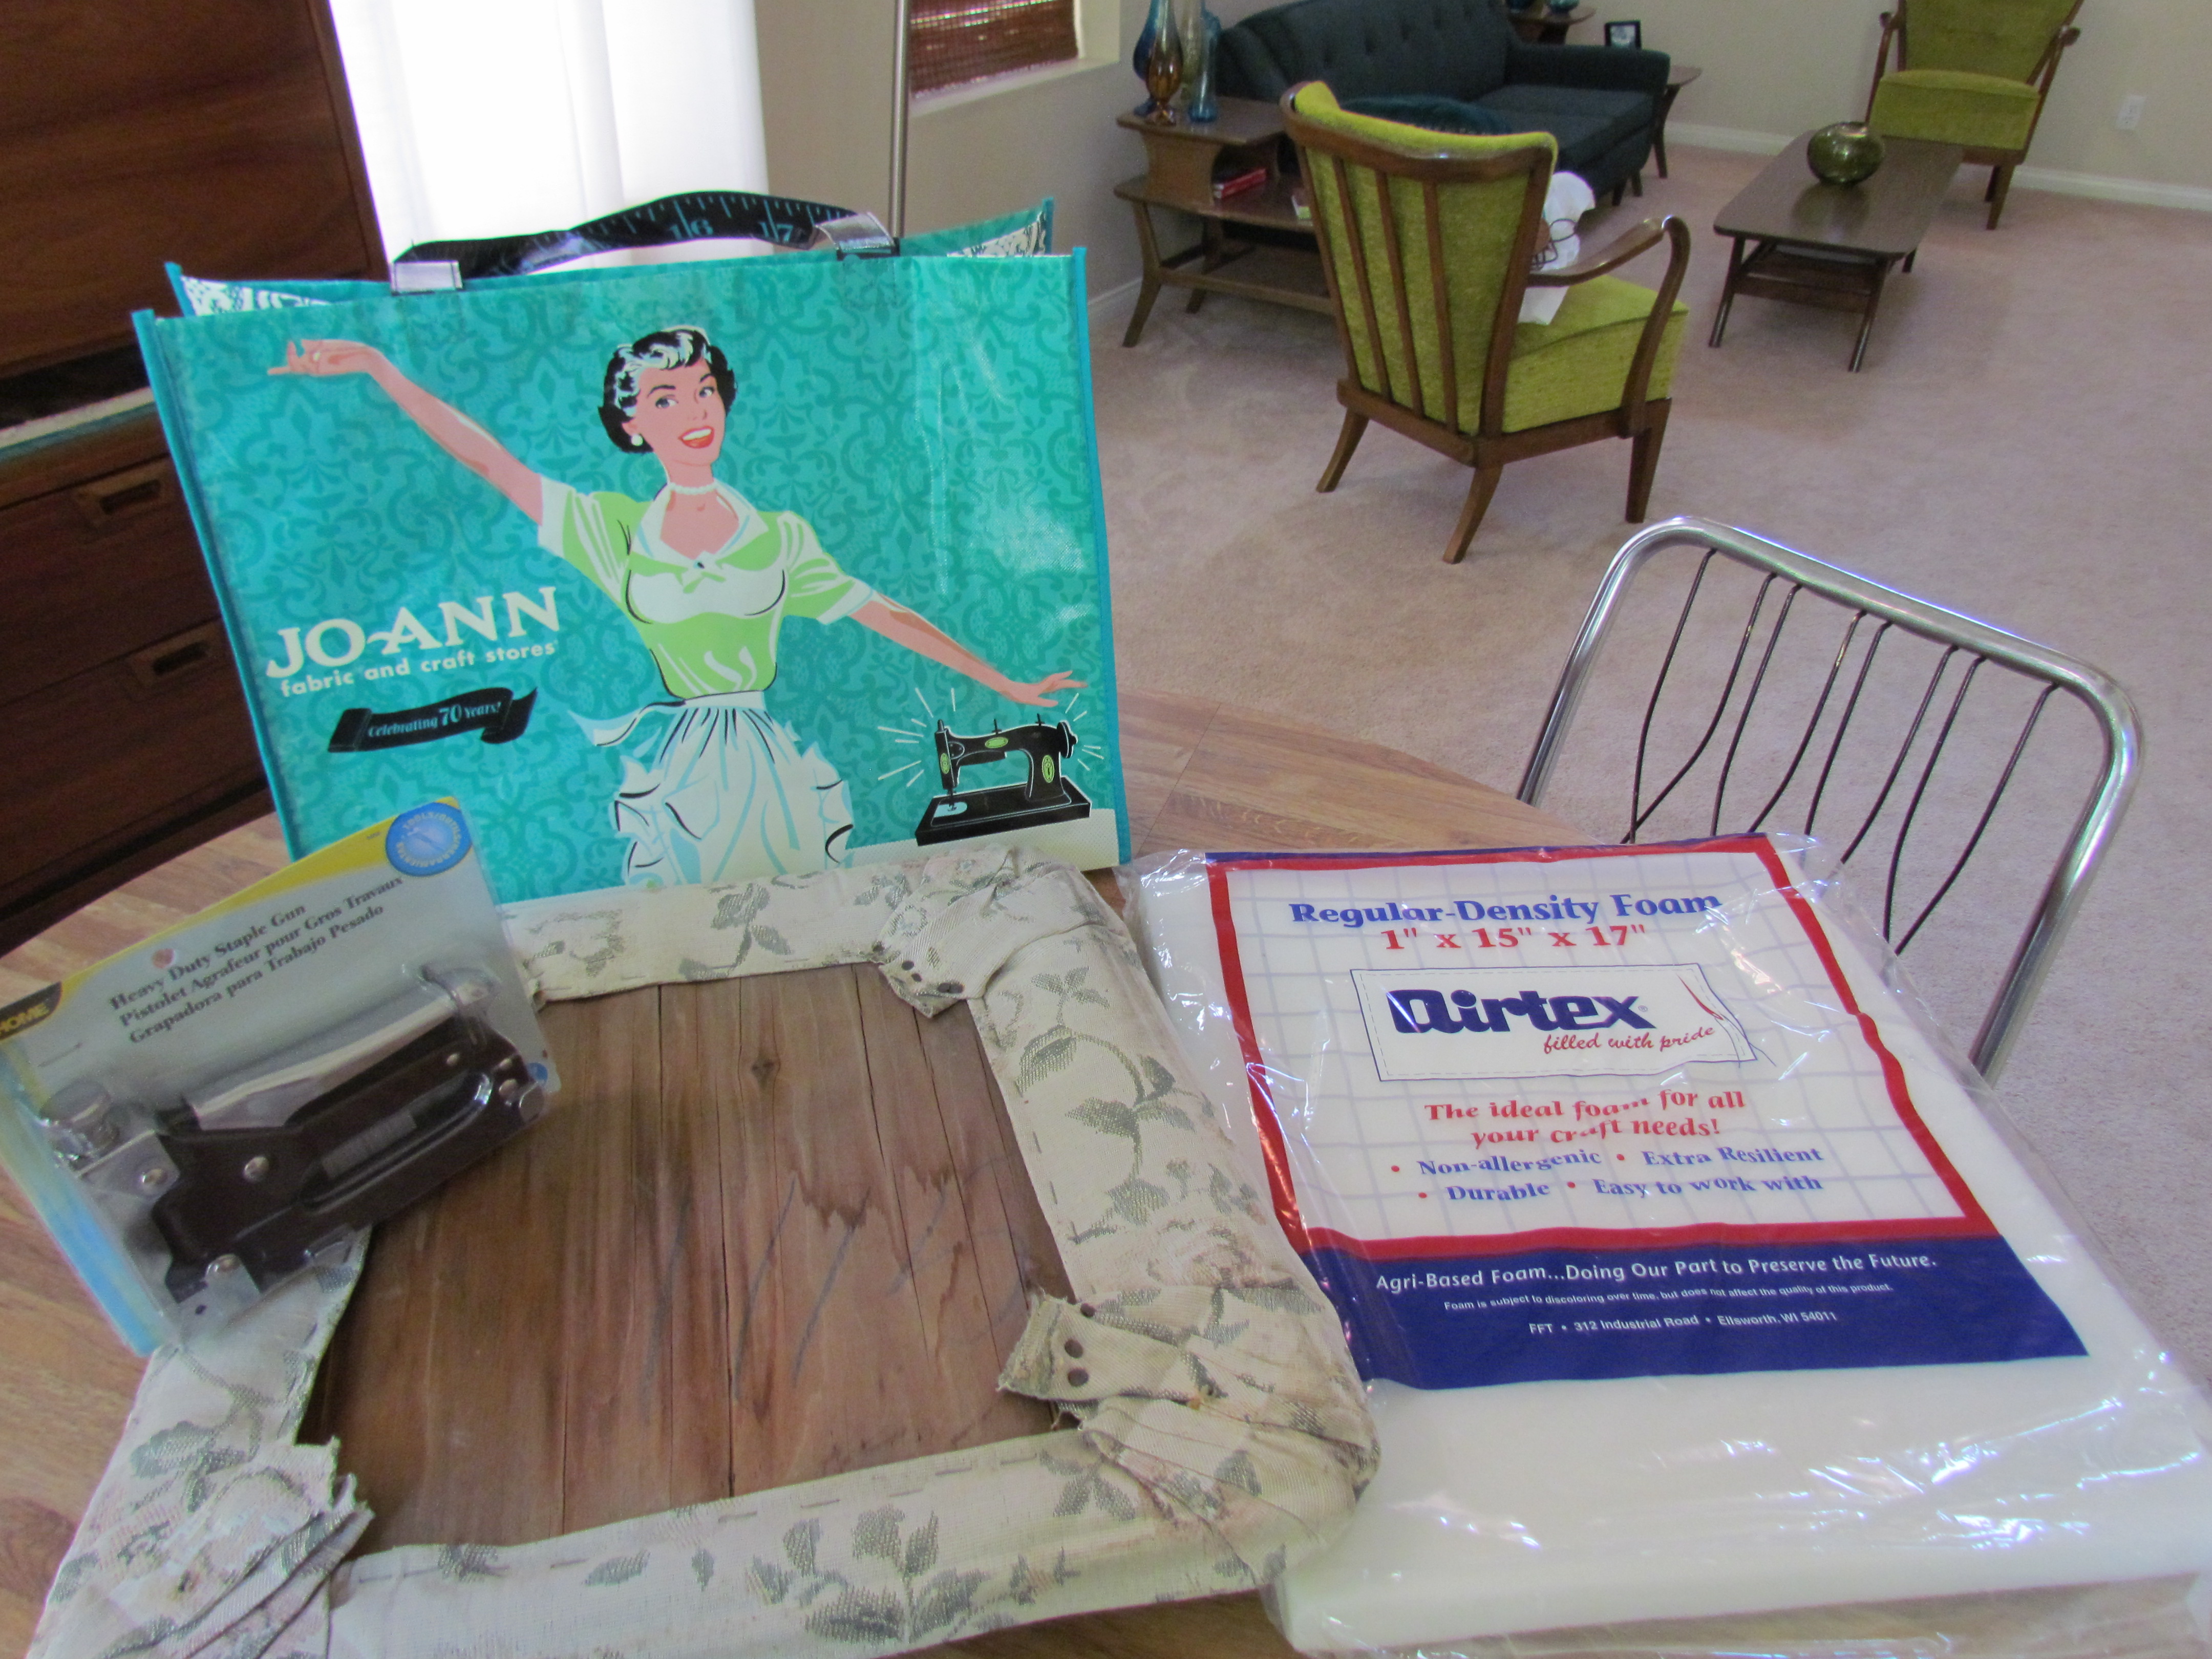
Before we move on, I’d like to stress to you just how uncomfortable I was with this project. I knew at some point, I’d have to walk into the dreaded Joann’s craft store. It’s like walking into BabiesRUs when you’ve never had a kid before; intimidating, and overwhelming. Why are there 20 different bottle nipples? No one knows. Similarly, Joann’s Fabrics makes me just as uncomfortable. Smug and talented homemakers standing around with their bolts of fabric and perusing craft books. There is an entire 2-sided aisle devoted to scissors. Here’s a little known fact: I’m not crafty. I never took Home Economics in school. I was much too busy playing volleyball and putting the smack down on my competitors to worry about girlie crap like sowing. Now that I’m a bit older, I wish I would have taken “HomeEc” and learned a few “girlie” things.
HGTV Fabrics spied at Joann’s.
After seeing some of the really cool fabrics Joann’s had, I began to consider becoming a convert. How cool would it be to be able to make your own stuff….in the fabric/pattern/style of your choosing? Incredibly cool and empowering. I might just take a class in the near future. If you can’t beat ’em, join ’em!
Anyway…I knew what I was looking for after watching a YouTube video tutorial. I got in and out of there as quickly as possible. Here’s what I bought:
Heavy Duty Stapler, Regular Density Foam, and a $1 recyclable commemorative “Sucker Bag” as I call them. Oh come on! It’s only a dollar! And look! Joann’s is celebrating 70 years!
Okay…now that we have supplies…let’s get to the business.
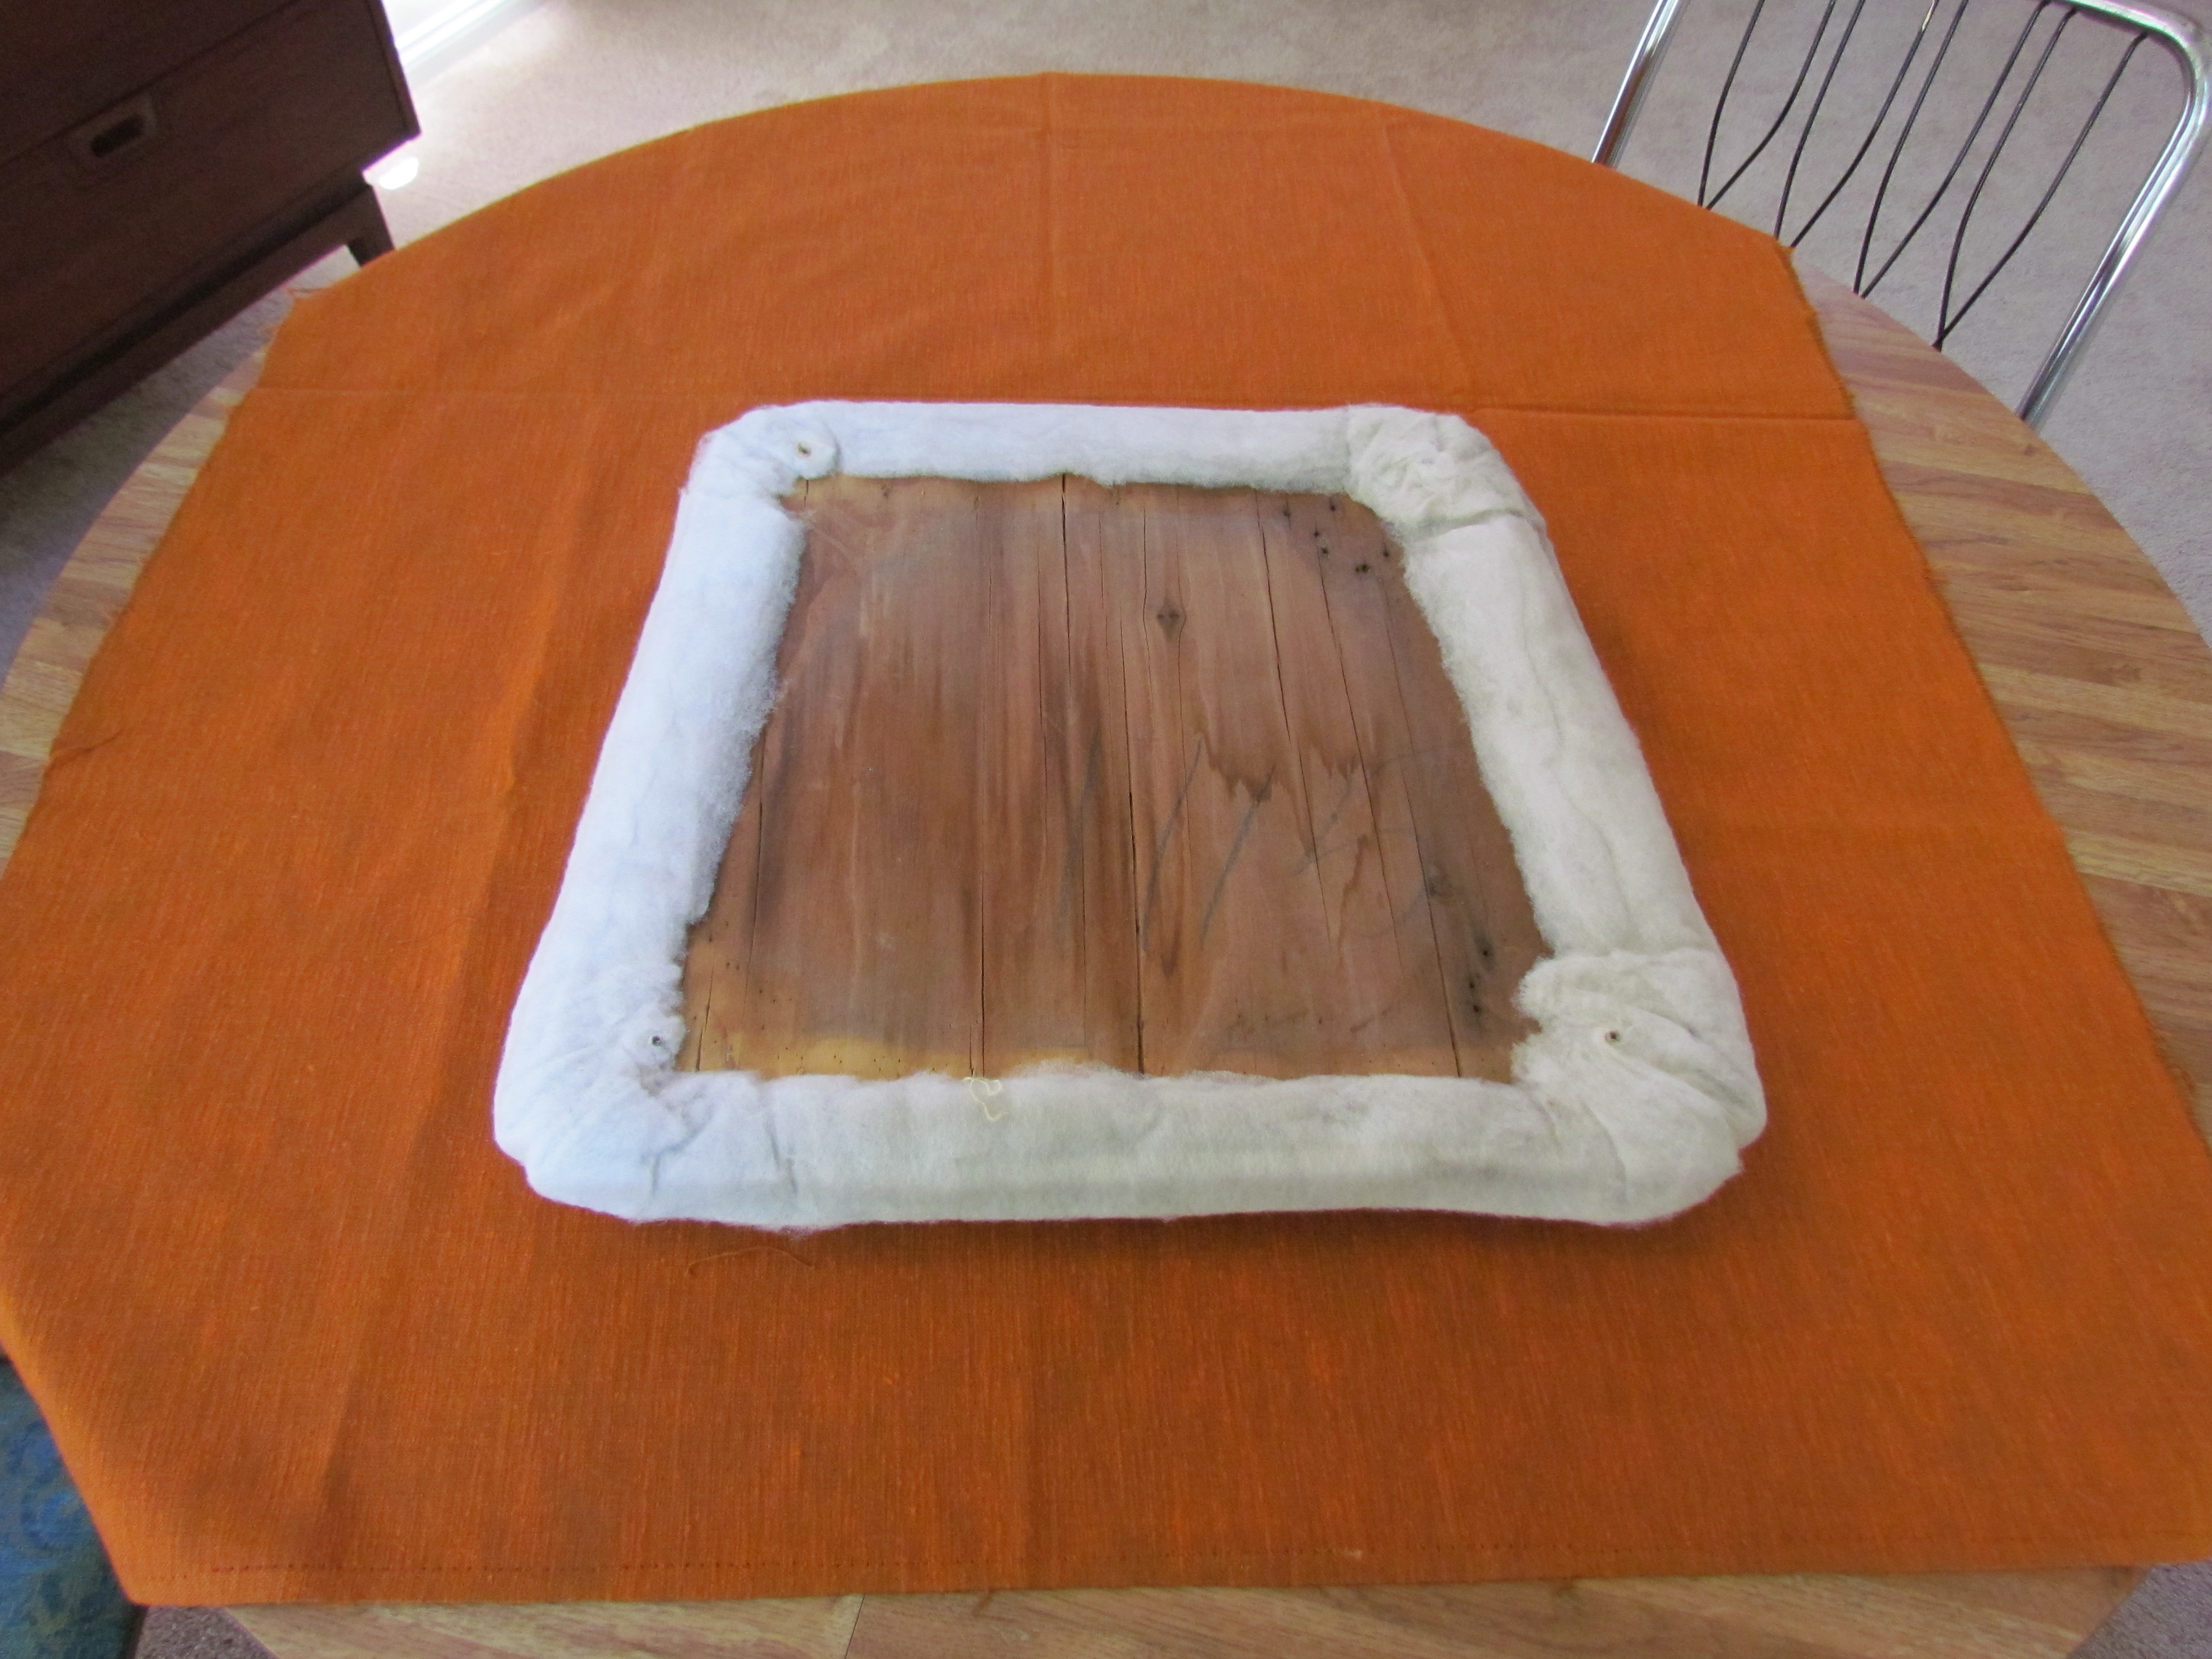
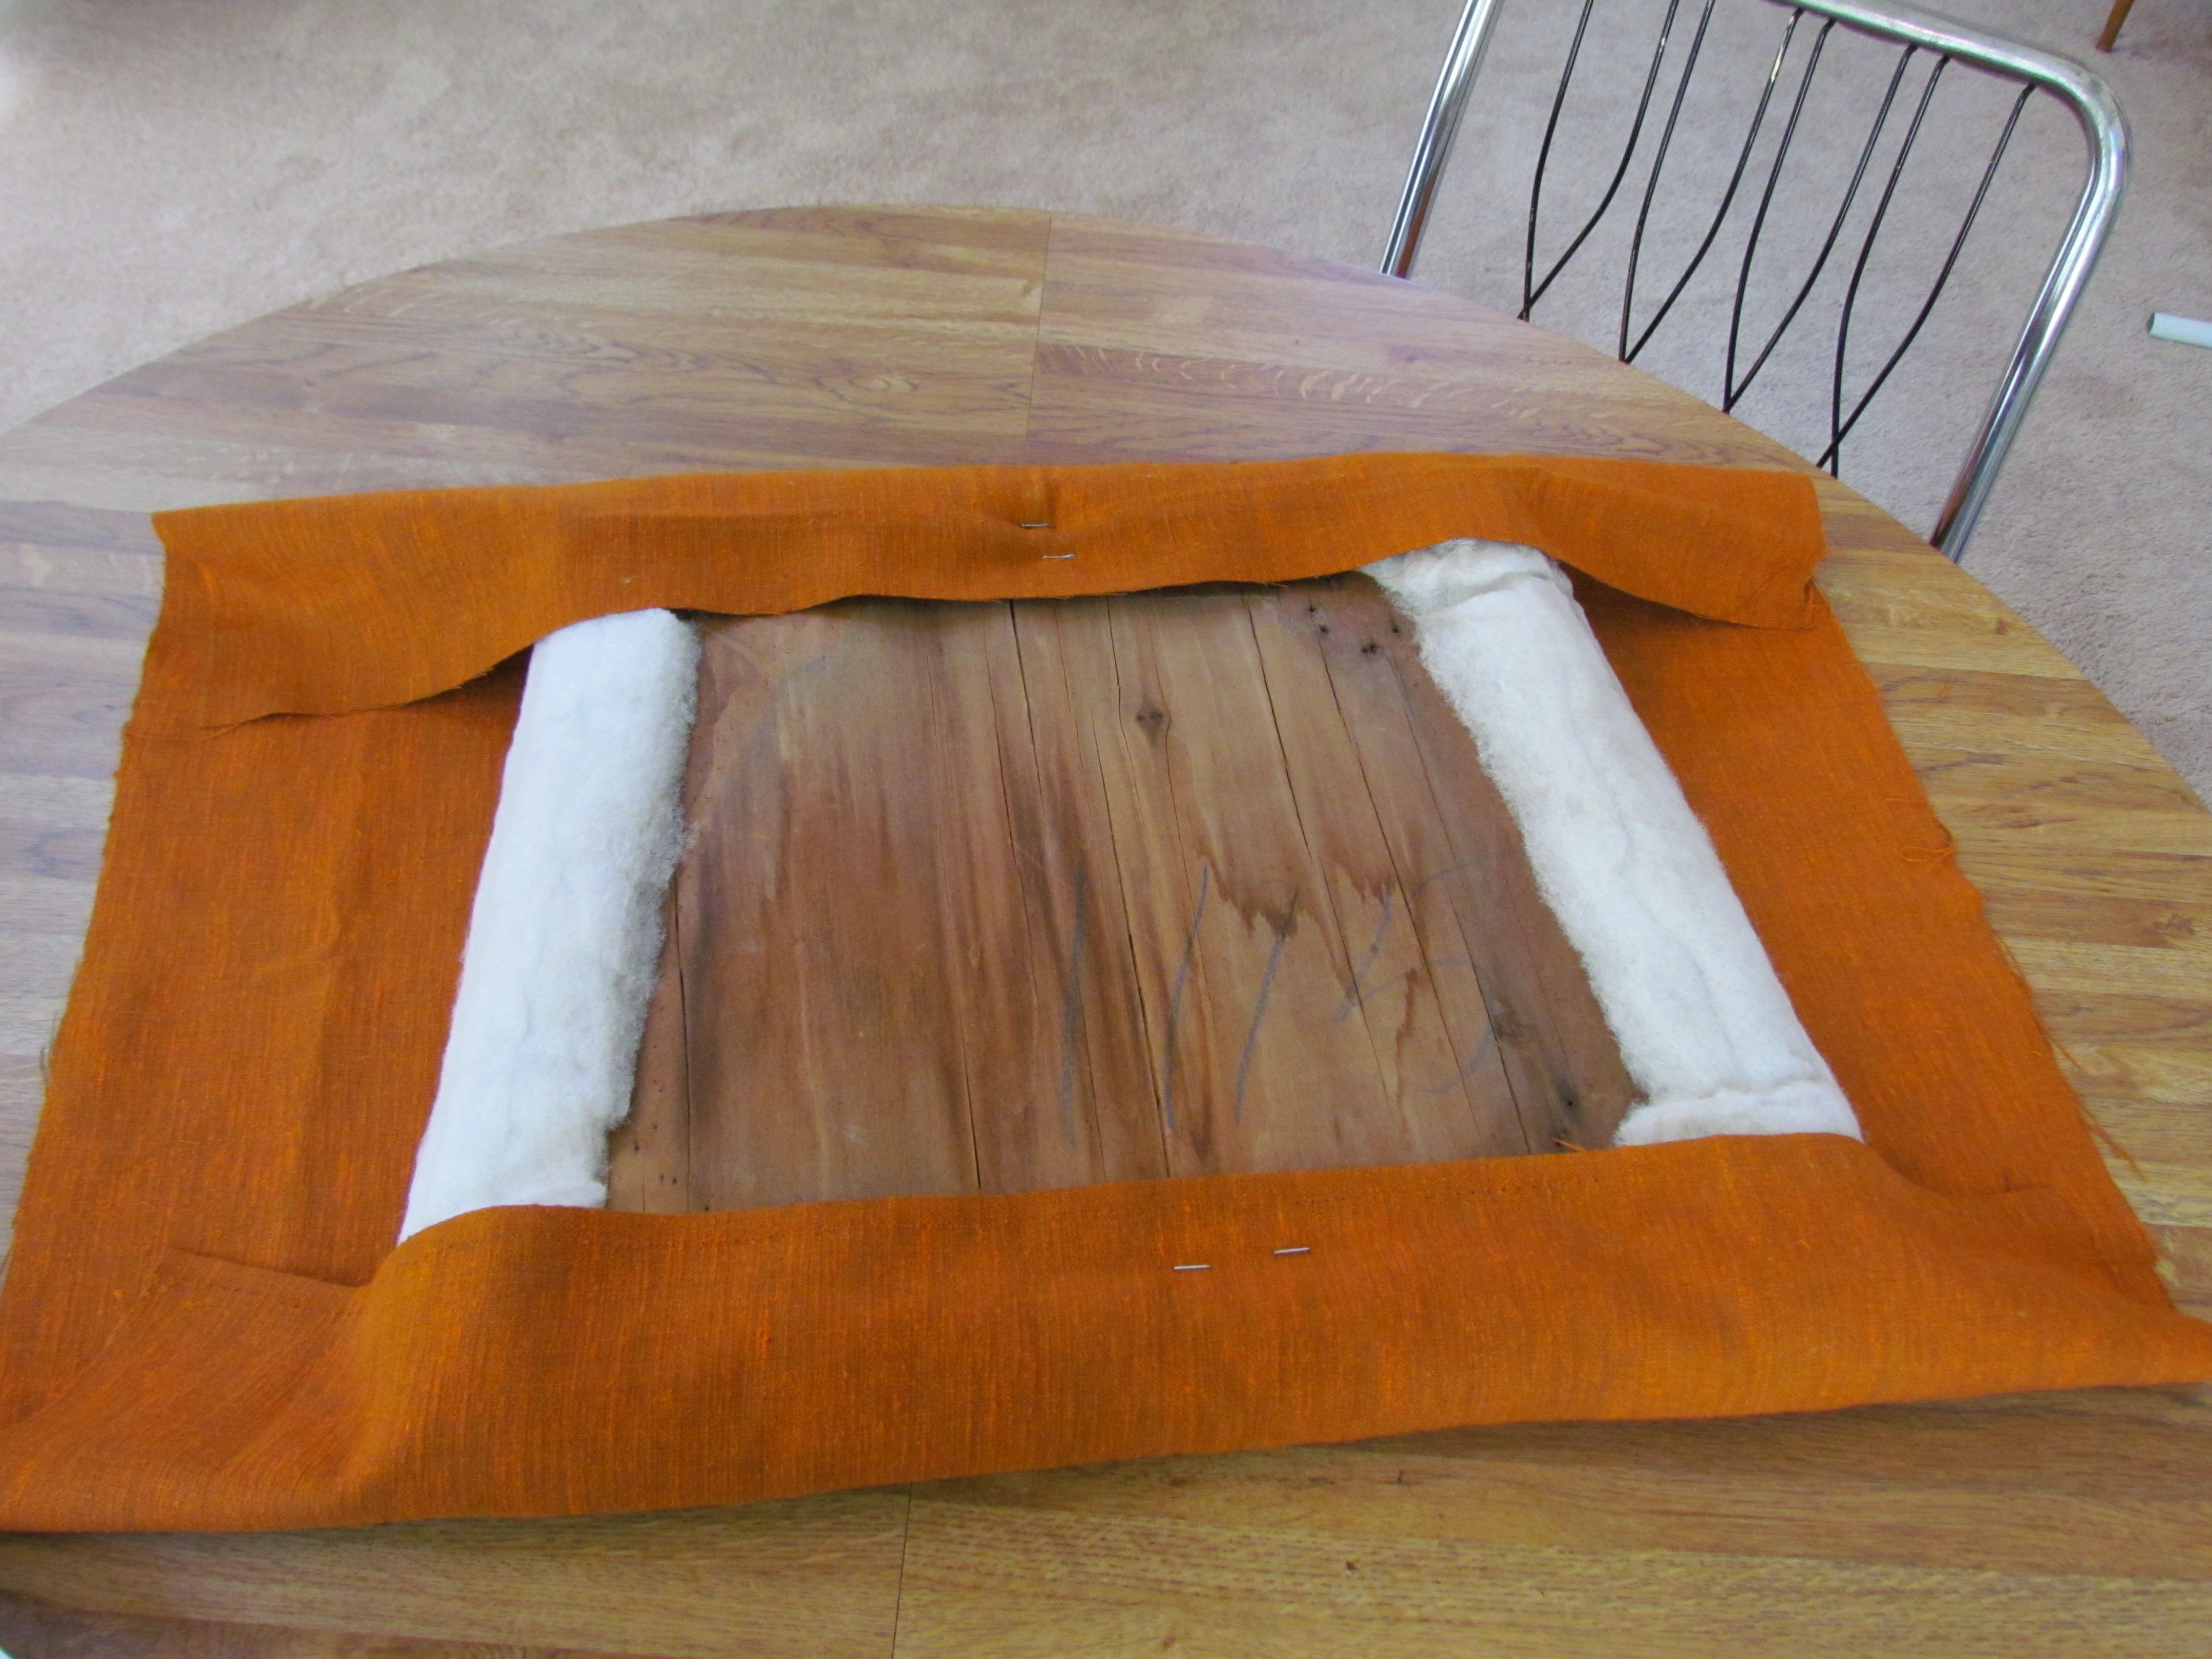
1. Remove the funk-tastic fabric from 1980.2. Discover the bonus of perfectly good batting and padding. I can return my “regular density foam” upcycle what I already have, and move on!3. Lay out and line up your fabric (I found vintage fabric at rue23vintage on Etsy.com)4. Trim your fabric. Eyeball it. It’s not difficult. If you leave too much, you can trim later. (I used regular scissors. But if you want fabric scissors, I’m pretty sure Joann’s has one thousand different versions.)5. Pick a side and let that stapler rip!6. Pull fabric taut at the opposite side and let ‘er rip again! (Once complete, turn pad over to make sure your fabric is straight. This is more important if you’ve got stripes or pattern. By design, my fabric was pretty idiot proof.)7. Pull in other sides, and staple to your hearts content leaving the corners for last.8. Create a “pleat” at the corners and check your pad side to make sure it’s to your satisfaction.9. Done and Done. I finished my corners and trimmed away a bit of the excess fabric so that I would have an easier time screwing the seat back onto the chair frame. Always thinkin’!So with some time, and very little moolah, I was able to go from this….. (Drumroll please!)To this!!!!!
Now that I’m done, this sweet little chair has been moved up to the guest room as an accent…and place for people to take their shoes off, or drape their clothes! What’s more, I was able to rescue a little piece of history and give it new life. Hooray! I have finally discovered the art of the re-cover, and I can’t wait for an opportunity to do it again!
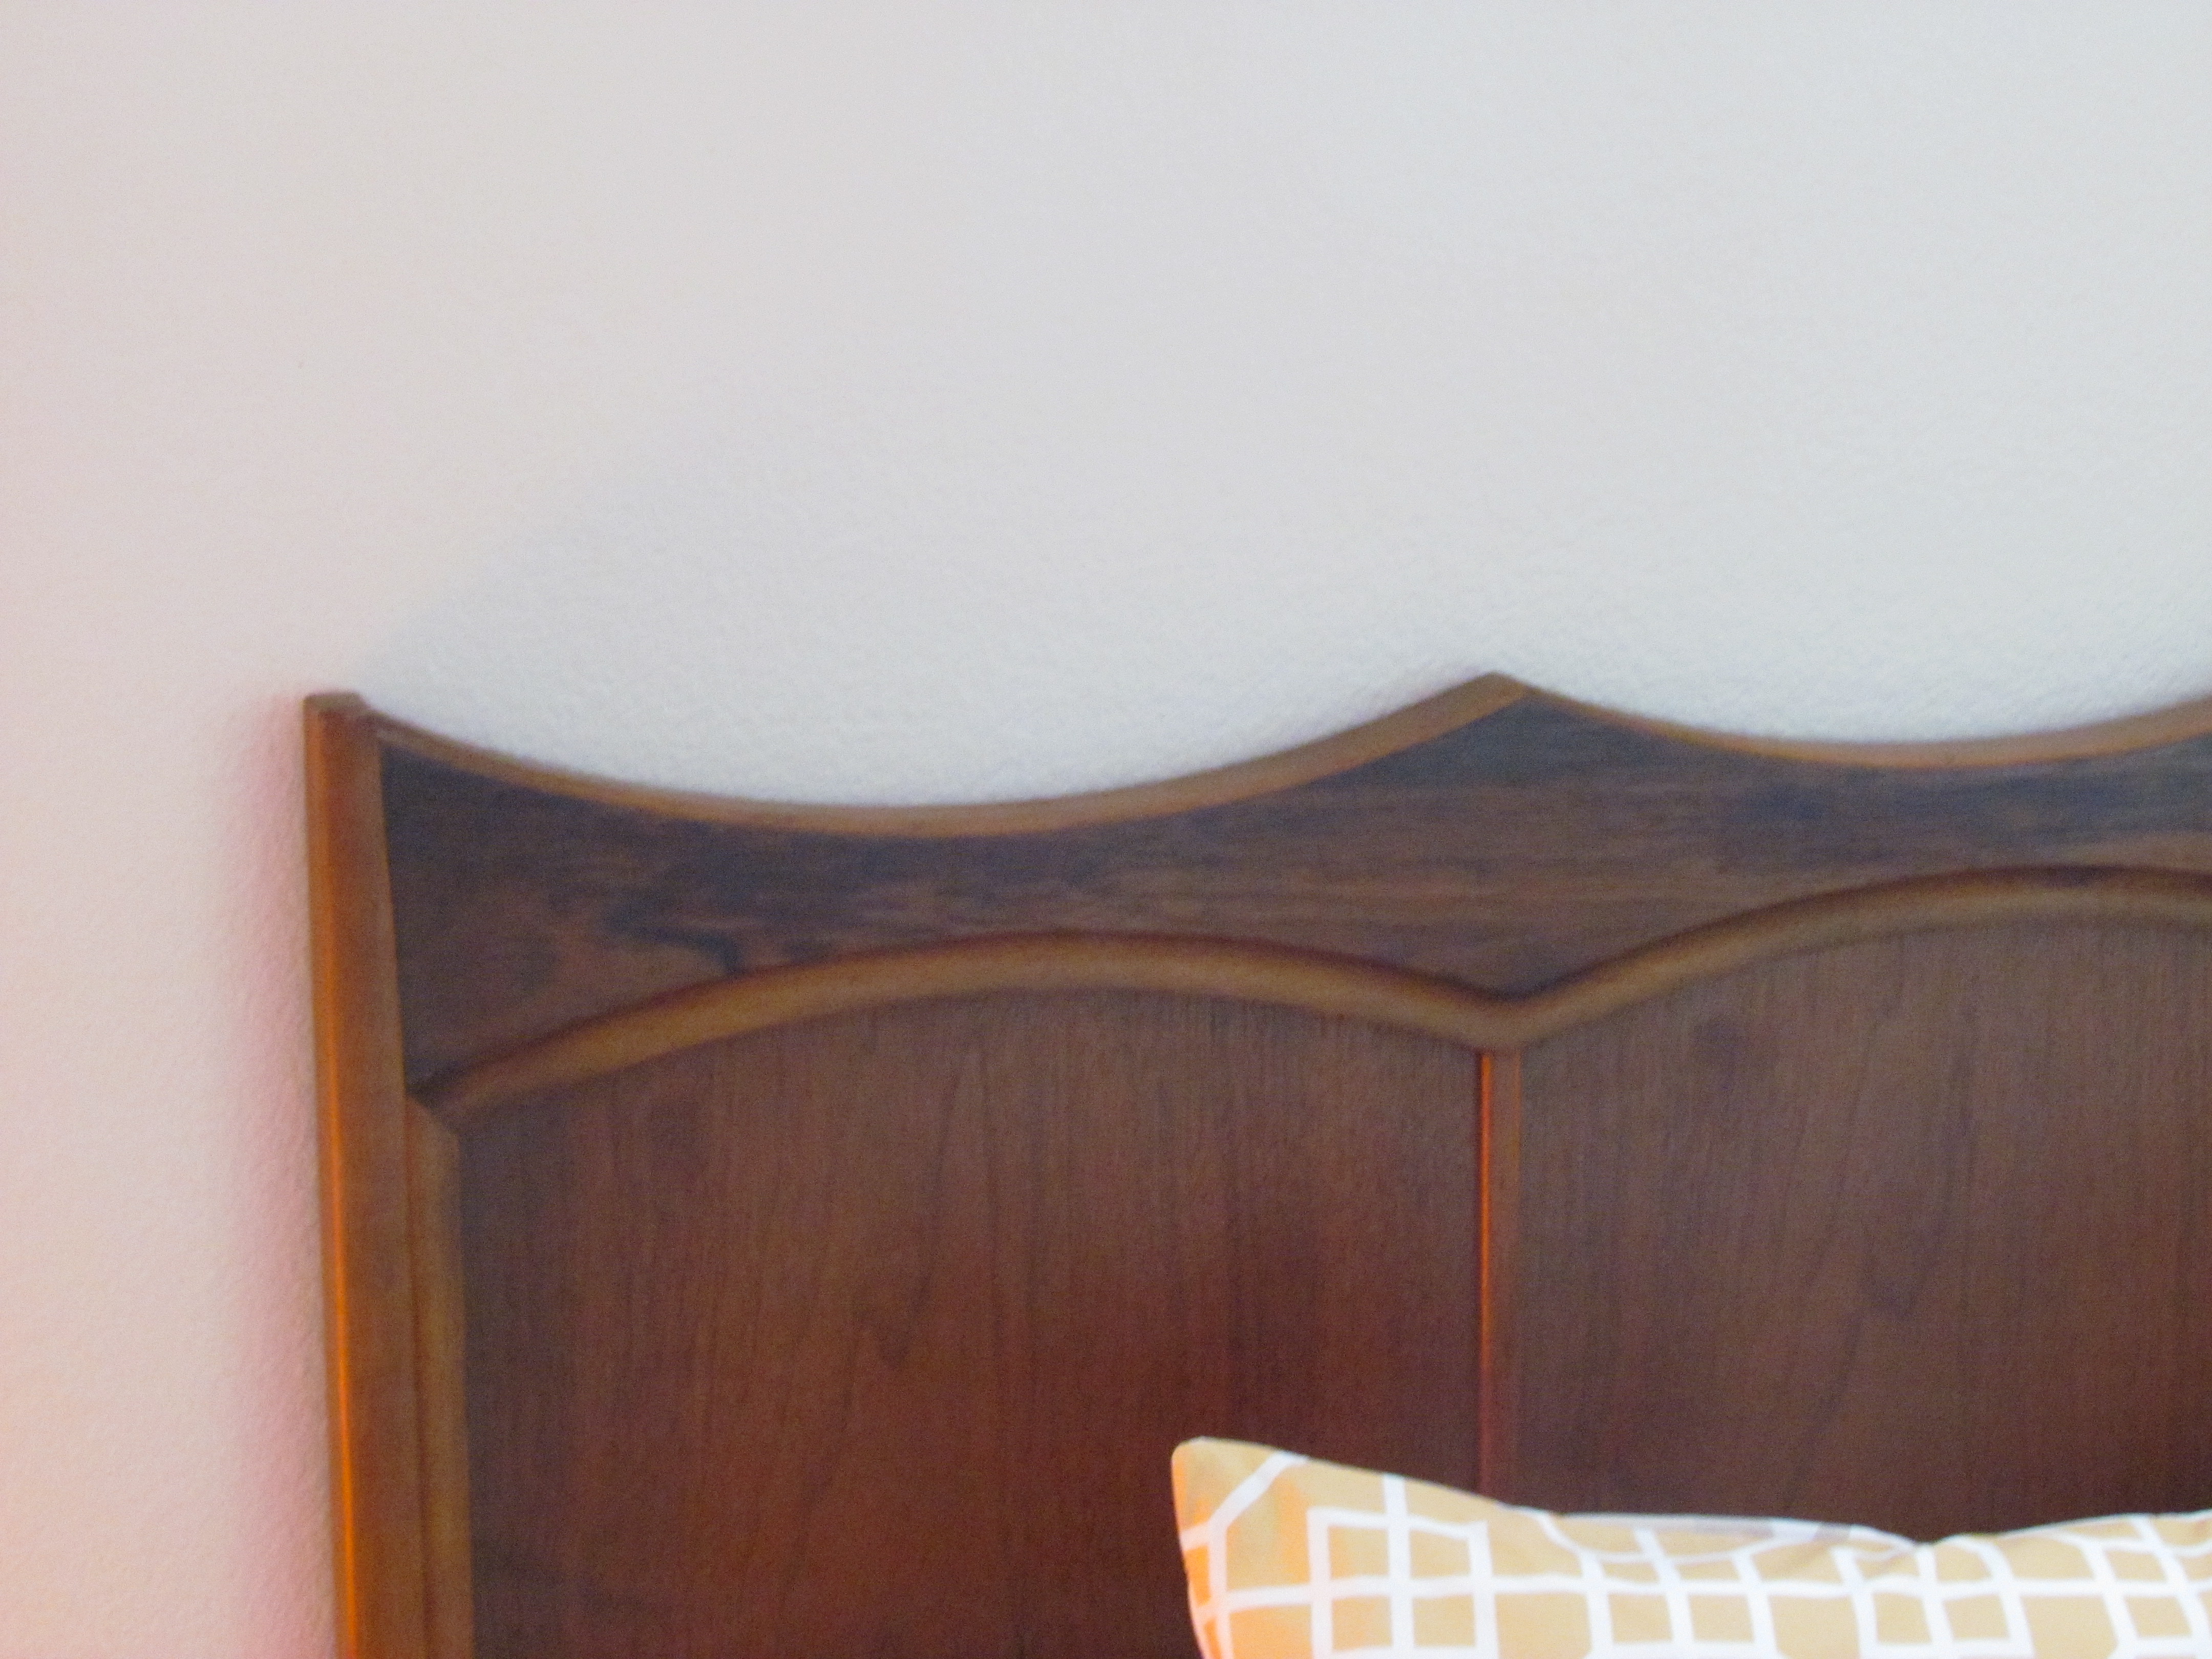
The guestroom “re-deco” is finished, and I’m not sure which designer to thank. I recently found this headboard on Craigslist and decided to jump on it. I likened the guest room to a puzzle, and a headboard was the missing piece. This headboard listing read, “possibly Kent Coffey or Kroehler.” (Both mid-century big shots) Personally, it doesn’t matter to me who the maker is, it would just be fun to know the history behind this piece. I’ve looked, and I can’t find anything out there like it right now. My biggest thanks go to the seller for working with me on price, and my husband for driving to San Diego to pick up this treasure without complaint.
Picked this guy up for $100. Pretty good deal for vintage MCM.
I selected this headboard for the following reasons: 1. It’s fab. 2. Price was right. 3. The swoops in the top match the drawer pulls on my night stands. Slightly psychotic, I know.
Before and After Shots:
Not a t.v. makeover, by any stretch, but it’s a cozier spot now in my humble opinion. I’m glad our tiny guest room is done, and that it’s ready to receive visitors. However mismatched and mysterious the pieces, I think it they alll came together pretty well.
Before I sign off, though I have one more fun piece of trivia for all those Crazy MCM’ers out there:
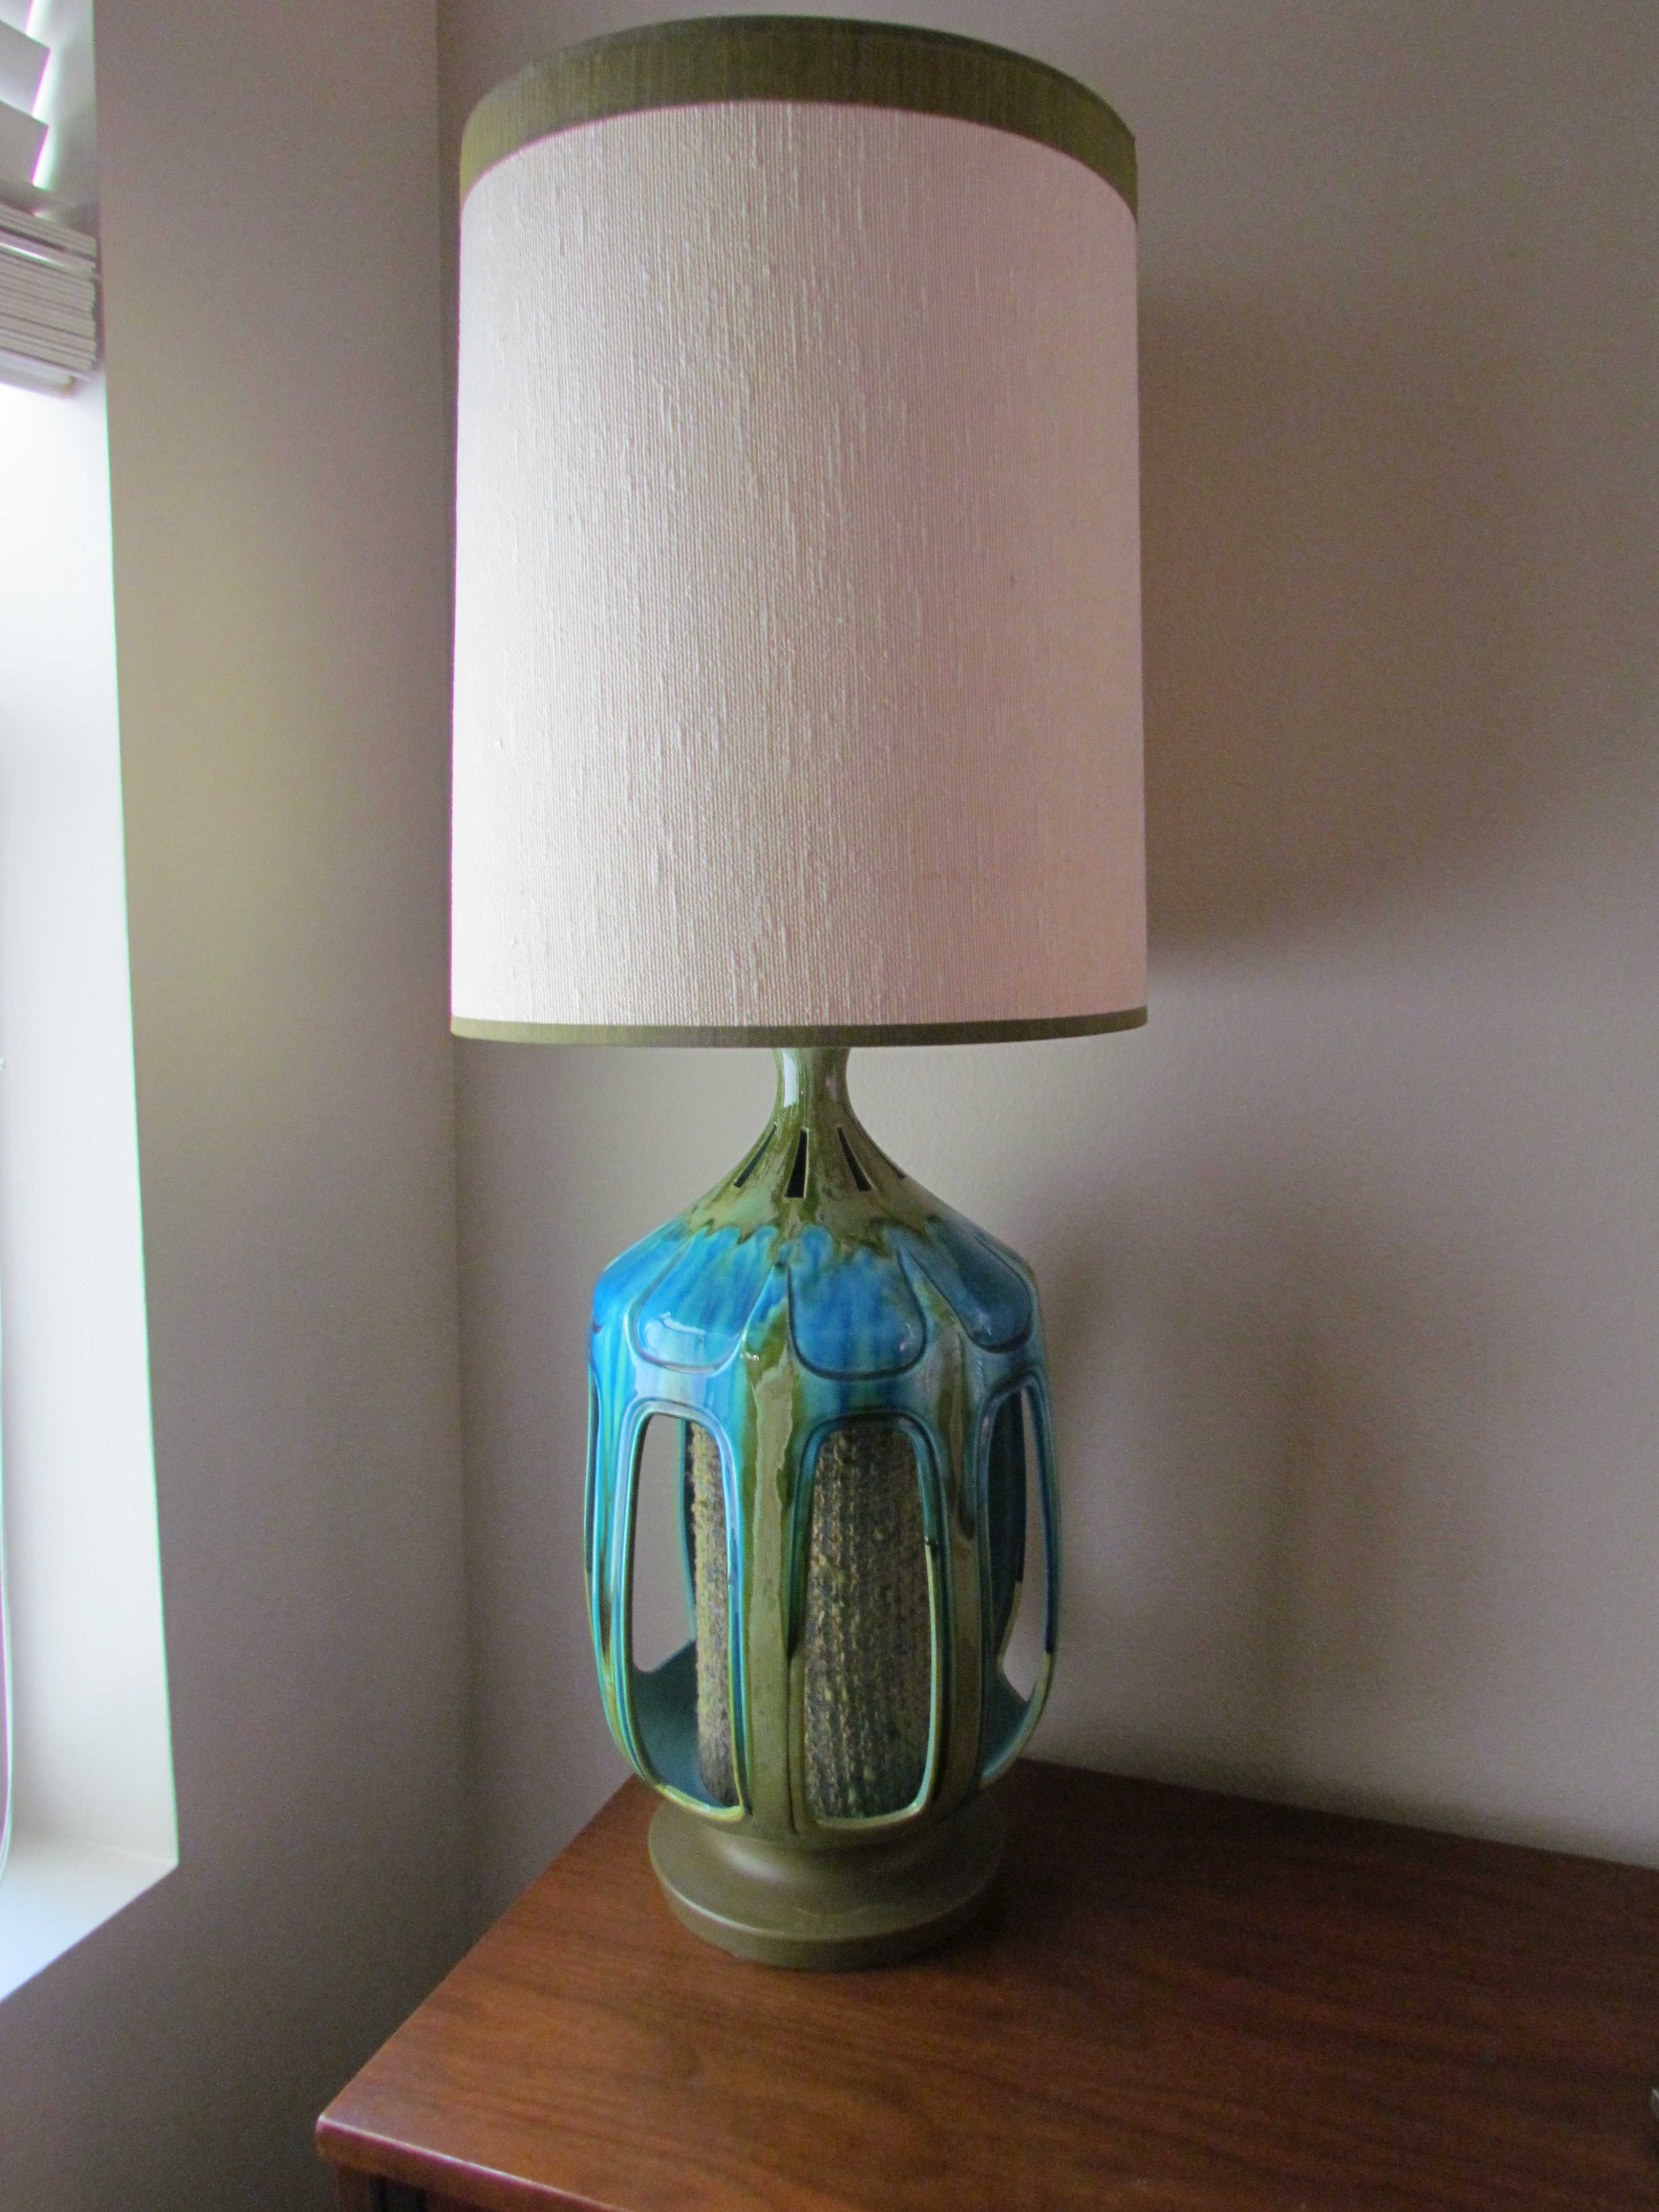
Who made this…..and have you ever seen anything like it? This is something I found on Etsy.com and the colors were too perfect a fit for my home to pass up:
The description read: ” Unbelievable mid-century modern atomic table lamp with gorgeous teal blue and green colors. This was created in a drip fashion. The interior has a wool-type burlap surround. In the style of Royal Haeger, though it is unmarked and a little more wild than their typical style. I have not found any information for this very elusive lamp on the internet.”
Also, there’s a tiny switch on the back of the lamp in addition to the one under the harp that indicates that the base may also have lit up at one time.
It’s so marvelous, it could only go one place…..on “Nana’s” credenza. I do believe when I was debating about the necessity of buying a third lamp for one room, my grandmother helped me decide . Usually I am a very frugal and practical gal. If I don’t really need whatever the item in question, I won’t get it. This lamp just grabbed me and stuck with me for days before I decided. When I finally came around and asked myself…”Geez..should I spring for it? Do I really want this?” My answer came swiftly and as if from someone else, “Does a bear shit in the woods?”
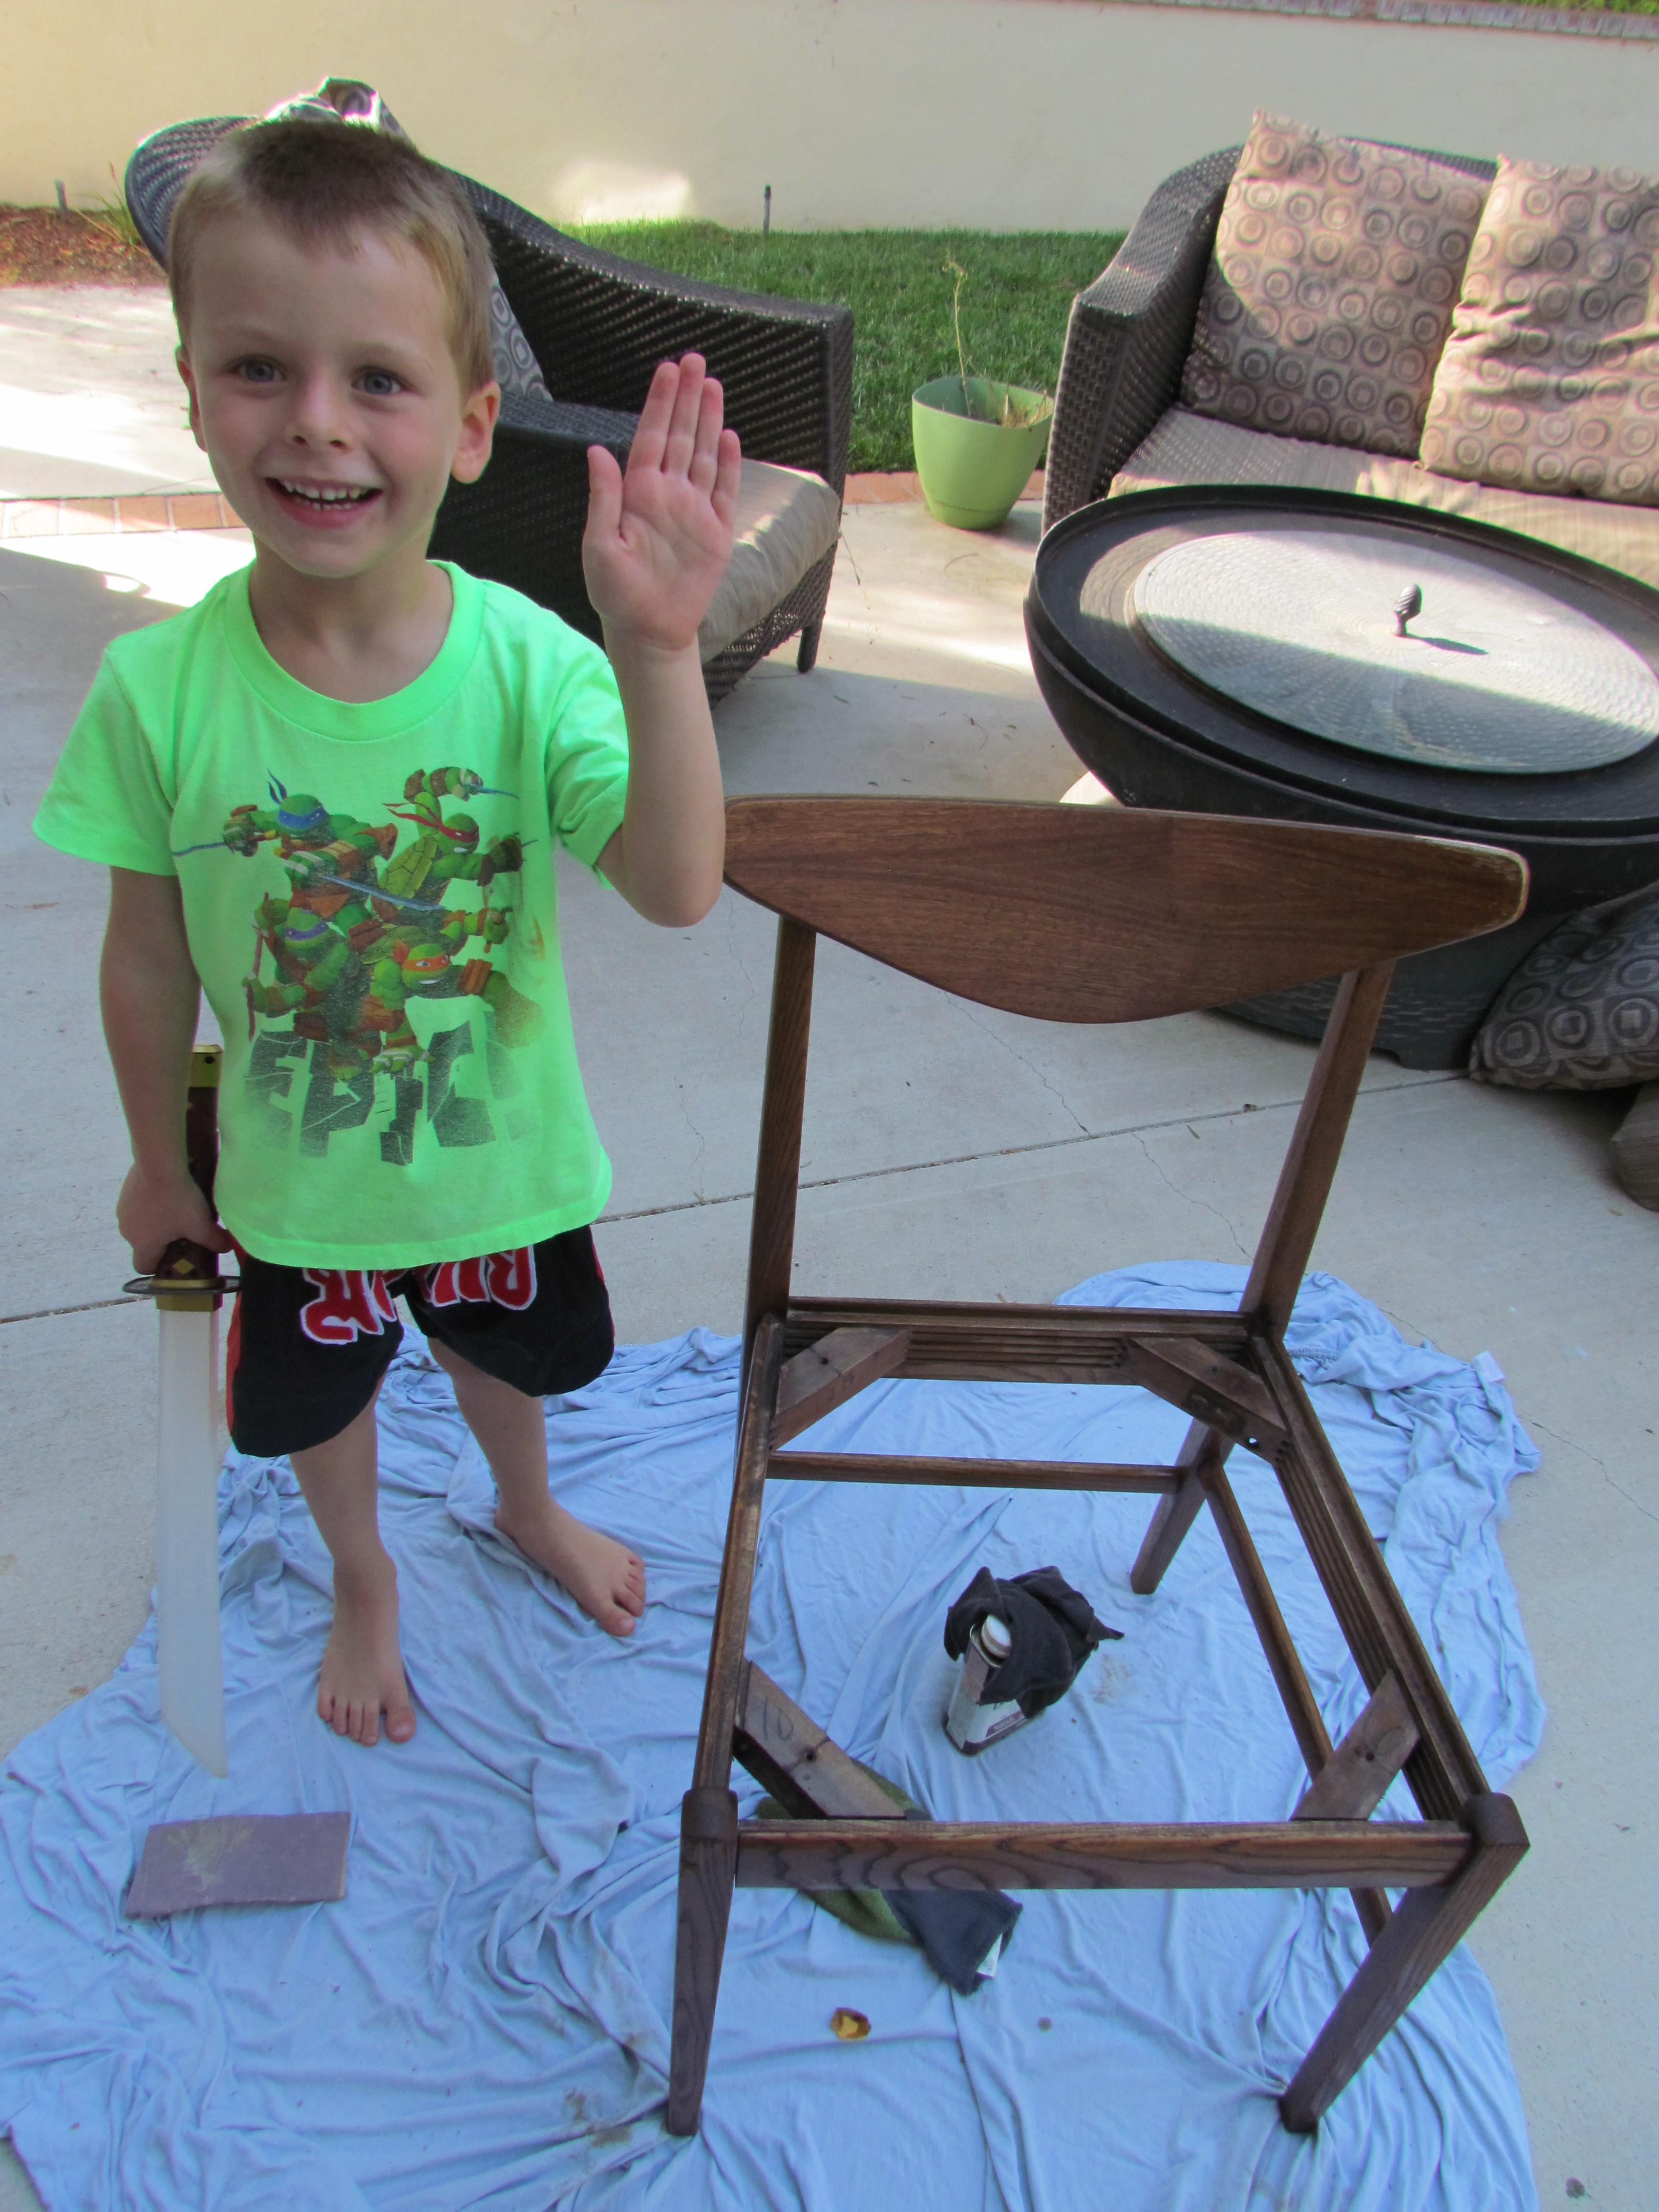
Remember this guy? Well….I made him my biyatch this weekend.
Garage sale find for $5
Actually, I think it was the other way around….but who’s keeping track? Buckle your seatbelts, because I’m going to take you on a magical mystery tour of the how-to’s and what-not-to-do’s of refinishing a really old chair.
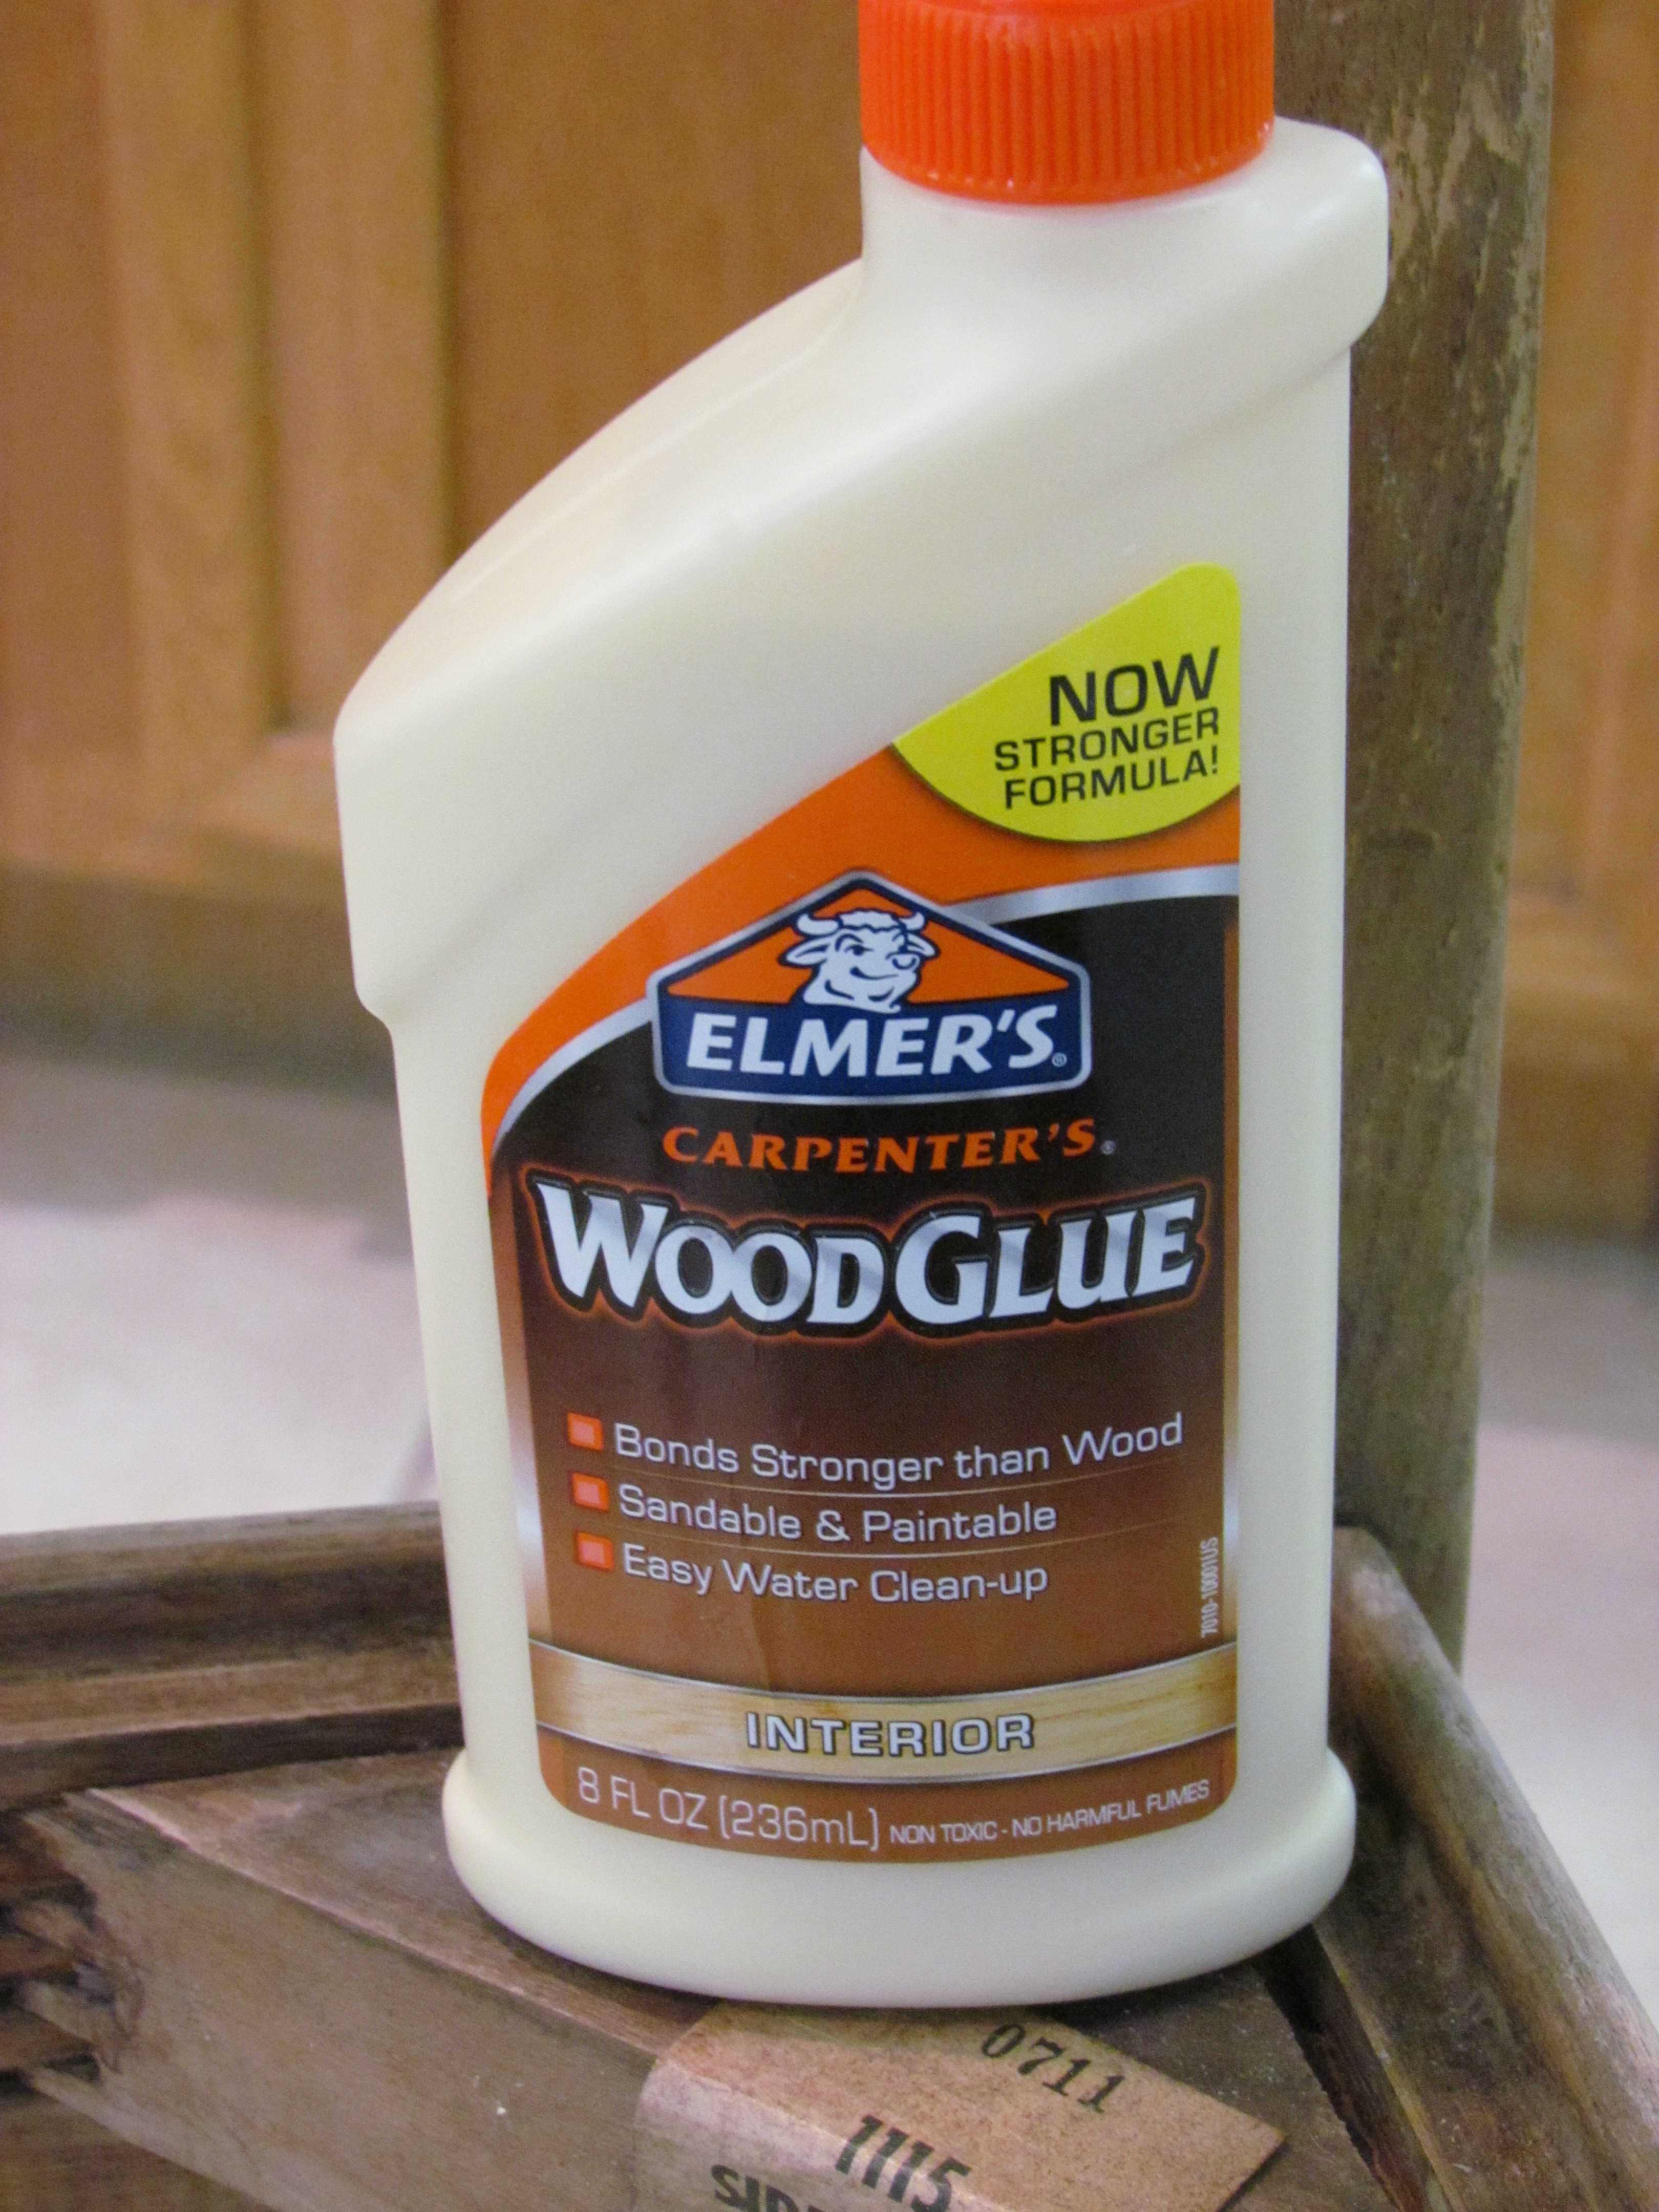
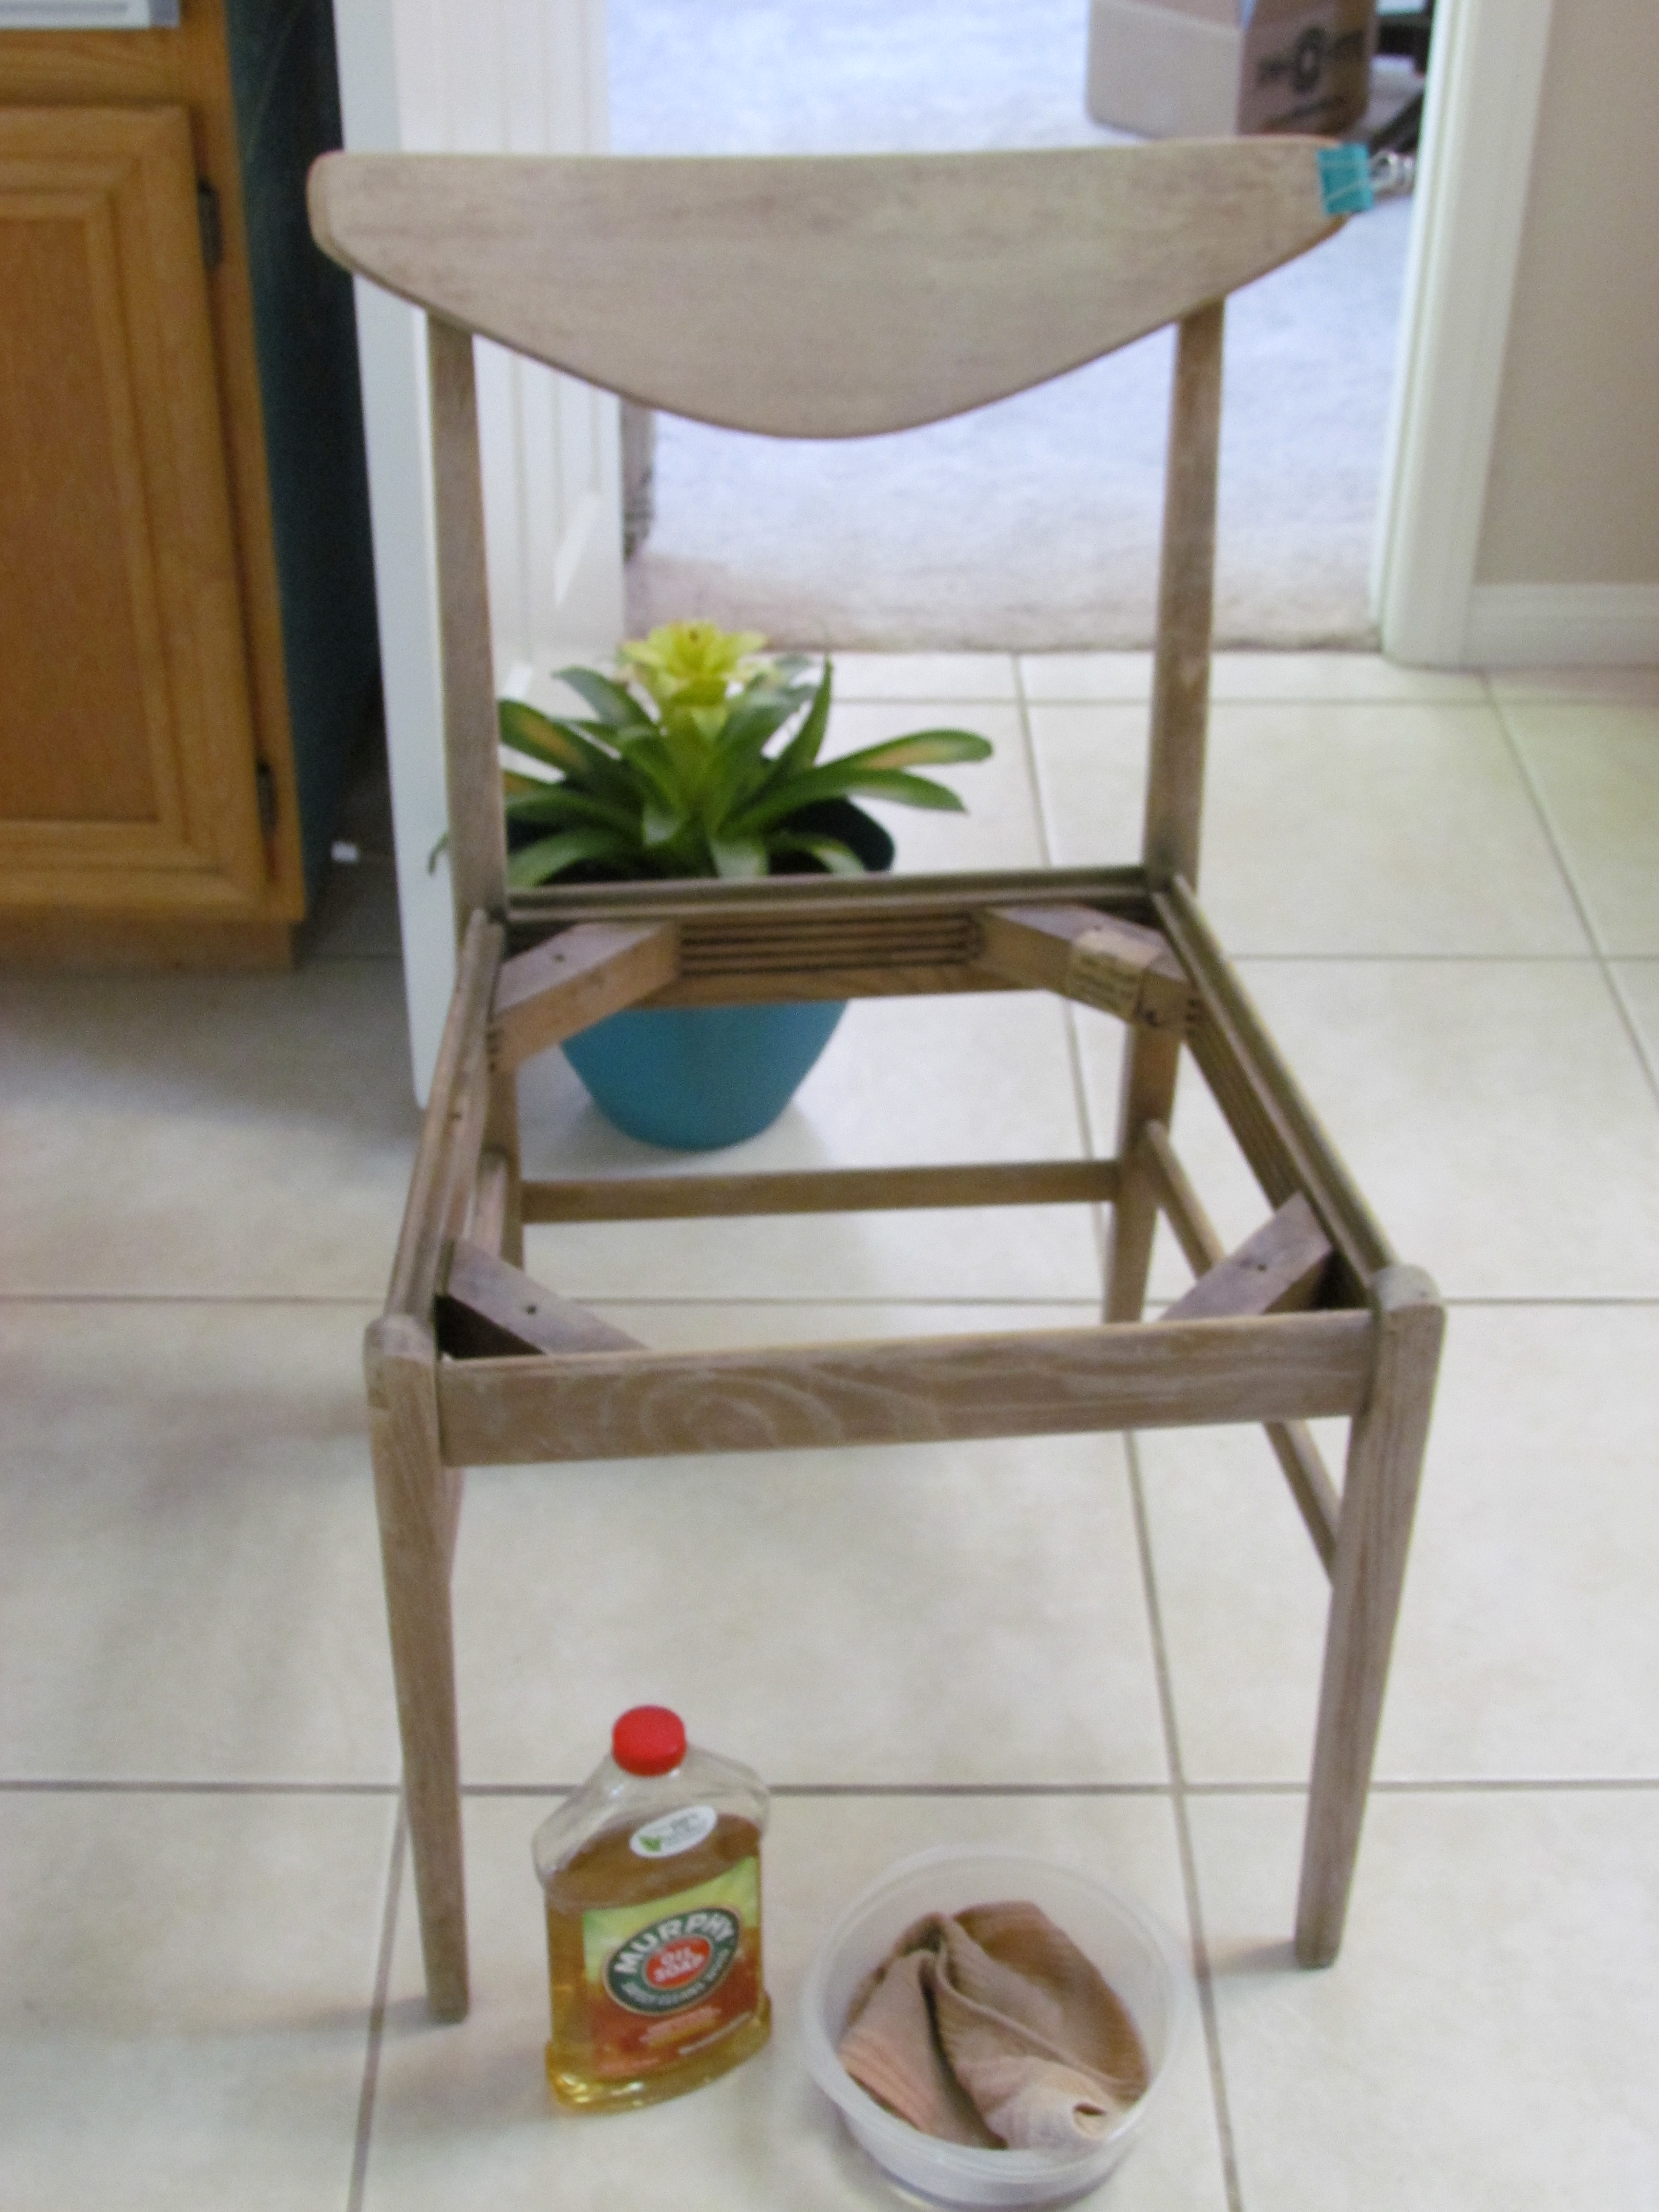
Here’s what I used: 400 Super Fine Sandpaper, Elmer’s Wood Glue, Murphy’s Oil Soap, Watco Danish Oil (Medium Walnut), a Wood Stain Marker Pen and Howard’s Feed-N-Wax (like conditioner for wood.)
It started with this: The veneer was curling up in one corner of the chair’s back rest. I decided to give this Wood Glue a go. You had me at sandable and paintable.Then I realized I didn’t have clamps. Suddenly, the MacGyver in me came out. Office binder clip. Ha! You can’t fool me, chair!Sanded with 400 grain super-fine sand paper and fashionably clamped.Murphy’s oil soap provides cleaning power.Having a ninja helper oversee the Danish Oil bath is always a good choice. (Watco Danish Oil – 7 bucks at Home Depot)Whoops. Even though I’d sanded down the glue, the Danish Oil slid right off my “repair” spot.Not to be beaten by an old crusty chair, I had to get creative. Lucky for me, I had a similarly hued Wood Stain Marker. The marker worked wonders on the sanded and glued portion of the chair. VOILA!Chair in waiting for fabric delivery…
Here is what I would have done differently:
1. I wouldn’t have sanded the chair in my kitchen. My “Ah-ha” moment was realizing that I was quite possibly releasing really nasty crap into the air….IN MY KITCHEN…where I prepare food. Dumb.
2. I wouldn’t recommend using Danish Oil in conjunction with a repair job. But if not for my glue spot, the chair would have had a perfect finish. Alternatively, I would have sanded, cleaned and applied the stain BEFORE the glue so that there would have been some stain underneath the repair. Turns out the “sandable, paintable” glue isn’t Danish Oil-able.
This was a quick and easy project to complete. Most of the products I already had in my arsenal and so far, this project has cost a total of $18 in supplies, including the cost of the chair. Not bad for a weekend of DIY entertainment!
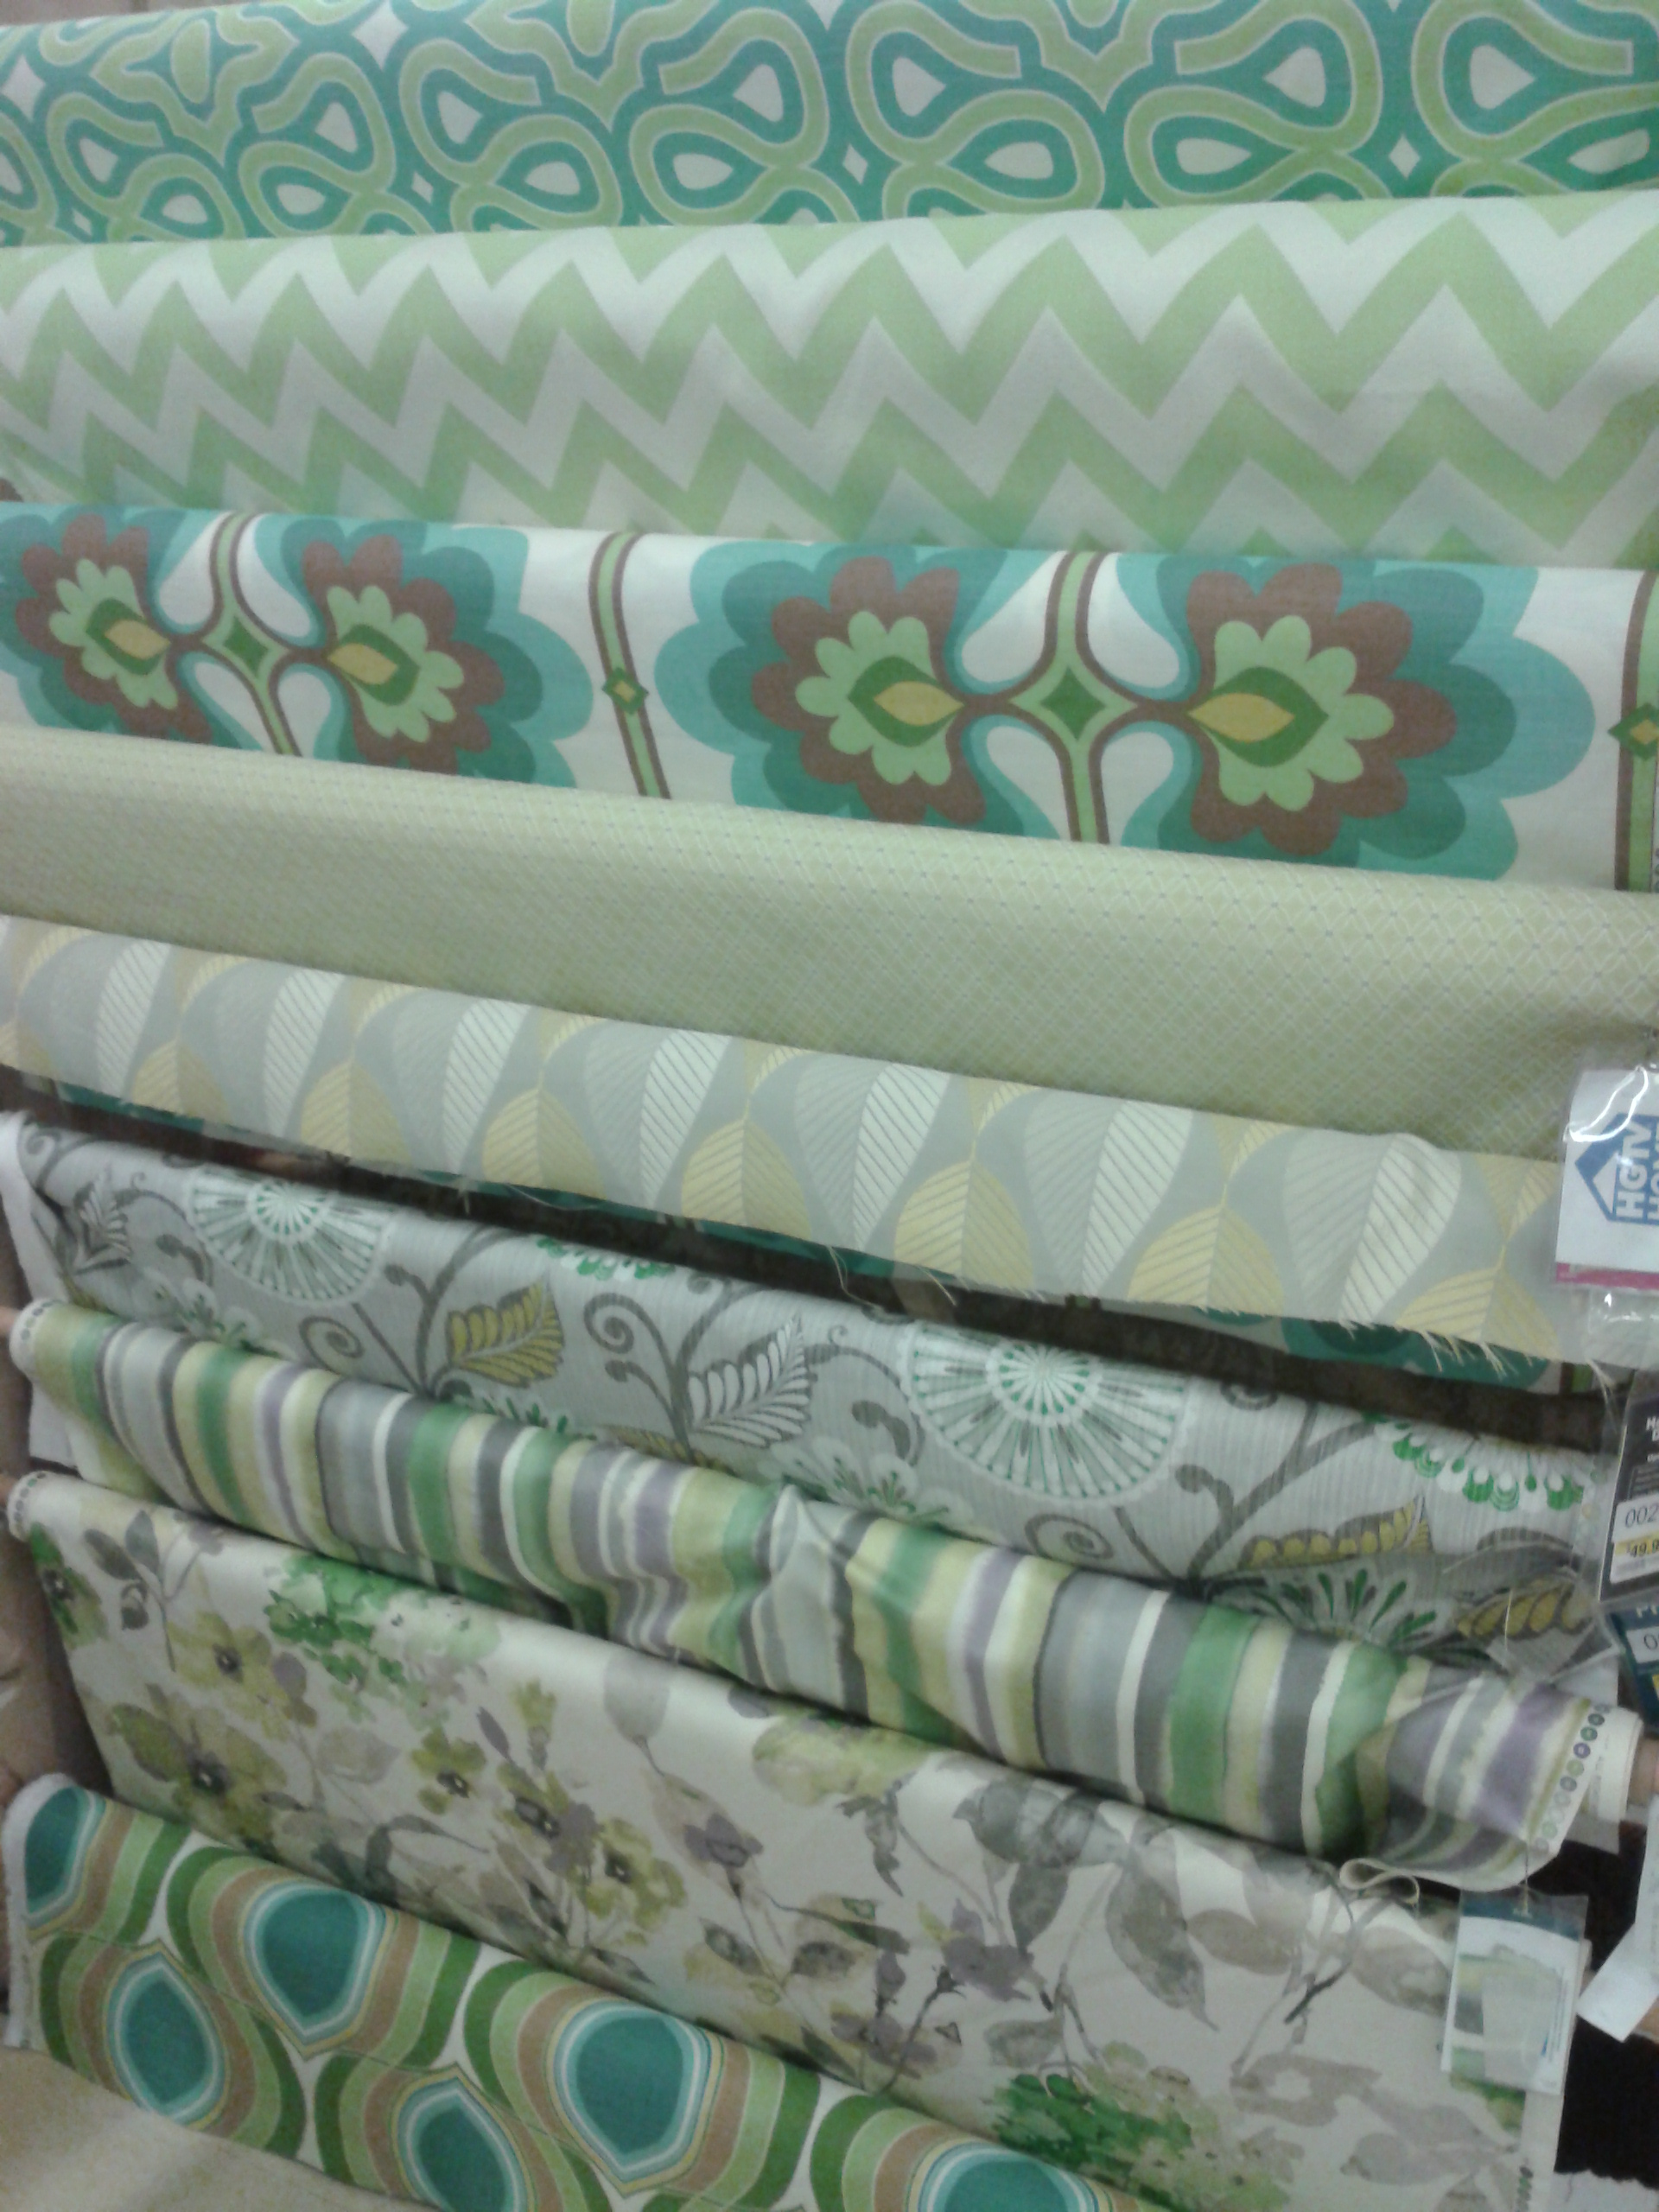
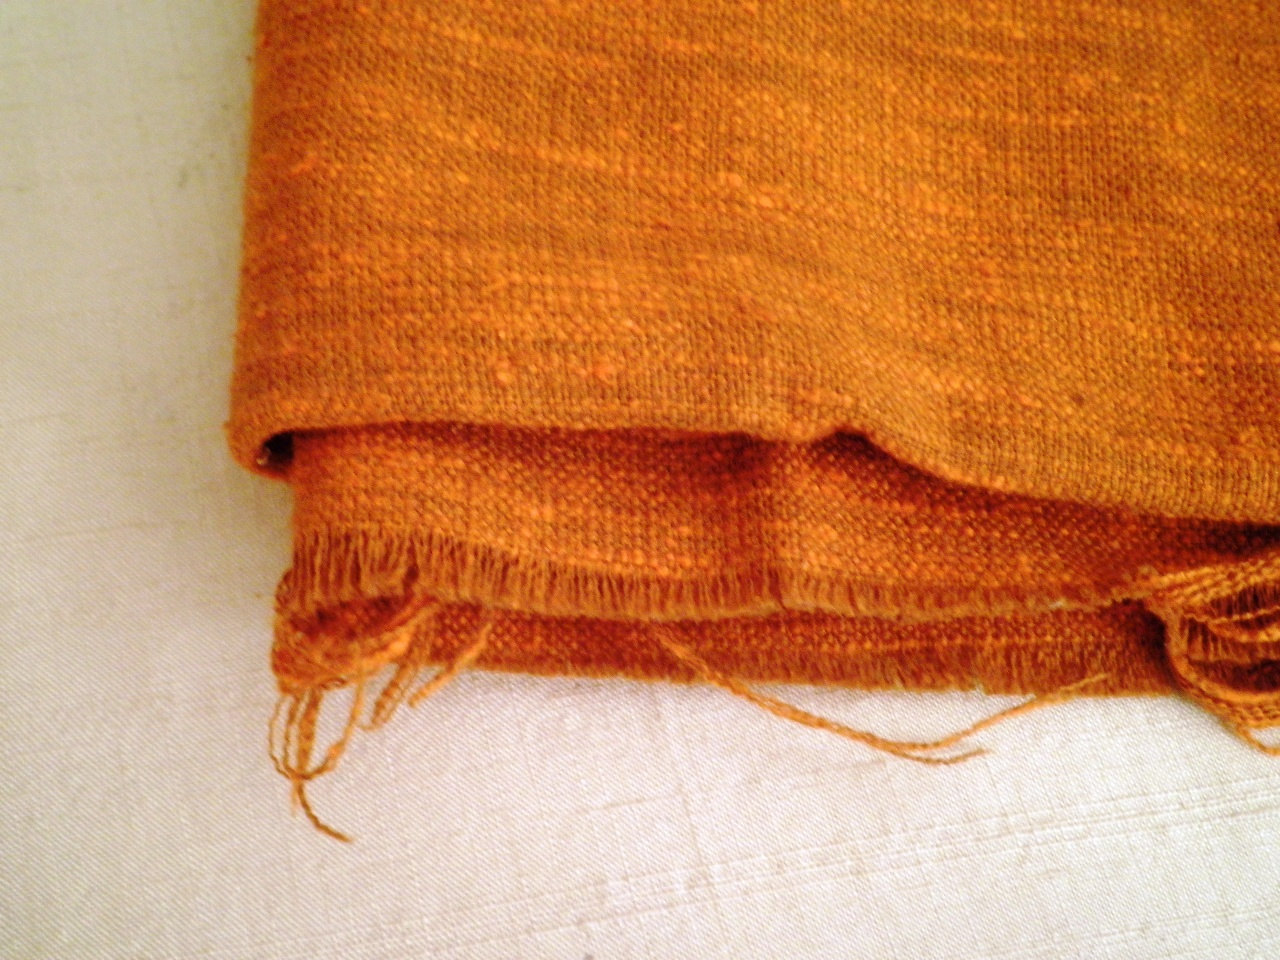
I located vintage 1960’s orange fabric on Etsy.com for only 10 bucks including shipping. If you’re not currently subscribed, please come back next week, as I’ll feature a seat re-covering tutorial.
Couple weeks ago, I received the most reader feedback I have ever had when I asked for helpful tips on decorating my guest bedroom. (Click here for original story: Something’s Missing). I was delighted to read all the suggestions, and put some of them into action.
Disclaimer: Because of the size and layout of the room, the bed and side tables had to stay put. Also: I’m not done…but I’m really excited about the search for lighting and bedding being over with. I can look at mid-century furniture all day, but I’m a search-and-destroy kind of gal when it comes to fabric. Who has time for that, really?
Here’s the before…where basically everything in this room was wrong. The lamp was too big, the painting too big, the moulding too horrible. I was so lost….but so wanting to set up this room to be a guest retreat people would enjoy staying in. Not to mention we just learned that very soon, my husband’s folks are visiting from Ireland and staying with us for two weeks! Pressure is on, people!
Something’s missing.
Everything you see above (except for the blinds and atomic clock) went on the auction block. Even the giant painting that inspired my color palette had to go. Have to pay for the change! I grabbed my handy dandy camera, set to clicking, added some stuff to Craigslist and Etsy to sell…which had my husband quite confused and concerned for my sanity. I don’t mean to sound sexist but generally it’s been my experience that men think, “Room, Good. Light, Good. Bed, Gooooood.” Then they wonder why we want to change any of it. Ever. Like doing something different is some crazy thing. Women, on the other hand could look at that first shot and be like, “Oh no, girlfriend. No you didn’t. Here’s what you need to do….”
Craigslist and Etsy winnings in hand, I set to Ebay and the local stores to hunt down lighting and bedding. As I mentioned before, I am really not the most patient shopper. Crowds, cars, wasted time. Why not do it from the couch if you can? Why do you think God made the internet?
I’ll sum up. Aside from the obvious subtractions, the new additions featured above are:
Vintage Orange-to-die-for- Guzzini (we think) lamps -found on Ebay. They were shipped all the way from Canada and packaged beautifully. I was delighted to get them, but bummed to find when one of them wasn’t working. I don’t think it’s anything a new lighting kit won’t fix.
Night Stands stayed – Craigslist
White Bedskirt – Target
White Honeycomb light bought for more practical lighting – Lowe’s for $15! Couldn’t believe it. But as it turns out, the damn light flickers. Guess we’ll be taking that one back. They don’t make ’em like they used to.
Bedding/Pillows/Shams in a Bag, Baby – Max Studio – HomeGoods
**Explanation for new bedding: What I had wasn’t terrible….but it was a down comforter with a drab quilt over it. Two people from Ireland coming for the summer are not going to be comfortable with DOWN in 80-90 degree weather. Besides, it has the added bonus of being meant to be. It’s my entire color palette in one piece. Now I don’t have to worry about patterns and crap like that I’m not qualified for.**
FUTURE Additions:
This guy will go in the corner once I have him refinished and recovered…
Weekend Warrior Project
I still need a headboard and platform. The mattress and box springs are on the floor for now. I can see something like this behind the pillows:
Photo Credit: West Elm. Love you West Elm, but not going to pay $999 for veneer.
orrrrrr
Real Wood. Real Mid Century to balance the old and new elements. $150 on Craigslist. I already have an existing frame. Deal, or no deal?
Stay tuned for more updates. Thanks again for everyone’s feedback!
I’m not a big fan of Charlie Sheen, but as I drove away from a garage sale this weekend, I found myself grinning like a fool, and yelling Charlie’s signature phrase, “WINNING!” to my son in the backseat.
Garage sale find for $5
…And maybe I am a fool. That remains to be seen. I did notice some warping on the seat bottom that indicates this poor chair was left outside, or was exposed to moisture at some point, but luckily it’s still pretty sturdy. This Danish modern piece is just what I’d been hoping for: a PROJECT…..a lost and forgotten piece of furniture, just waiting to be brought back to life. For $5 and some elbow grease, I’ll find out just what I’m capable of in the wood refinishing department. I’ll be employing some of my favorite refinishing tips to get this chair a warm walnut color. I’ll get the privilege of learning how to re-cover a seat pad; I don’t even know where to buy the foam. Hopefully when it’s all done, this chair will comparable to these guys:
Etsy Photo Credit to BeeHavenHome
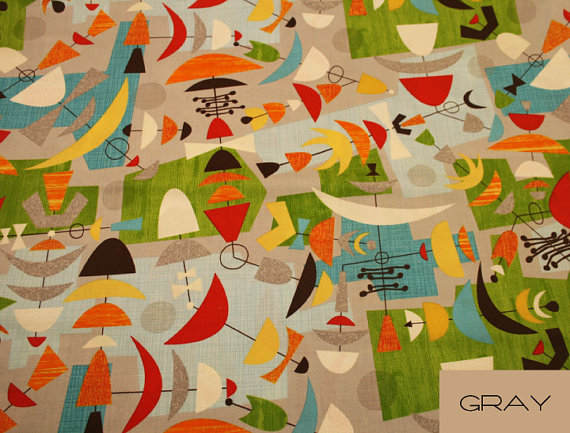
Anyway, my project commences this weekend. Until then let’s forget about all the sweat and tears! It’s more fun to pick out fabrics. Feel free to cast your votes. I’m not dead-set on these….my only requirement is that they have a tiny hint of orange….that will be my accent color in the room this chair will grace:
Credit: rue23vintage on Etsy.comCredit: JennSki on Etsy.comCredit: MandMFabrics on Etsy.comCredit: Full Swing Textiles – Chevrama in Grapefruit
The lesson for this week: Don’t discount garage sales. Truthfully, I had…until I spotted my chair. You can still win it big.
Spoiler alert:….This chair will go in my guest bedroom with these newly delivered beauties I shall tell you alllllllll about later this week.
True mid-century men The Rolling Stones said it best: “You can’t always get what you want….but if you try sometimes, you just might find you get what you need.” Back in December I wrote a post titled, “Bathroom Bewilderment” where I bemused my boring guest bathroom. Here’s a photo of the room at the time:
Bland Bathroom
And here’s a photo of what I’d like that room to look like someday, however impossible it may be:
Renovated “after” pic of work by designer Gina De Pasquale.
So this last week, I had a few extra bucks in my pocket as I walked through Home Goods. $30 dollars later, I had a splash of color in my guest bathroom, and truthfully that’s really all I needed.
Well it ain’t boring anymore, that’s for sure.
Shower Curtain and super smooshy rug purchased at HomeGoods.
The brightly colored towels I had already. They were purchased at Wal-Mart.
Hand soap by Orla Kiely for Target
Picture to tie all the colors together was a gift from my folks….many moons ago.
I plan on being here for a very long time. Until which point our family decides some renovation is absolutely necessary, this will do us just fine. We have everything we need.